After carefully evaluating all the pros and cons, you have finally selected the perfect wallpaper to complement your TV wall (more on this topic in the article Which wallpaper behind the TV), and it is now time to install it. At this juncture, as wallpaper experts we often get asked the following questions: “What should I install first, the wallpaper or the TV set?”, “How do best deal with the cables and the speakers of my sound system?”.
The basic rule is to first install the TV set and the soundbar, then remove it and install the wallpaper. To help our customers, we have put together a comprehensive step-by-step guide that will cover all important points and prevent any damage to your wallpaper:
Choose the TV position on the wall
As a basic rule, the recommended course of action is to first determine the desired position of the TV (which should be based on the optimal viewing angle from your favourite seat arrangement/couch, how many people watch TV with you on an average evening, and where they will be sitting). If you plan to add a soundbar, this might push up the TV position a little, while if you are the proud owner of a surround-sound home theatre, you need to consider that the front and back channels will have to be at the same distance (left and right) of your sitting position.
Pre-installation check
Before you start, gather all the necessary tools including a stud finder, a level, a measuring tape, a drill, screws, and anchors. Check the instructions that came with the mount and make sure you have all the required brackets and screws grouped together. Unless your wall is made of solid bricks, begin by identifying the wall studs (using your stud finder) and mark their location with a pencil. Remember: mounting the TV bracket directly onto the studs of the drywall is an effective way to provide for optimal stability.
Plan for the cabling and speaker wiring
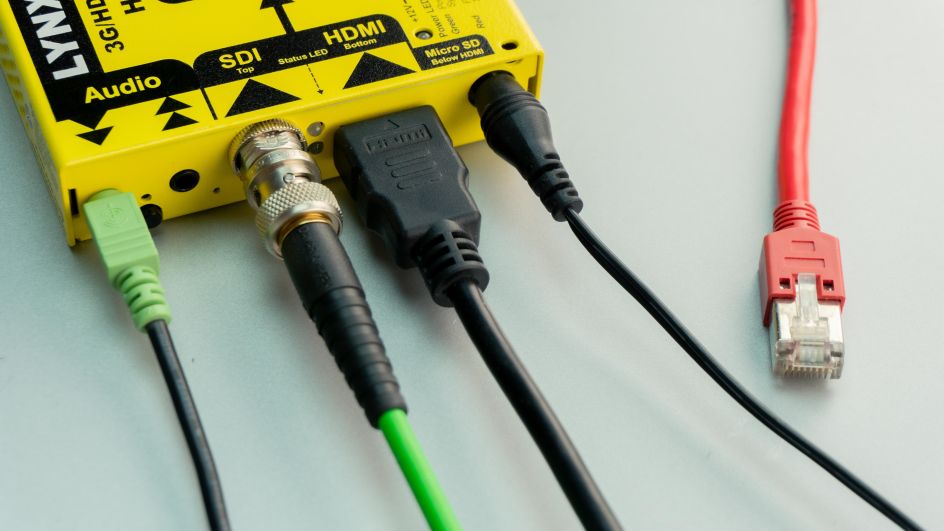
A modern TV setup, particularly if paired with a multichannel sound system, comes with a variety of cables. You need to decide how all these wires, from HDMI inputs to power and optical cables, will run from the AV components to the TV and how they can best be concealed.

Plan ahead for cable management by installing floor cable sleeves to hide the cables running across the room. You can also opt for alternative solutions such as adhesive cable clips and raceways or get rid of most wires by opting for a wireless audio system.
Marking and drilling
Once you have determined the mounting position, mark the drill points on the wall with a pencil. For added stability, drill directly into the wall studs. If the studs are not in the ideal location, use high-quality wall anchors designed for heavier loads.
Install mount and choose speaker placement
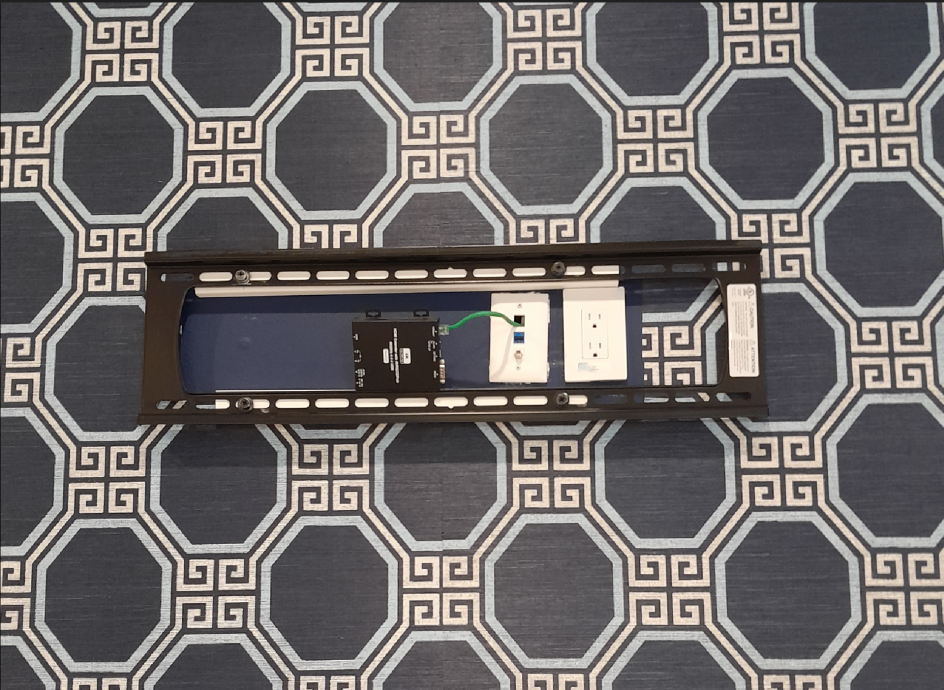
Carefully attach the TV mount to the wall by aligning the drilled holes with the mount's attachment points. Ensure that the mount is securely fastened using the appropriate screws and anchors. Double-check levelness to avoid any tilting or misalignment.

Install the front, centre, and rear speakers according to your room's acoustics, ensuring that the front and rear channels are equidistant from your seating position for optimal sound distribution.
Hang TV and check if all works to your satisfaction
It is now time to install the TV, switching it on and checking if everything works as anticipated. Take a moment to sit down where you plan to enjoy your TV and check if all the elements are level, and the sound is balanced.
Remove everything and install your wallpaper
Now please move your TV back to a safe space, loosen the bolts, remove the wall mount and sound satellite woofers and proceed to install your wallpaper. Mark the holes and carefully measure the lengths of your wallpaper, as you want to make sure that the holes do not happen to be positioned at the seams of two lengths. Once the wallpaper is fully dry, reinstall your wall mount into the existing holes, hang the TV, and get ready for unforgettable movie nights!

