How to hang paper-based wallpaper
1 Mix wallpaper paste
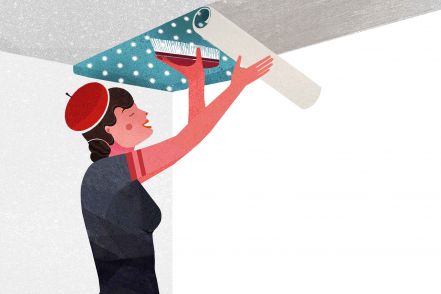
You have chosen a paper-based wallpaper (as opposed to the non-woven variety) and are ready to get started. You've acquired the correct wallpaper paste for the paper-based wallpaper. The strips have been cut to the right length. Please remember that ceilings are always wallpapered first.
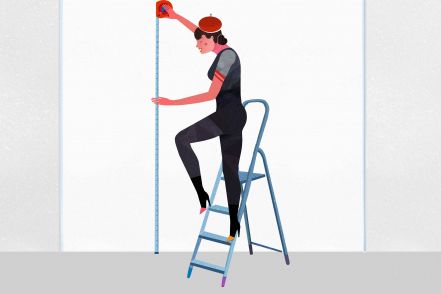
The first strip (or length), be it on the ceiling or the wall, must always be plumbed (using a plumb bob and line) to ensure a straight line. If you do not have a plumb bob and line, use a water level and draw a straight line on the wall. You can do this before mixing the wallpaper paste.
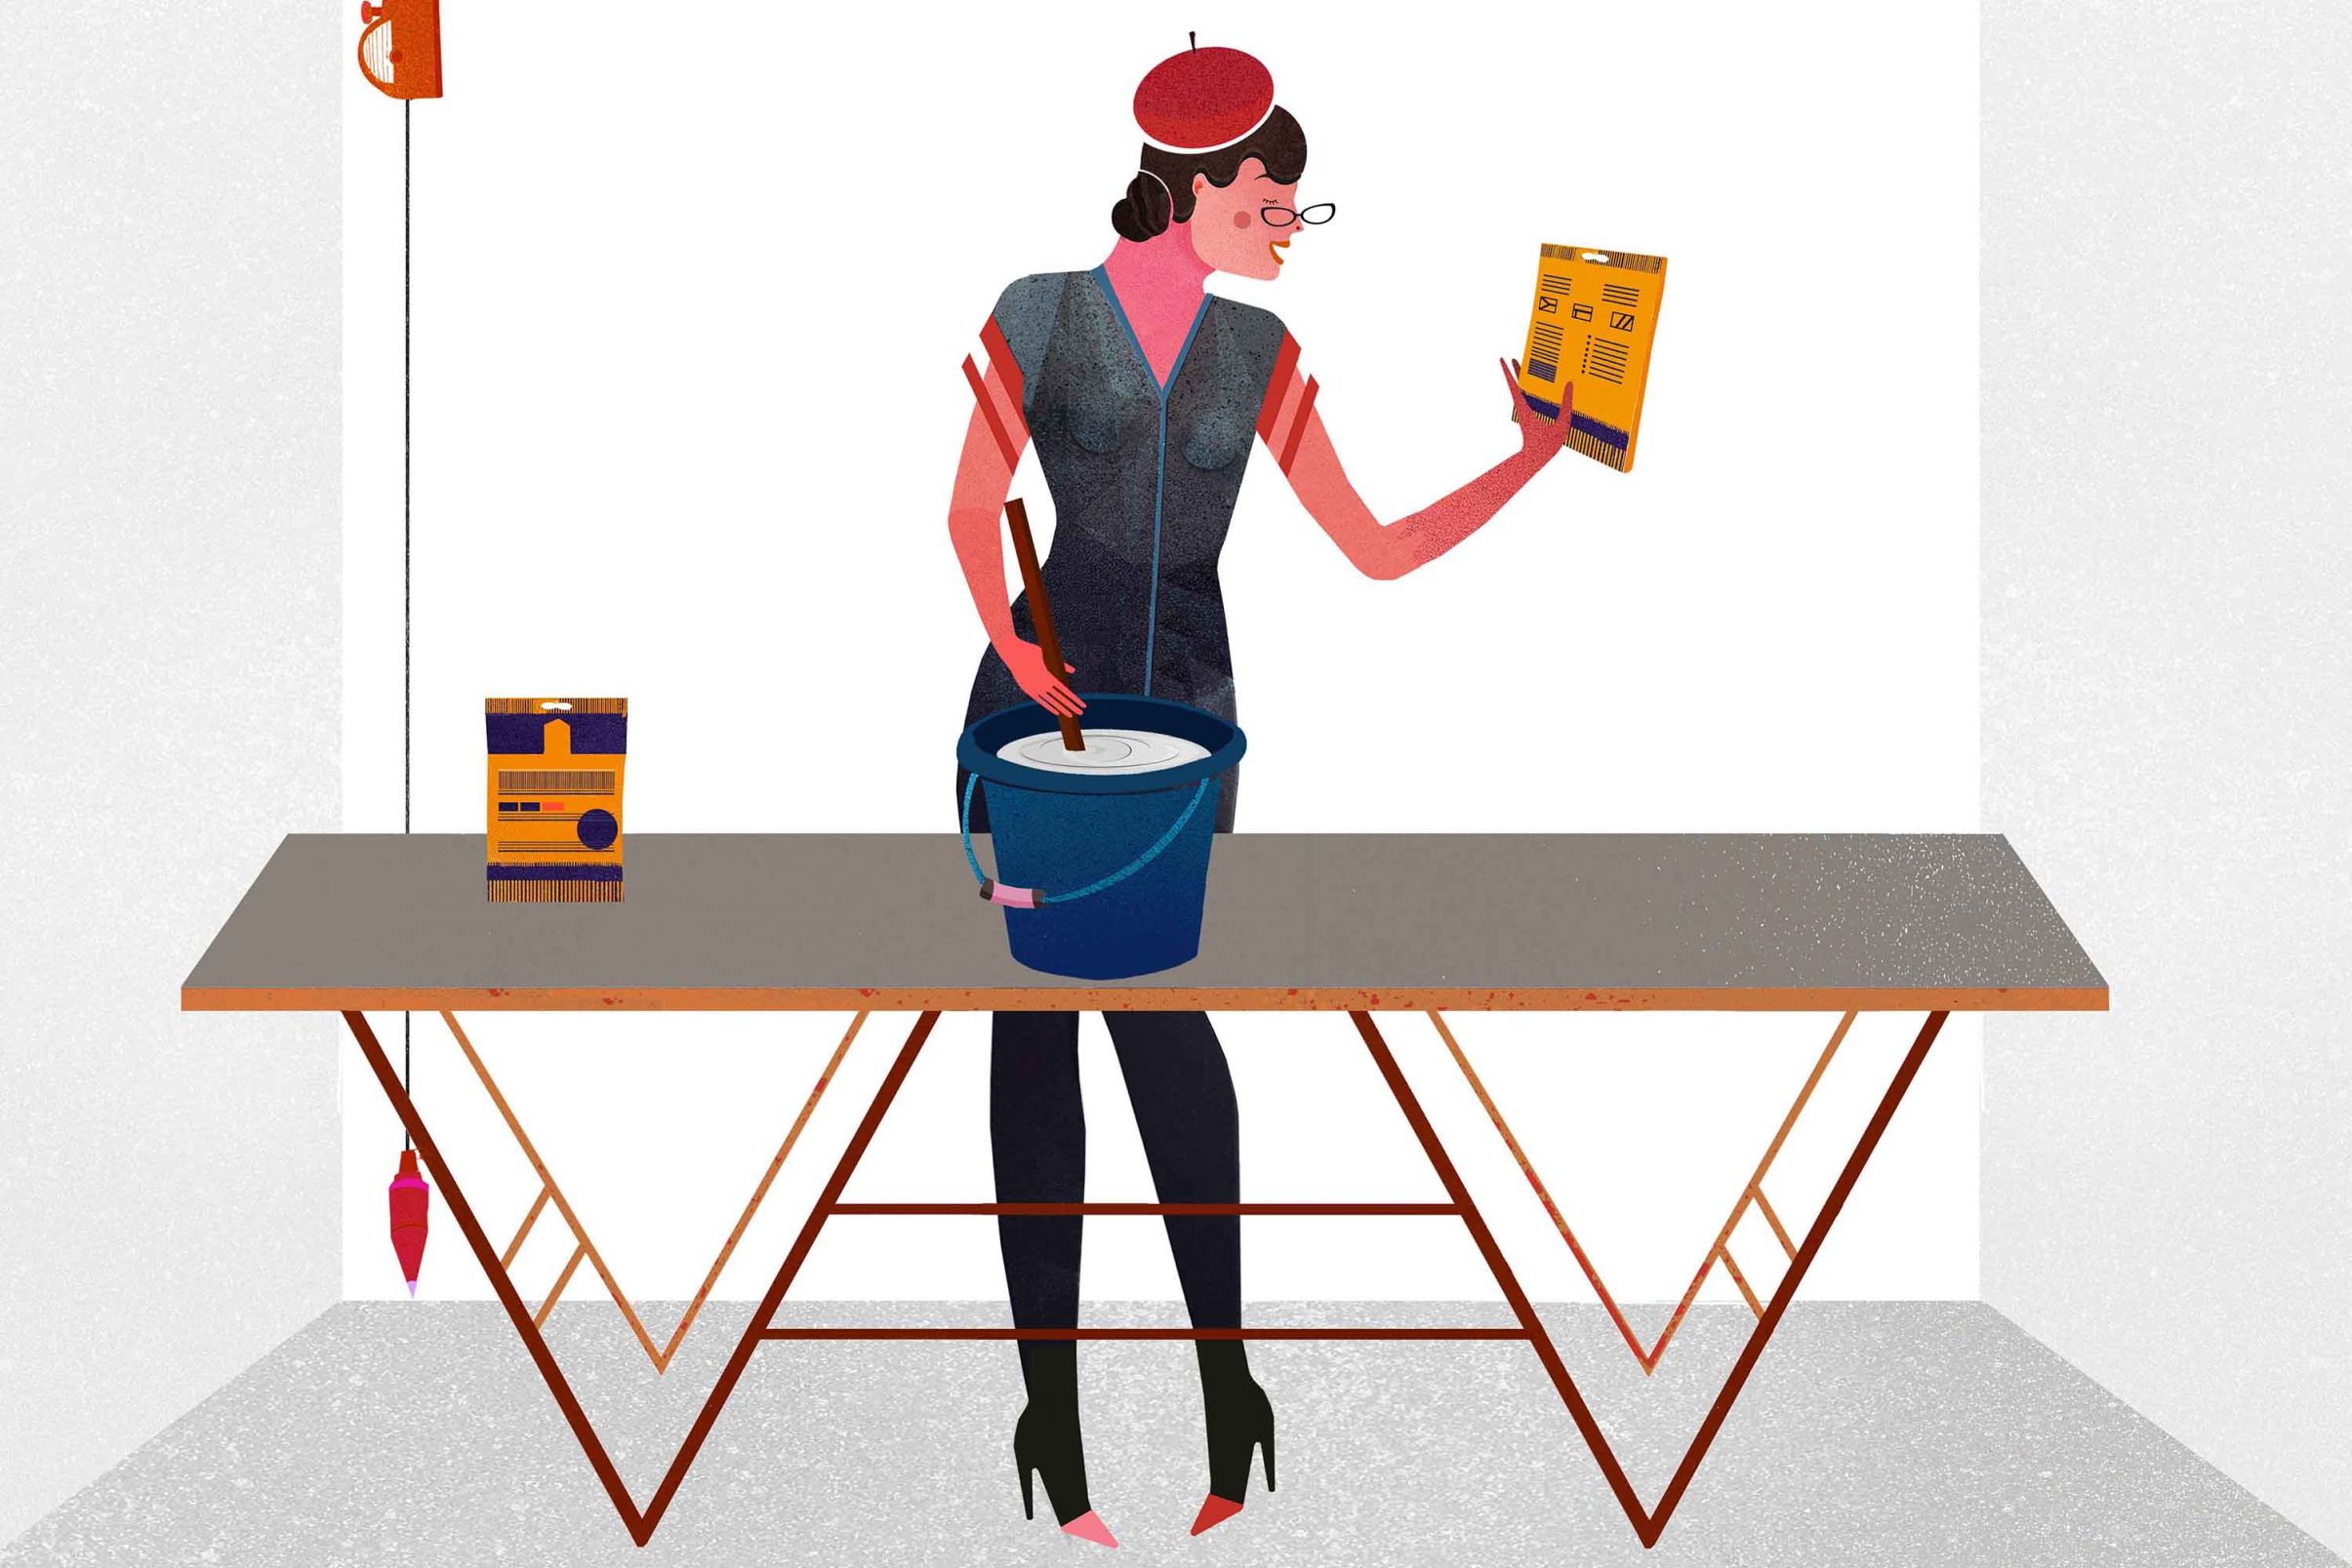
Talking of which, let's now prepare the paste. Please refer to the instructions on the packaging to determine the exact mixing ratio of water and powder. The instructions will also give you information regarding the type of wallpaper used, the required amount of water, the range (e.g. square metres) you can wallpaper with the paste and the amount of wallpaper you will need.
If possible, use a special wallpaper paste bucket with volume markings as it makes the process easier. The mixing bucket or container must be clean and free of rust/stainless. It's best to use a receptacle that will hold more than the amount needed, to avoid "overflowing".
Tip
Always use new, unopened paste boxes, and use the entire amount. Once opened, the powder can lose certain ingredients, which has a negative effect on its adhesive strength. If there is some paste left after you have finished wallpapering, cover the bucket with some cling film or a lid to make it air-tight. This way, you can use it for small repair jobs within 2 weeks.
Mixing of wallpaper paste - in detail:
Add cold water (as stated in the instructions) to the bucket. Now use a (wooden, long) mixing implement and start pouring in the paste powder swiftly whilst stirring continuously. The packet should be held at a distance of about 10 cm above the water. Stir clockwise AND anti-clockwise to make sure the water and powder are mixed properly.
If little lumps form whilst you pour in the paste powder:
Continue to stir until they dissolve. Even when the mixture looks homogeneous and smooth, keep stirring for a little bit longer. The package instructions will most probably include information as to how long the mixture should be left to rest until it reaches its typical gel-like consistency. Do not stir during the soaking process, but give it another go once it has the desired consistency, just before you start using the paste.
During the soaking period:
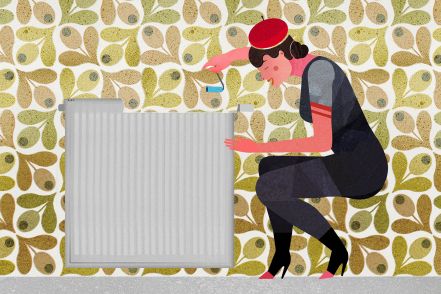
Please cover your radiators (to protect them from paste blotches) and close the windows. As a general rule, the room temperature should never get too high and there should be no draft during wallpapering, as this can affect the paste-covered lengths of wallpaper. A constant room temperature of 18 - 20 degrees Celsius is ideal.
2 Apply paste to the wallpaper
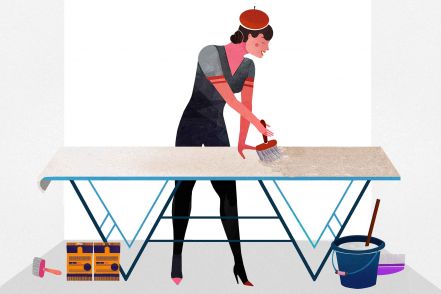
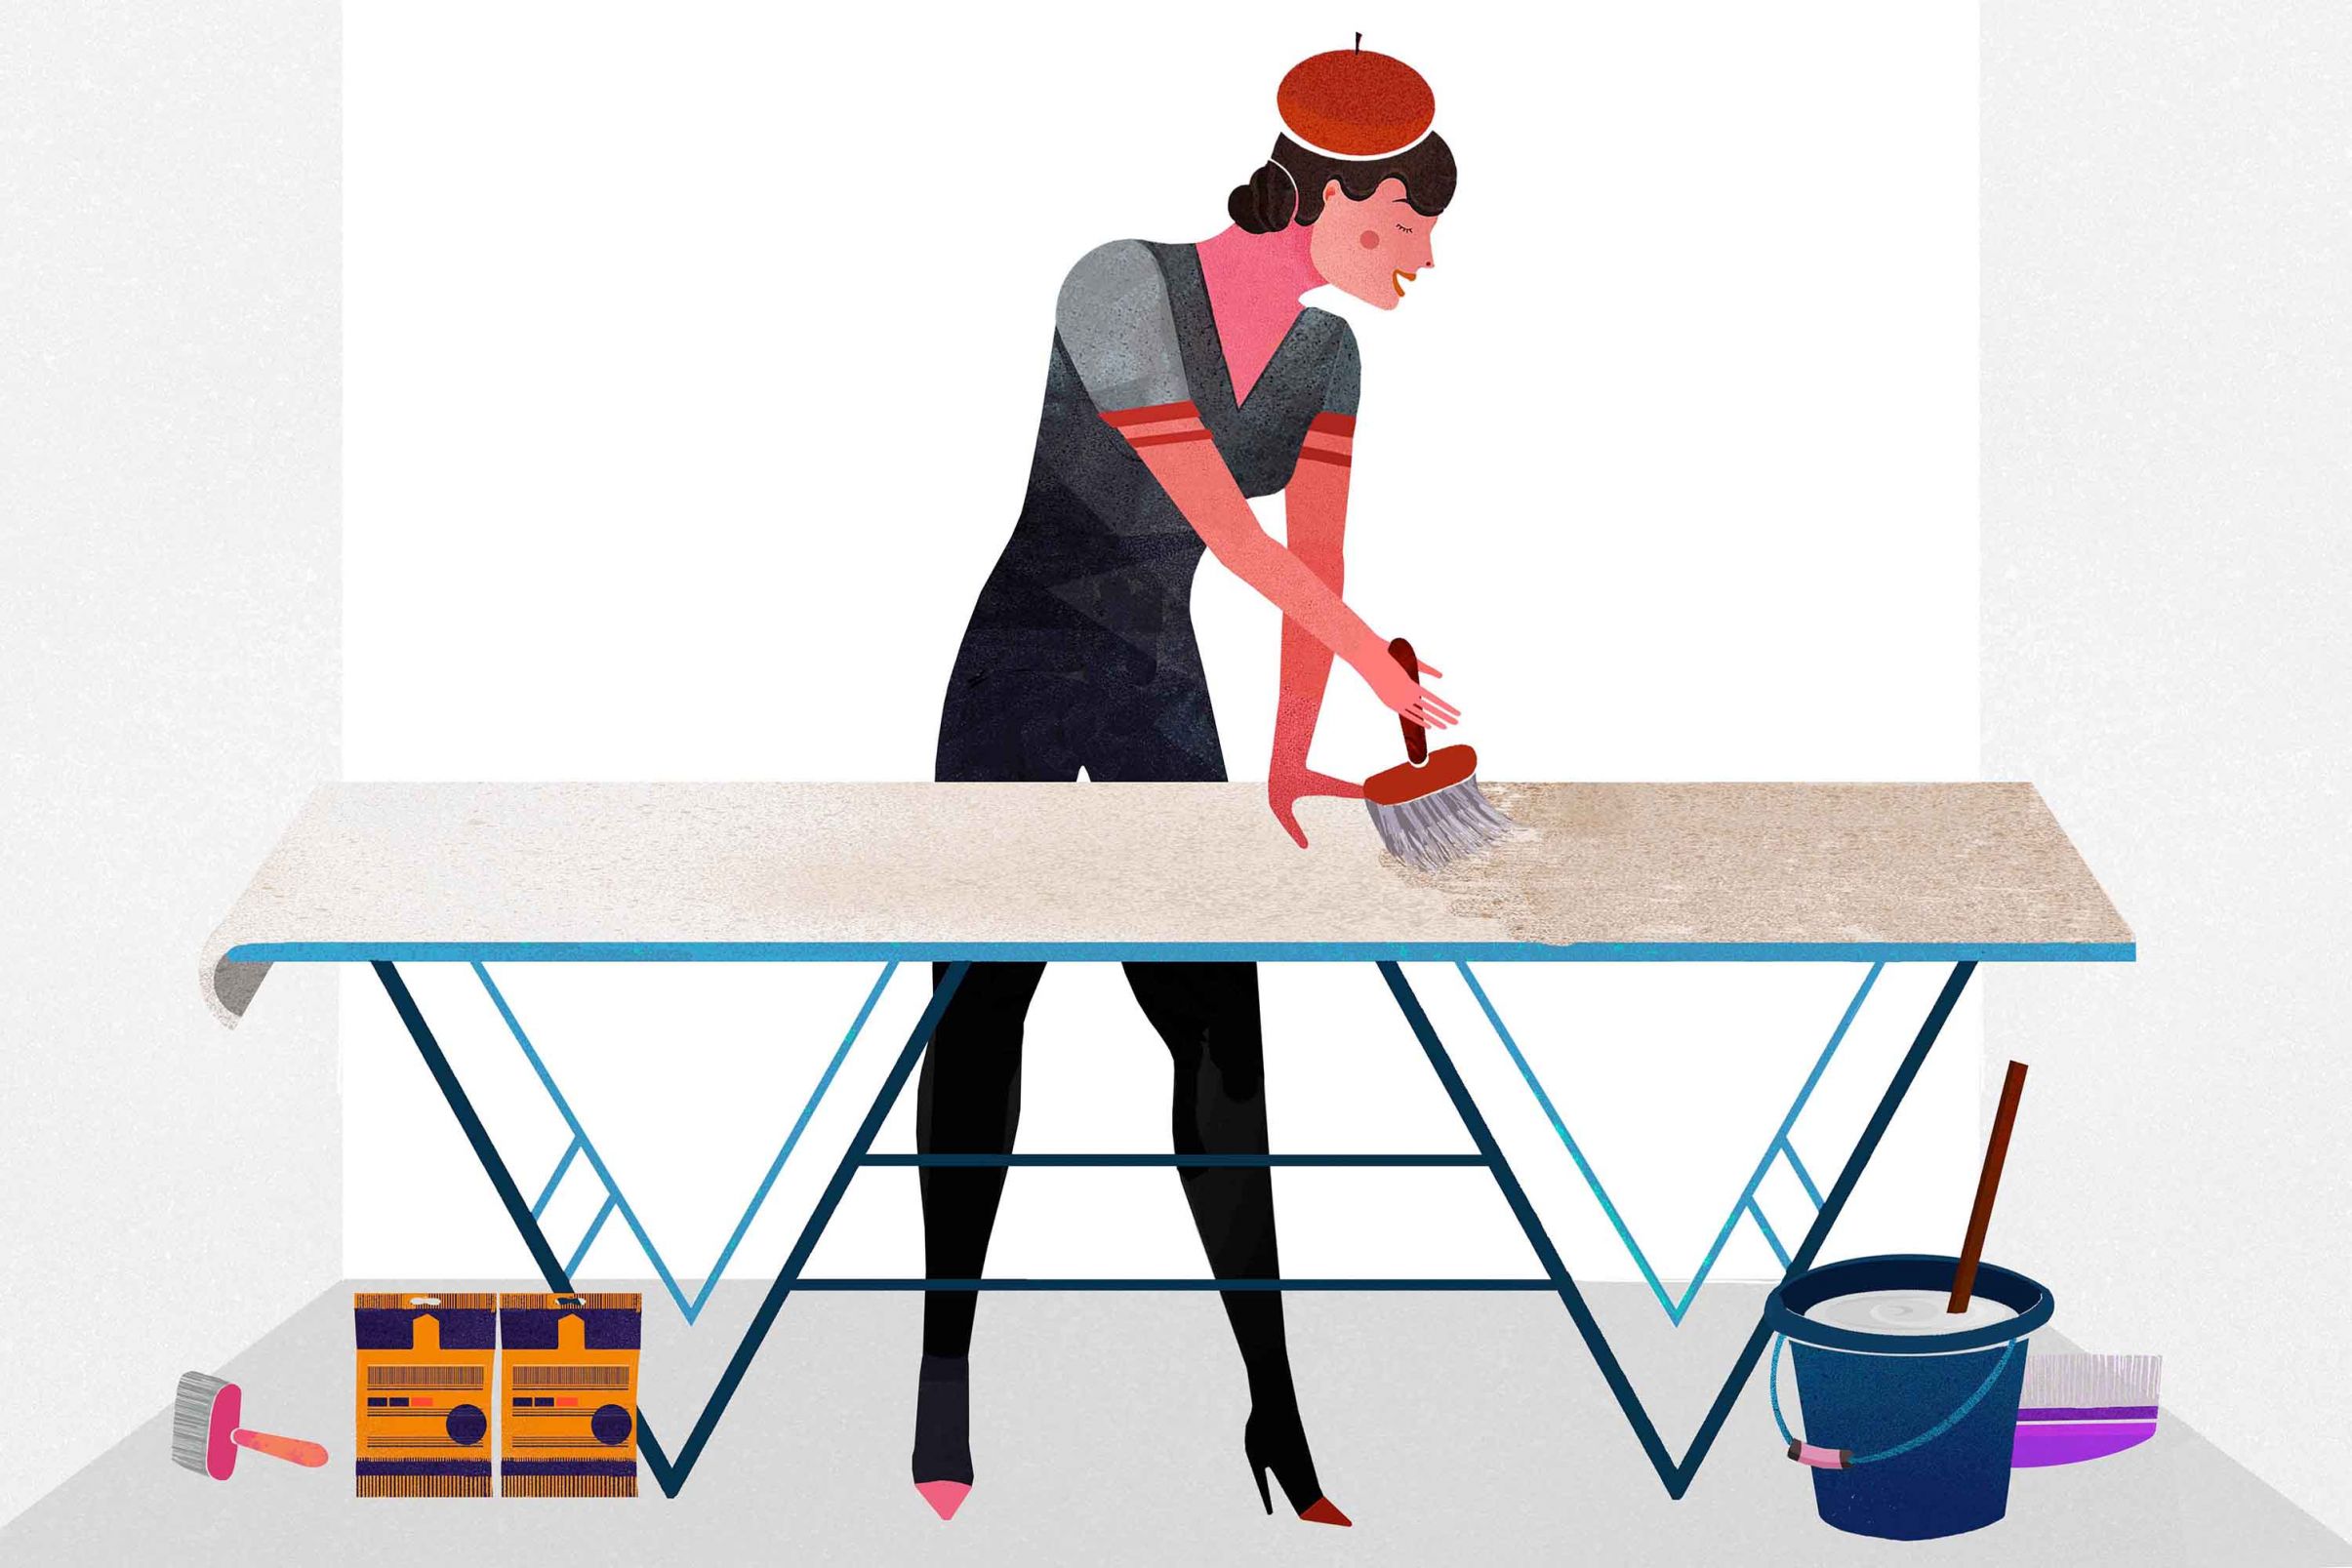
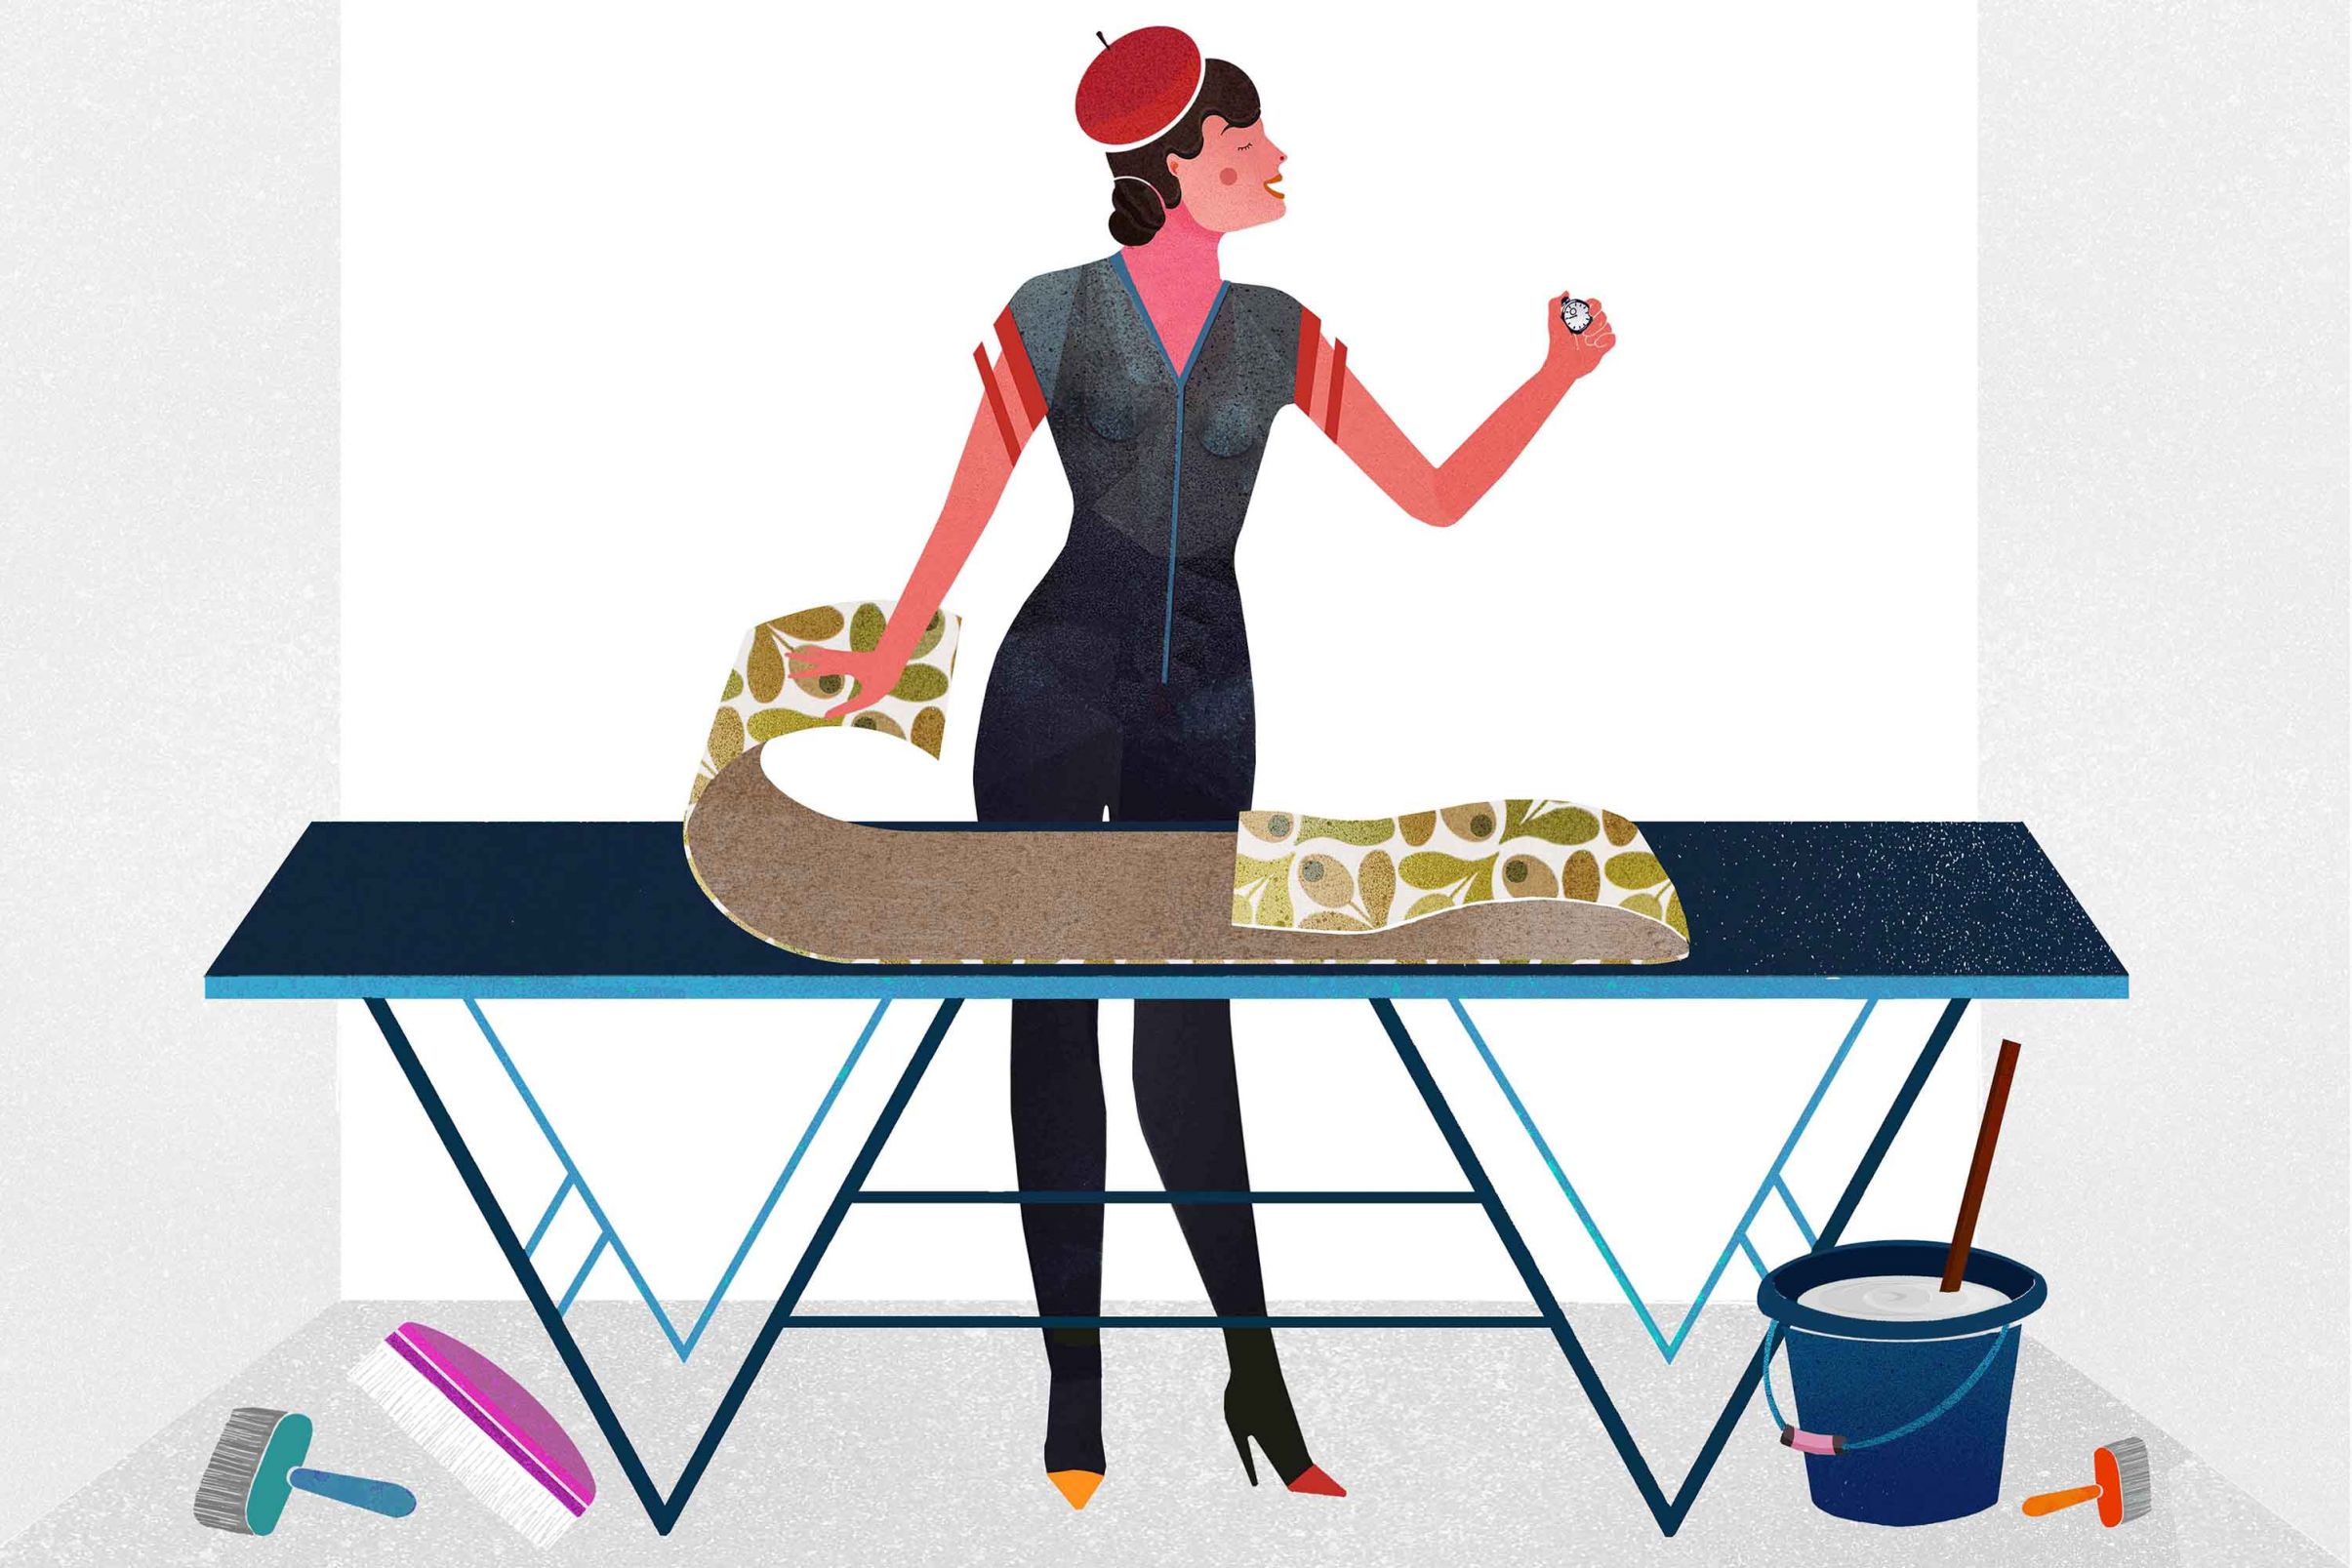
Before you can put the paste on the wallpaper, you need to prepare the trestle table and the pasting brush. Lay the length of wallpaper "face down" on the trestle table. To make the pasting process easier, weigh down both ends of the length with something heavy (e.g. old books). Put a small pencil mark at the half-way point of the length to help with folding it later on.
Stir the paste once more. Dip the pasting brush in the bucket, but make sure you don't "overload" it to avoid dripping. Start from the middle and brush out towards the edges so that it evenly covers the surface (including the edges). Make sure that the paste is applied evenly and generously (without overdoing it).
If your table isn't long enough for the entire strip, use a chair which has roughly the same height, protect it with cling film and put it next to the table (leaving a couple of inches between trestle table and chair.) Brush the paste from the middle down to the beginning or end of the strip, then carefully drape the paste-covered half over the chair. Depending on the length of the wallpaper strip, you might need two chairs to make sure that the strip doesn't touch the floor.
3 Soak the wallpaper
You will now need to let the paste soak into the wallpaper (the time required for this should be stated on the packaging of the paste - usually between 5 and 10 minutes). Fold the pasted wallpaper strip in from the outside edges to the middle point that you marked earlier. Fold it so that edge is accurately placed upon edge. If you fail to do this, the edges will dry out and not stick to the wall.
In order to adhere to the soaking time, we recommend using a timer so you will be alerted when the process has finished. You could use the timer feature or an app on your mobile phone.
Whilst the paste is soaking in, the paper will expand as it is absorbing moisture, resulting in the paper becoming slightly longer and wider. If you leave the paper too long, it will expand too much, resulting in gaps between strips once dried on the wall. If you don't let it soak for long enough, the wallpaper will expand on the wall, creating creases and air bubbles. For patterned wallpapers, the soaking time needs to be the same for each strip. Otherwise the pattern can be "distorted" and will not be an exact match at the edges.
So the motto is: Keep calm and have a nice cup of tea or coffee - the actual wallpapering task is about to begin!
4 Hang wallpaper strips on the wall
Let's get wallpapering!
"At long last!" you might say, especially if the prep work was quite work-intensive. But we are finally ready to put those lengths up on the wall.
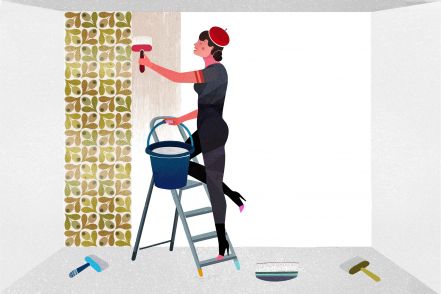
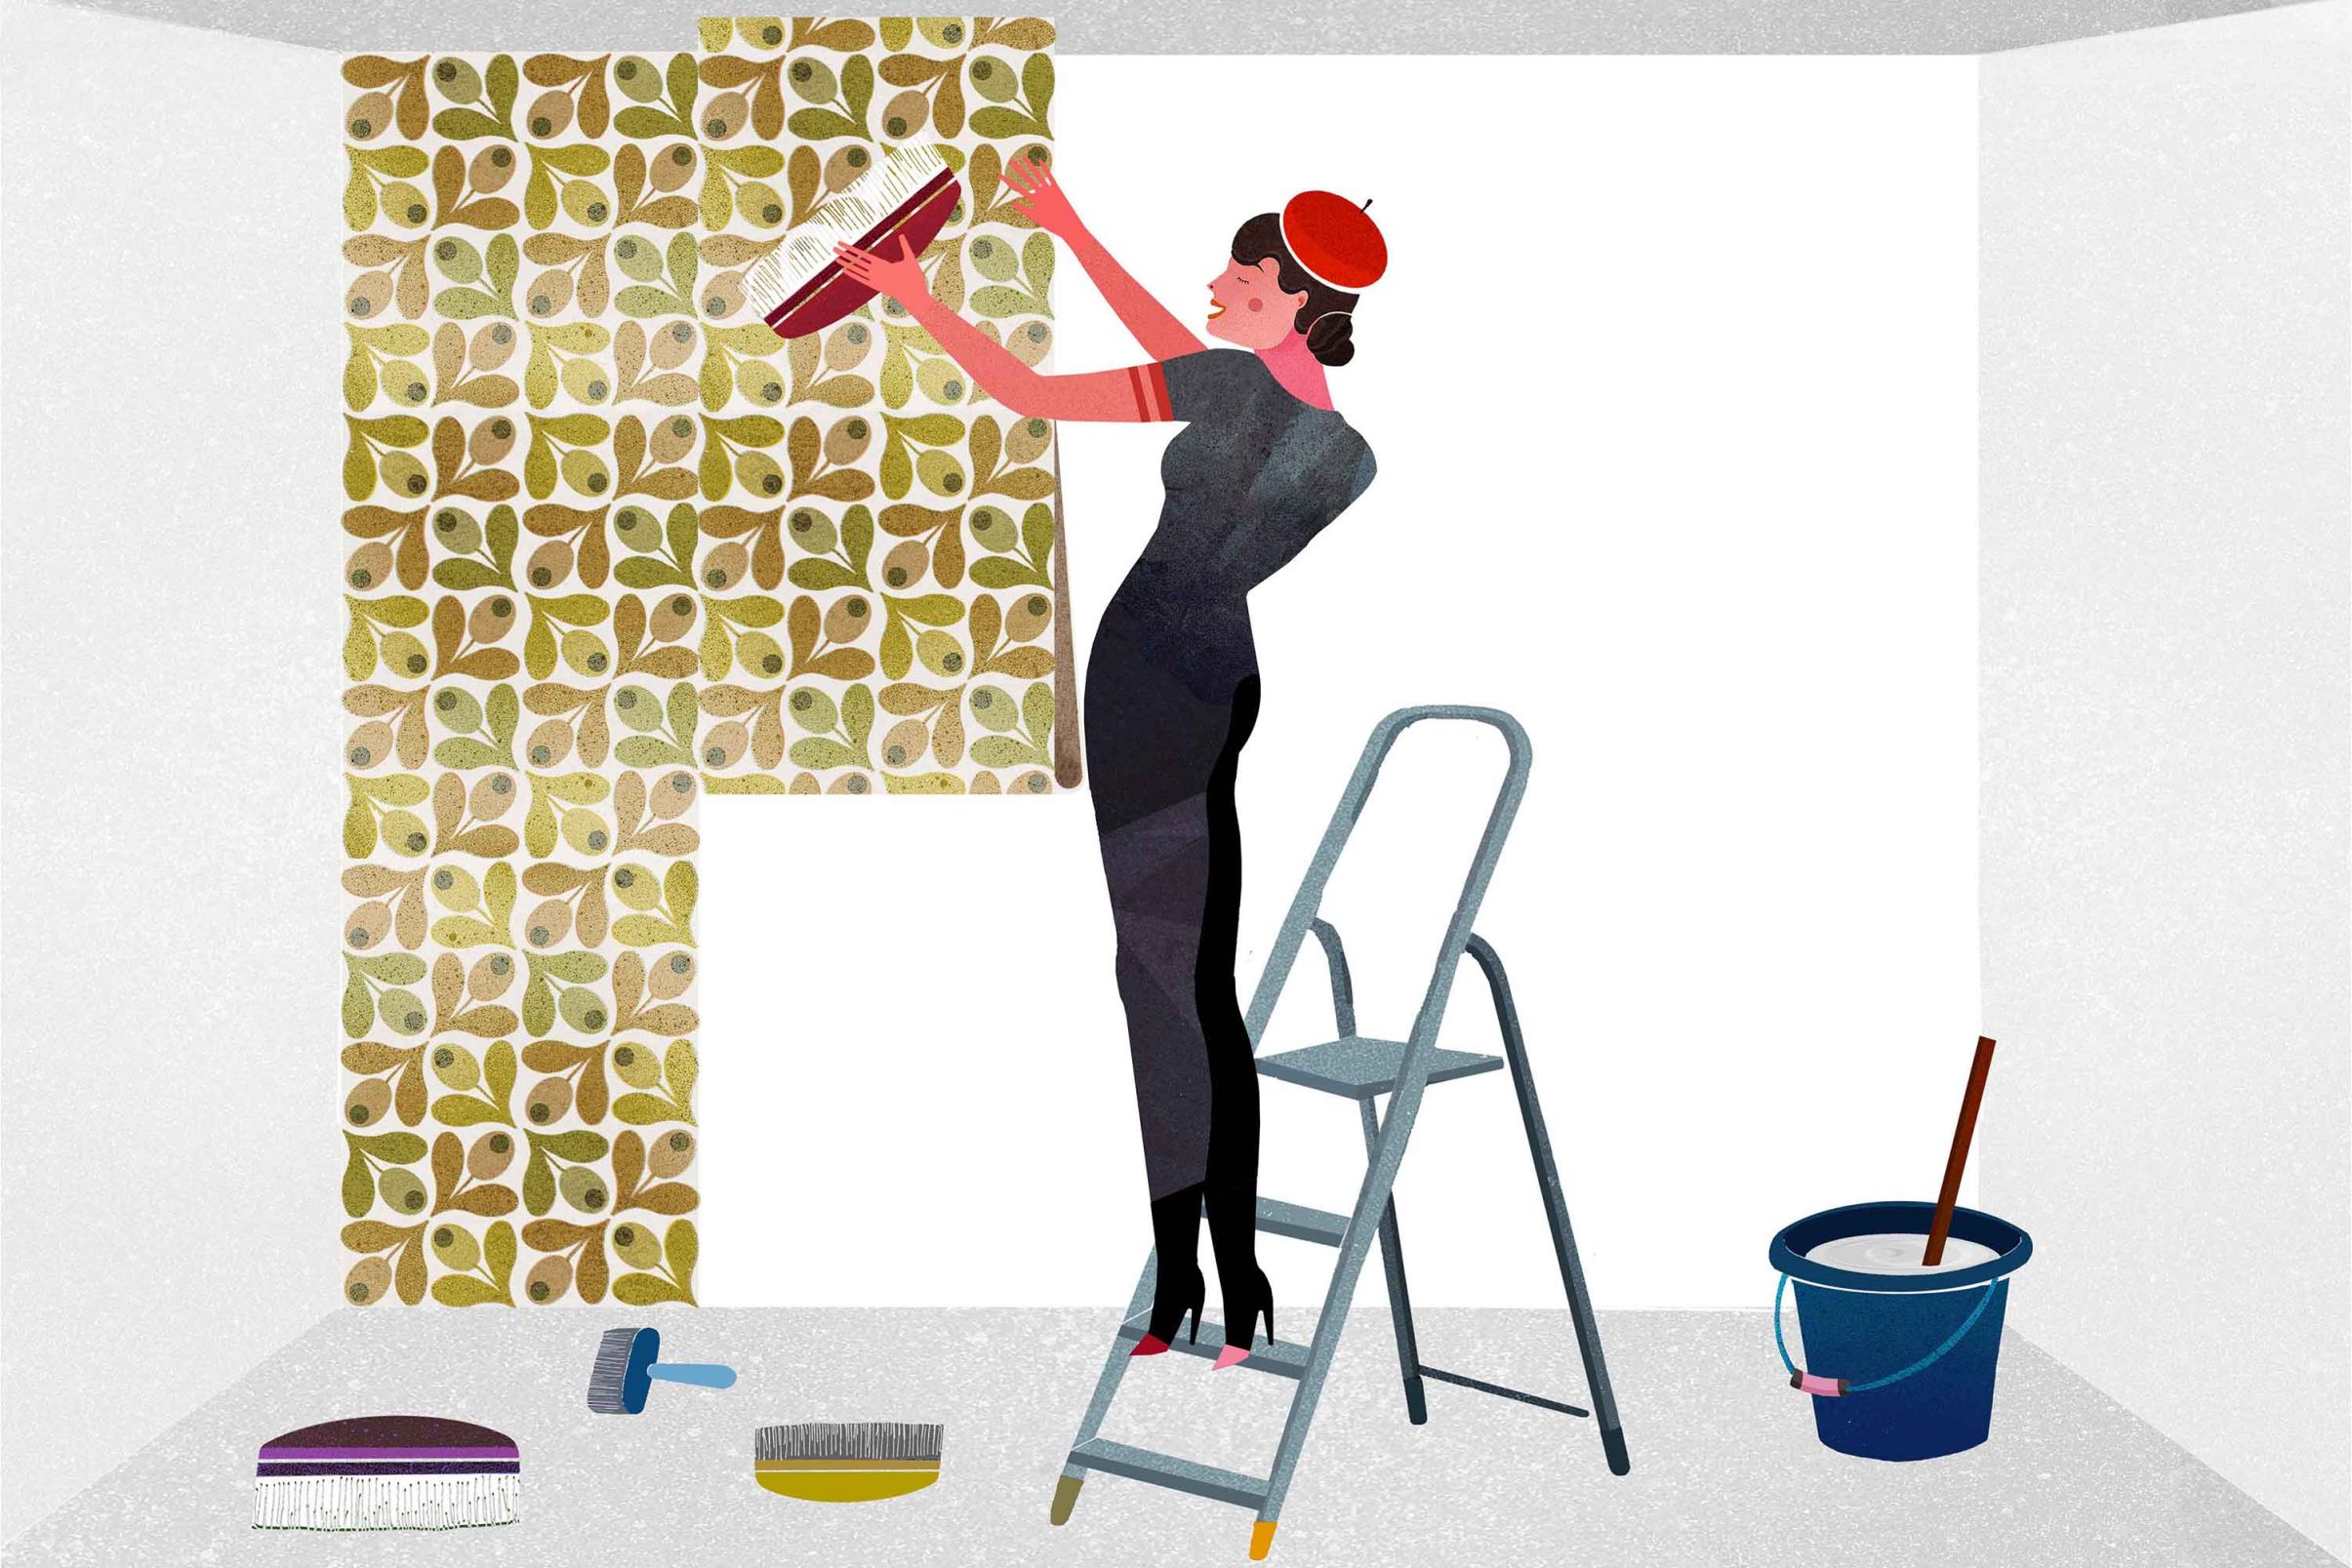
- 1 Carefully drape the folded strip of wallpaper over your arm and climb up the ladder.
- 2 Once there, open the upper folded side whilst the lower end is still folded.
- 3 Align the strip with the plumbed line and lightly stick the top half to the wall (remember the overlap of 5 cm)! For now you are only making sure it actually adheres to the wall (before you continue with the bottom half).
- 4 Now unfold the lower part of the length and stick it to the wall. Again, make sure it aligns with the plumb line.
- 5 Use a clean and dry paperhanger’s brush to smooth down the paper from the middle, ensuring a good butt joint and pattern match, then work out towards the edges. Make sure you work very thoroughly. If the paste spills out on the edges, remove it immediately with a clean damp cloth or sponge. Always use clean water to wash out the sponge/cloth.
Use a seam roller to move along the edges to ensure they are flat on the wall. For pressure-sensitive anaglypta or textured wallpapers, choose a seam roller with foam cover to protect them from damage. When working with a seam roller, do not apply too much pressure.
If you notice that the edges do not stay down and flat to the wall due to a lack of wallpaper paste, use a small paintbrush to add a small amount of paste.
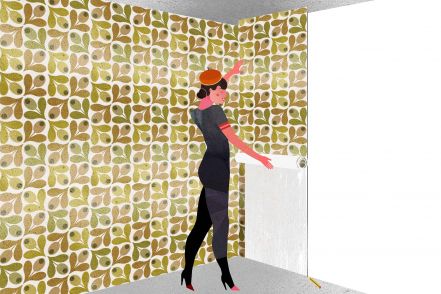
It is important to be patient and very precise when hanging the first length of wallpaper as it determines the outcome of the rest of the project. For instance, you need to pay proper attention to the marking line. Once the first length is in place, you can use it as an orientation aid for all remaining lengths. Don't forget to use the plumb bob to make sure each length is absolutely straight.
Once the lengths have been smoothed out, they need time to dry properly. Please be patient and don't try and speed things up (e.g. with a hair-dryer)!It just takes its time...
5 Cut off Overlaps
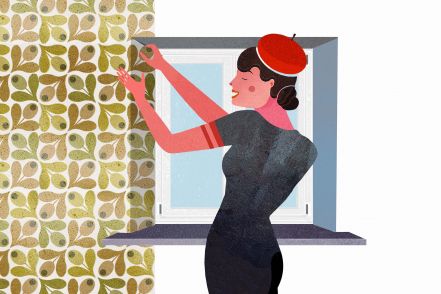
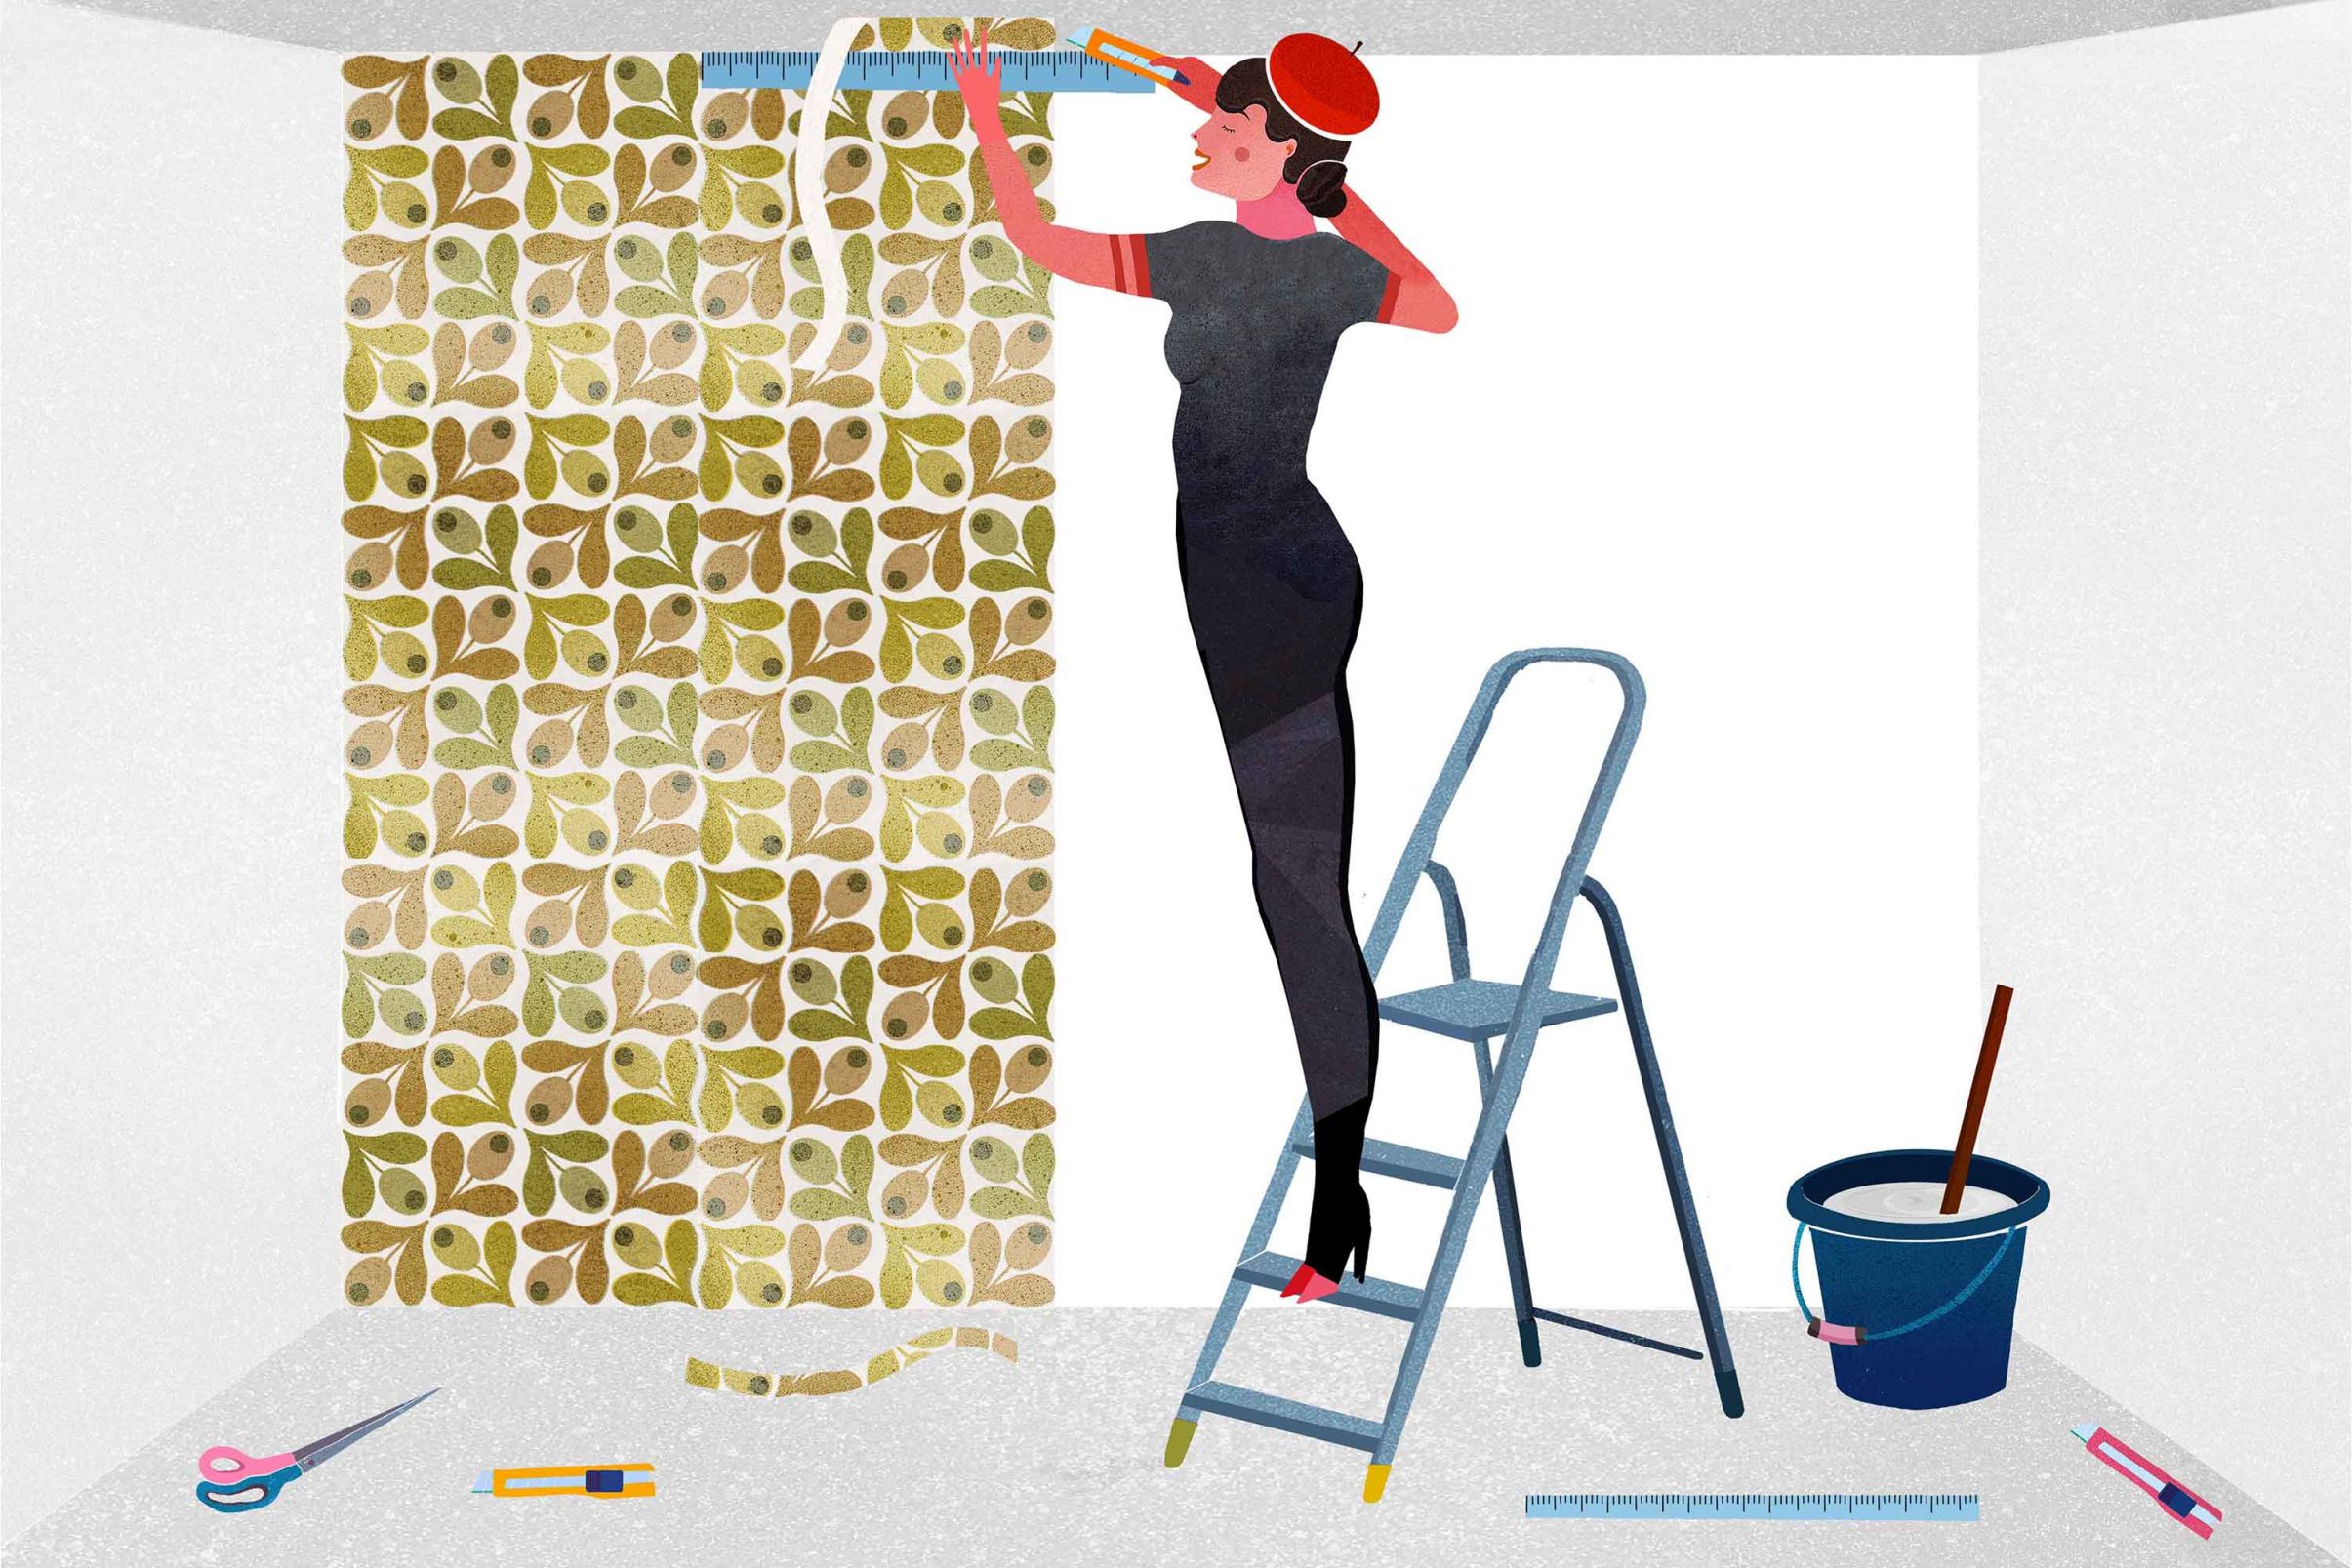
Cut off the overlapping bits of wallpaper at the top and the bottom (i.e. the skirting board, unless this was removed). If at all possible, we recommend removing the skirting boards before wallpapering as it saves you the task of cutting the bottom end accurately and it will look perfect once the skirting board has been reattached after the wallpapering process.
Make sure your cutting tools are very sharp to ensure clean lines and to make work easier for yourself. There are two options:
- 1 Use a ruler, wallpaper cutting guide or spatula to press the upper and lower edge down and then carefully trim the overlapping paper with a cutter knife.
- 2 If the wallpaper is still very damp, sharp scissors should be used as the cutter knife could damage the wallpaper and make the whole process harder. Once again, use your wallpaper cutting guide or spatula to press the corners down. Dab hands can use the back of a pair of wallpapering scissors to achieve this. Gently pull the length away to place the scissors directly into the fold crease and trim off the excess at the top and bottom. Then brush the length back into place. Your might have to use a brush or seam roller. Work efficiently but don't rush it - this process is only possible whilst the wallpaper is still damp.

