How to hang non-woven wallpaper
1 Mixing the wallpaper paste
If you have chosen a non-woven wallpaper (as opposed to the paper variety), you need a special wallpaper paste. They are clearly marked as such in DIY shops. This paste is applied directly to the wall (unlike the equivalent for paper-based wallpapers, which is spread on the back of the lengths of wallpaper). This also means that there are no waiting times to let the paste soak into the paper. Non-woven wallpapers which have been hung using the appropriate paste can be removed later in in a dry state without leaving any residue.
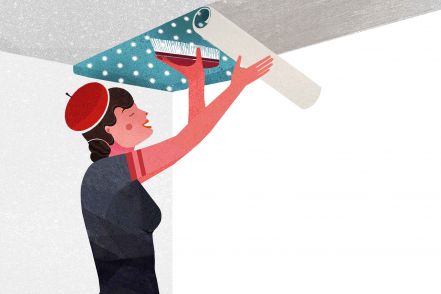
The ceiling (if wallpapered) is finished first, which means it is pasted first, too. Apply the paste for each length of wallpaper on the ceiling or wall individually, so you can put the wallpaper up without any time pressure. This is also a big advantage on days when you simply don't manage to put up as many lengths as planned, or needed to interrupt the project unexpectedly.
Before you start mixing the powder with water, check once more that you have bought the correct paste for non-woven wallpapers. This particular paste is colourless once mixed. You should only ever use new, unopened boxes of the paste in order to ensure it retains its full adhesive strength. Once opened, the product can lose certain components, which has a negative effect on its quality. Always store the product in a cool and dry place.
A few more preparations...
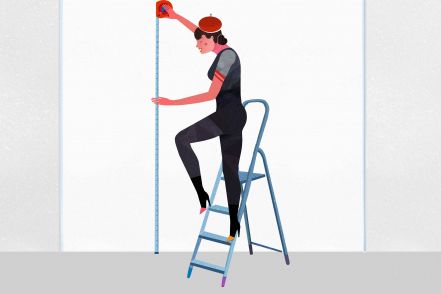
When hanging the first length of wallpaper, you need to be very accurate and precise as this will determine the final outcome and appearance. This is why the first length is always plumbed (the process of marking a straight line using a plumb bob and line). If you do not have a plumb bob and line, you can use a water level (or fashion your own using a long piece of string with a weight attached to the end). Using a pencil, draw a straight plumb line on the wall. This will be the template for the first length of wallpaper.
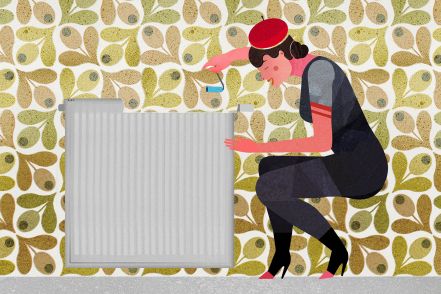
Cover your radiators to protect them from paste blotches. Make sure that the room temperature is never too high or too low: 18 - 20 degrees Celsius is the ideal temperature. Close the windows to avoid drafts.
If for some reason you cannot start pasting the wall immediately
Just cover the bucket or container with some cling film or a lid. Don't forget to stir the paste once more when you are ready to start wallpapering. If there is any paste left after you have finished your project, store it in a cool, dry place. You can use it to do small repairs for about 14 days.
It's time to prepare the paste
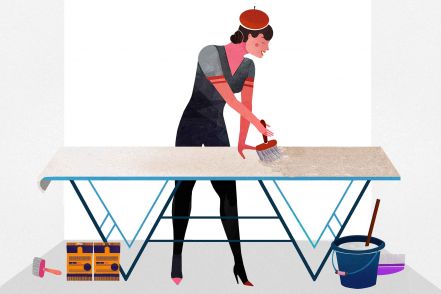
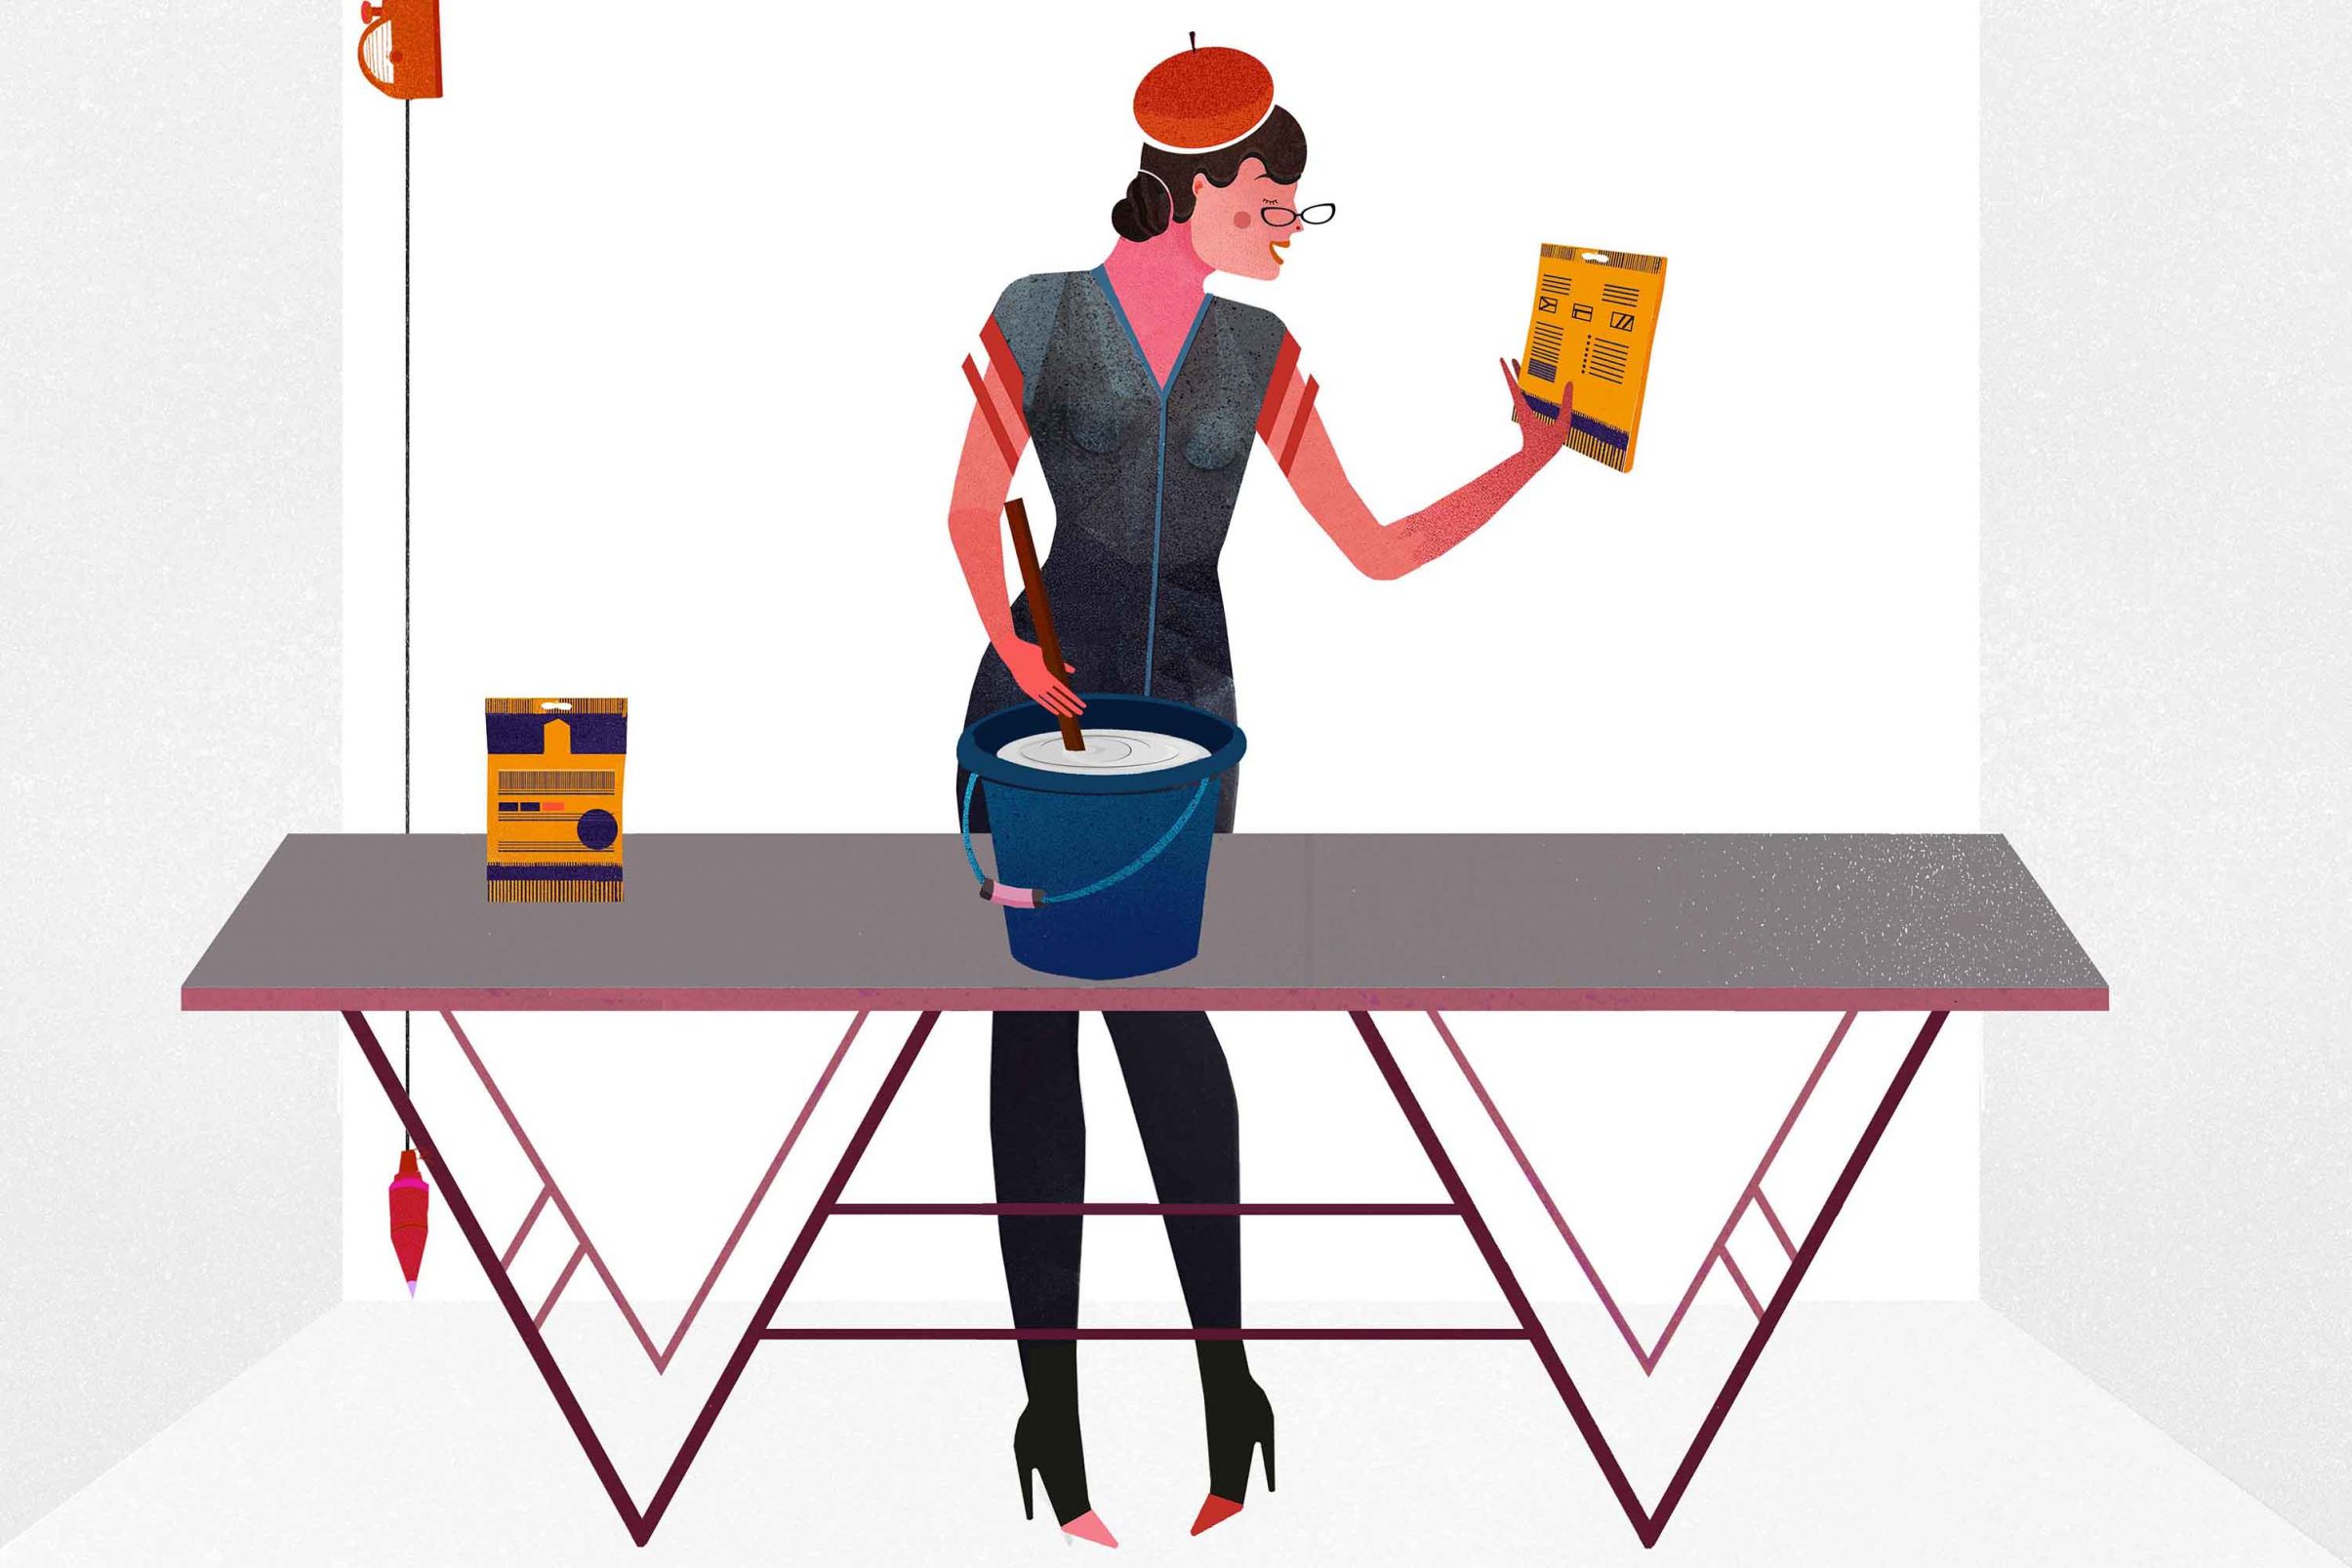
You need a sufficient amount (i.e. the correct number of boxes) of wallpaper paste for non-woven wallpapers, some water, a paste bucket with measurements (or an alternative container) and a long (preferably wooden) mixing implement. The mixing bucket or container should be clean and free of rust/stainless. It also needs to be large enough for the amount of paste you need.
Consult the manufacturer's instructions to find information regarding the correct ratio of water and powder. Please note that there are different ratios for non-woven wallpapers with smooth and with structured surfaces.
Step by step instructions for the perfect paste
- 1 Pour cold water (amount as stated in the instructions) into the bucket. Please note: Always put the water into the bucket first, never put the powder in before the water.
- 2 Open the packet and pour the powder in from a height of about 10 cm. Now use the mixing implement to stir the water and create a "whirlpool", as this will help the water absorb the powder.
- 3 Pour the powder in swiftly whilst stirring continuously. Stir both clockwise and anti-clockwise to make sure the water and powder are mixed properly.
- 4 Make sure that you don't add too much powder too quickly as this might cause lumps. If this does occur, just continue stirring until the lumps have dissolved. Once the paste looks homogeneous and smooth, please continue to stir for a few more minutes.
- 5 The paste then needs to rest for a little while so it can develop its maximum adhesive strength. Its consistency will change from a liquid to a gel. Please check the information on the packaging to find out how long you should let the mixture rest. Then stir the paste once more.
2 Pasting the wall
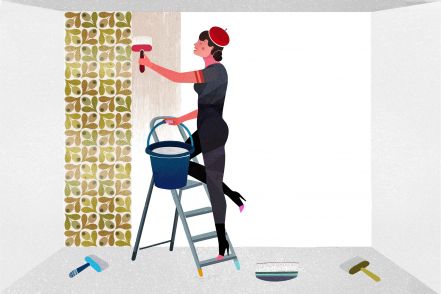
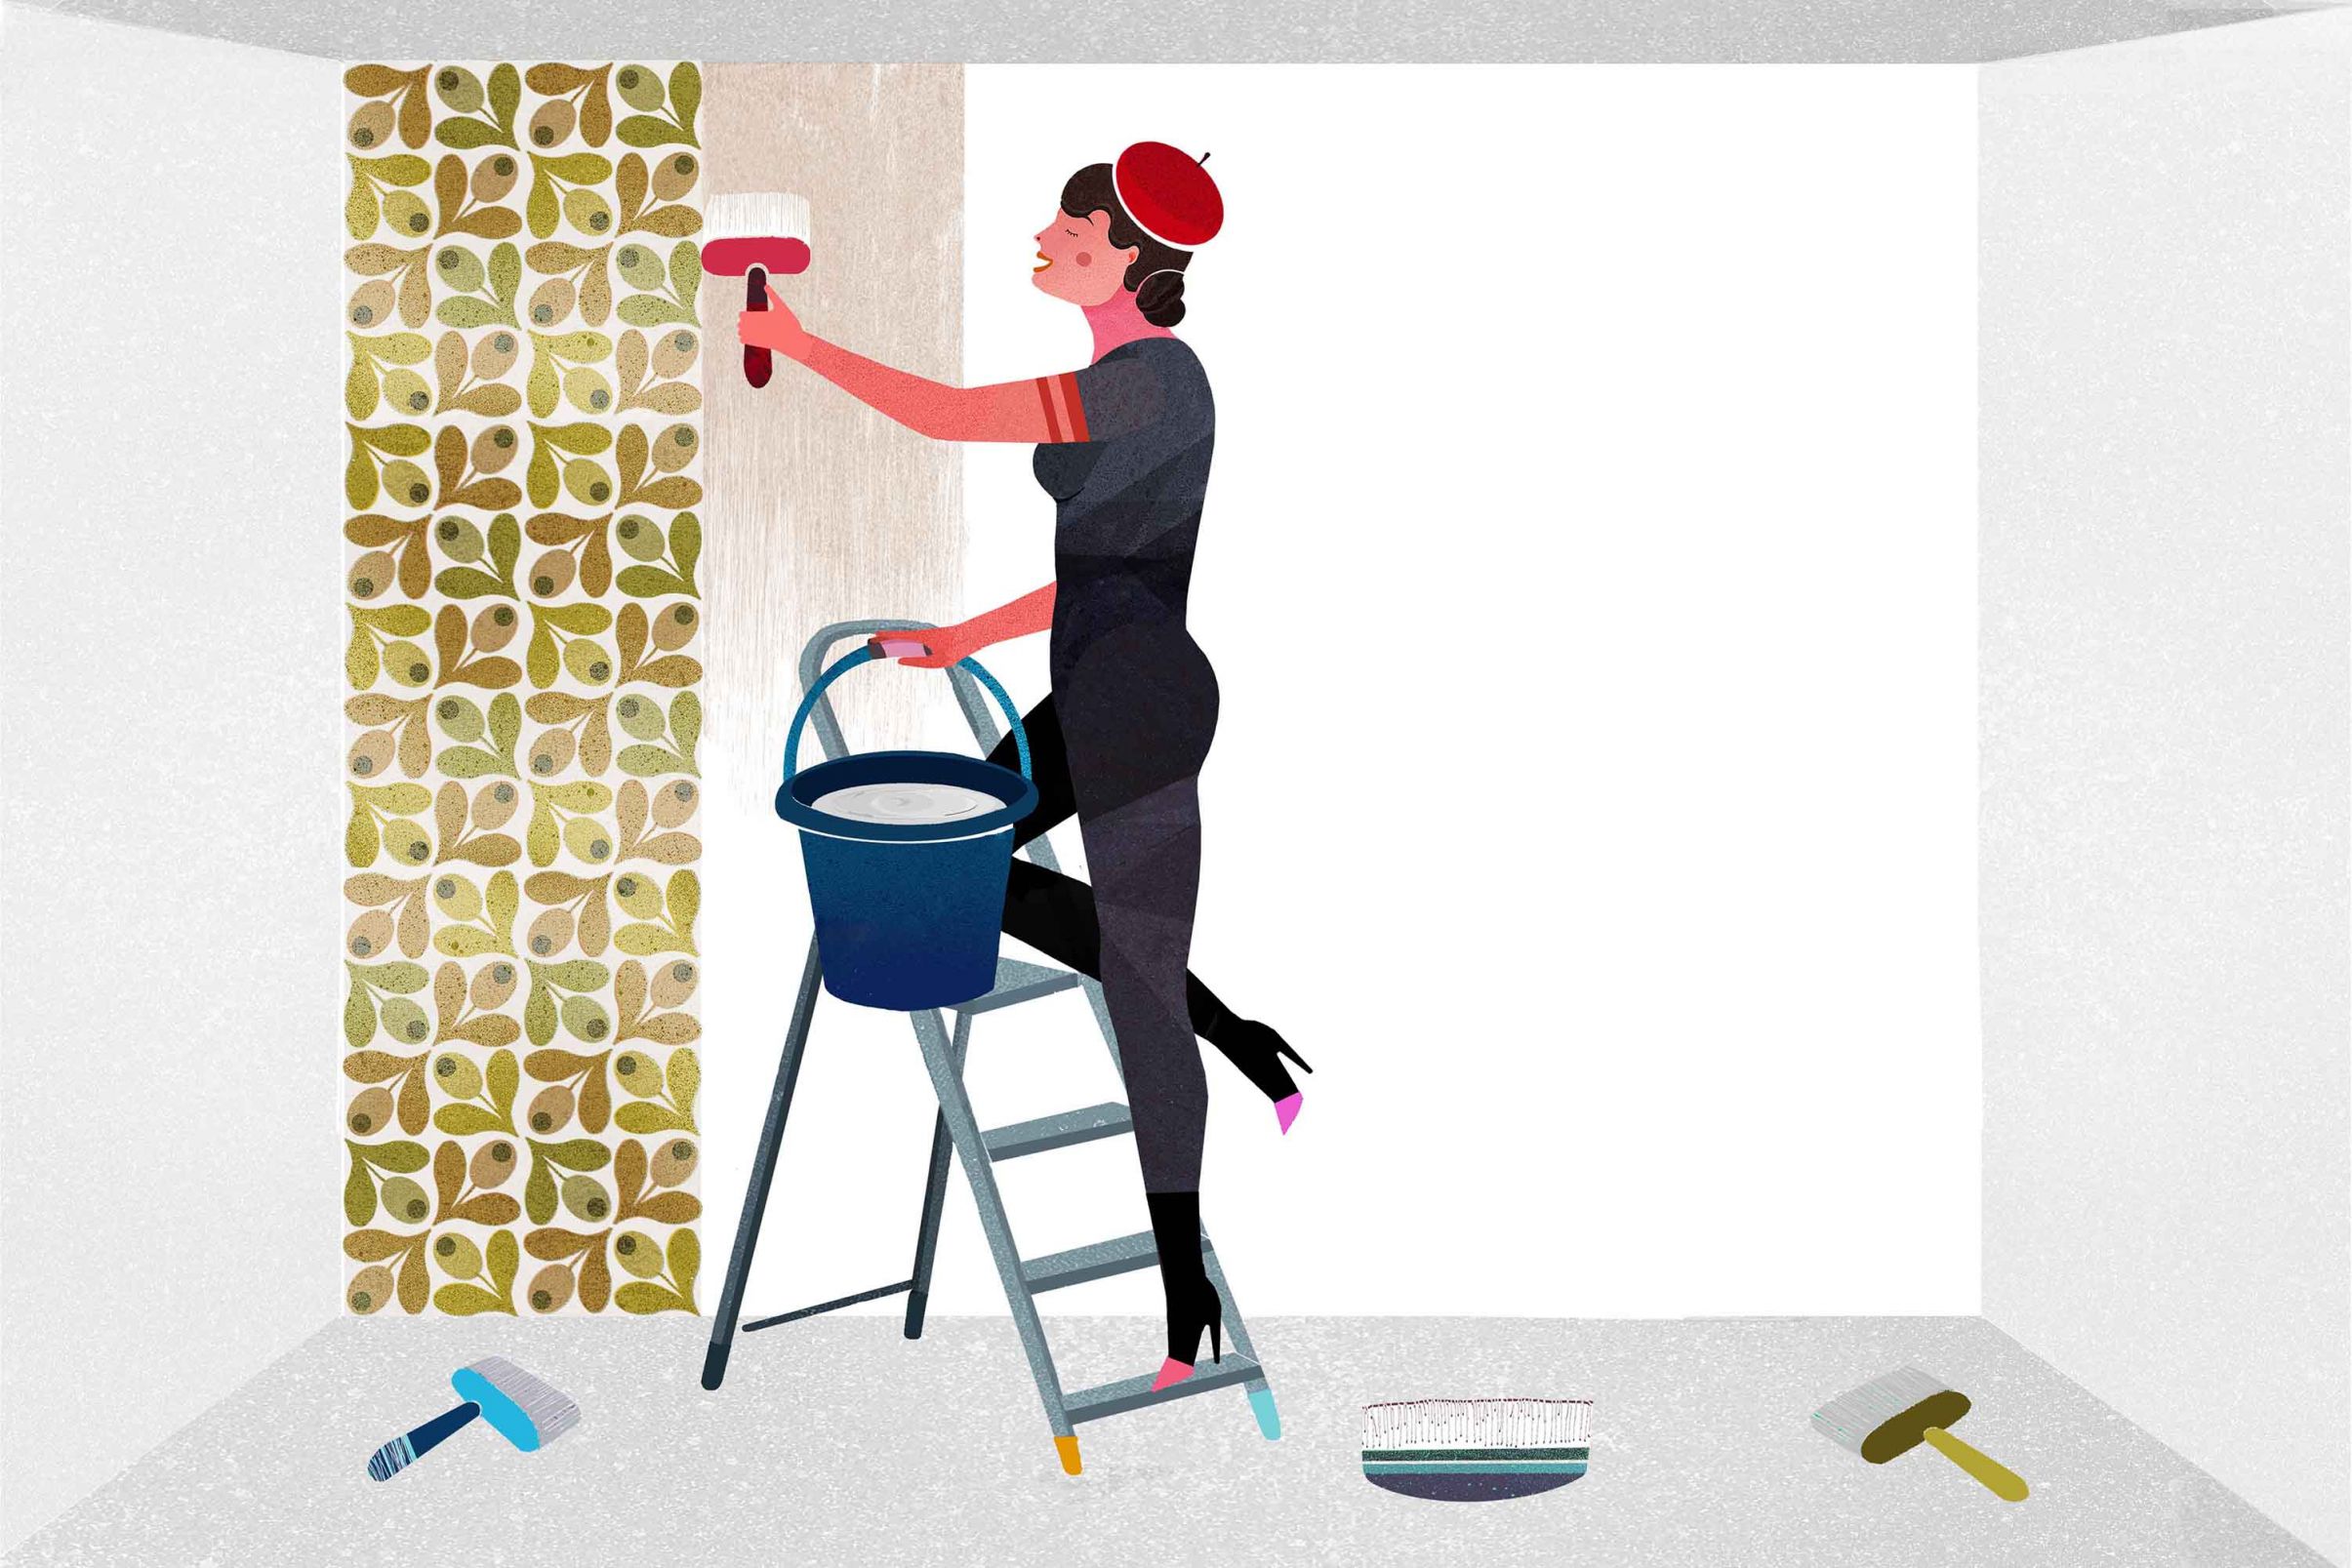
Start putting the paste on the wall for the first length of wallpaper. To avoid splashing, use a short pile roller to apply the paste. Alternatively, you can use a pasting brush. Just choose whatever is easiest and most effective for you.
Stir the paste once more and immerse your roll or brush in it. Make sure you don't "overload" it as otherwise it will drip. Use the marked vertical pencil line you drew along the plumb line as a guide and spread the paste slightly wider to make sure the edges of the wallpaper length will stick to the wall. Paste the walls and/or ceiling generously and evenly. Try to avoid paste lumps, i.e. areas where you have put on too much paste, as these will show through the wallpaper.
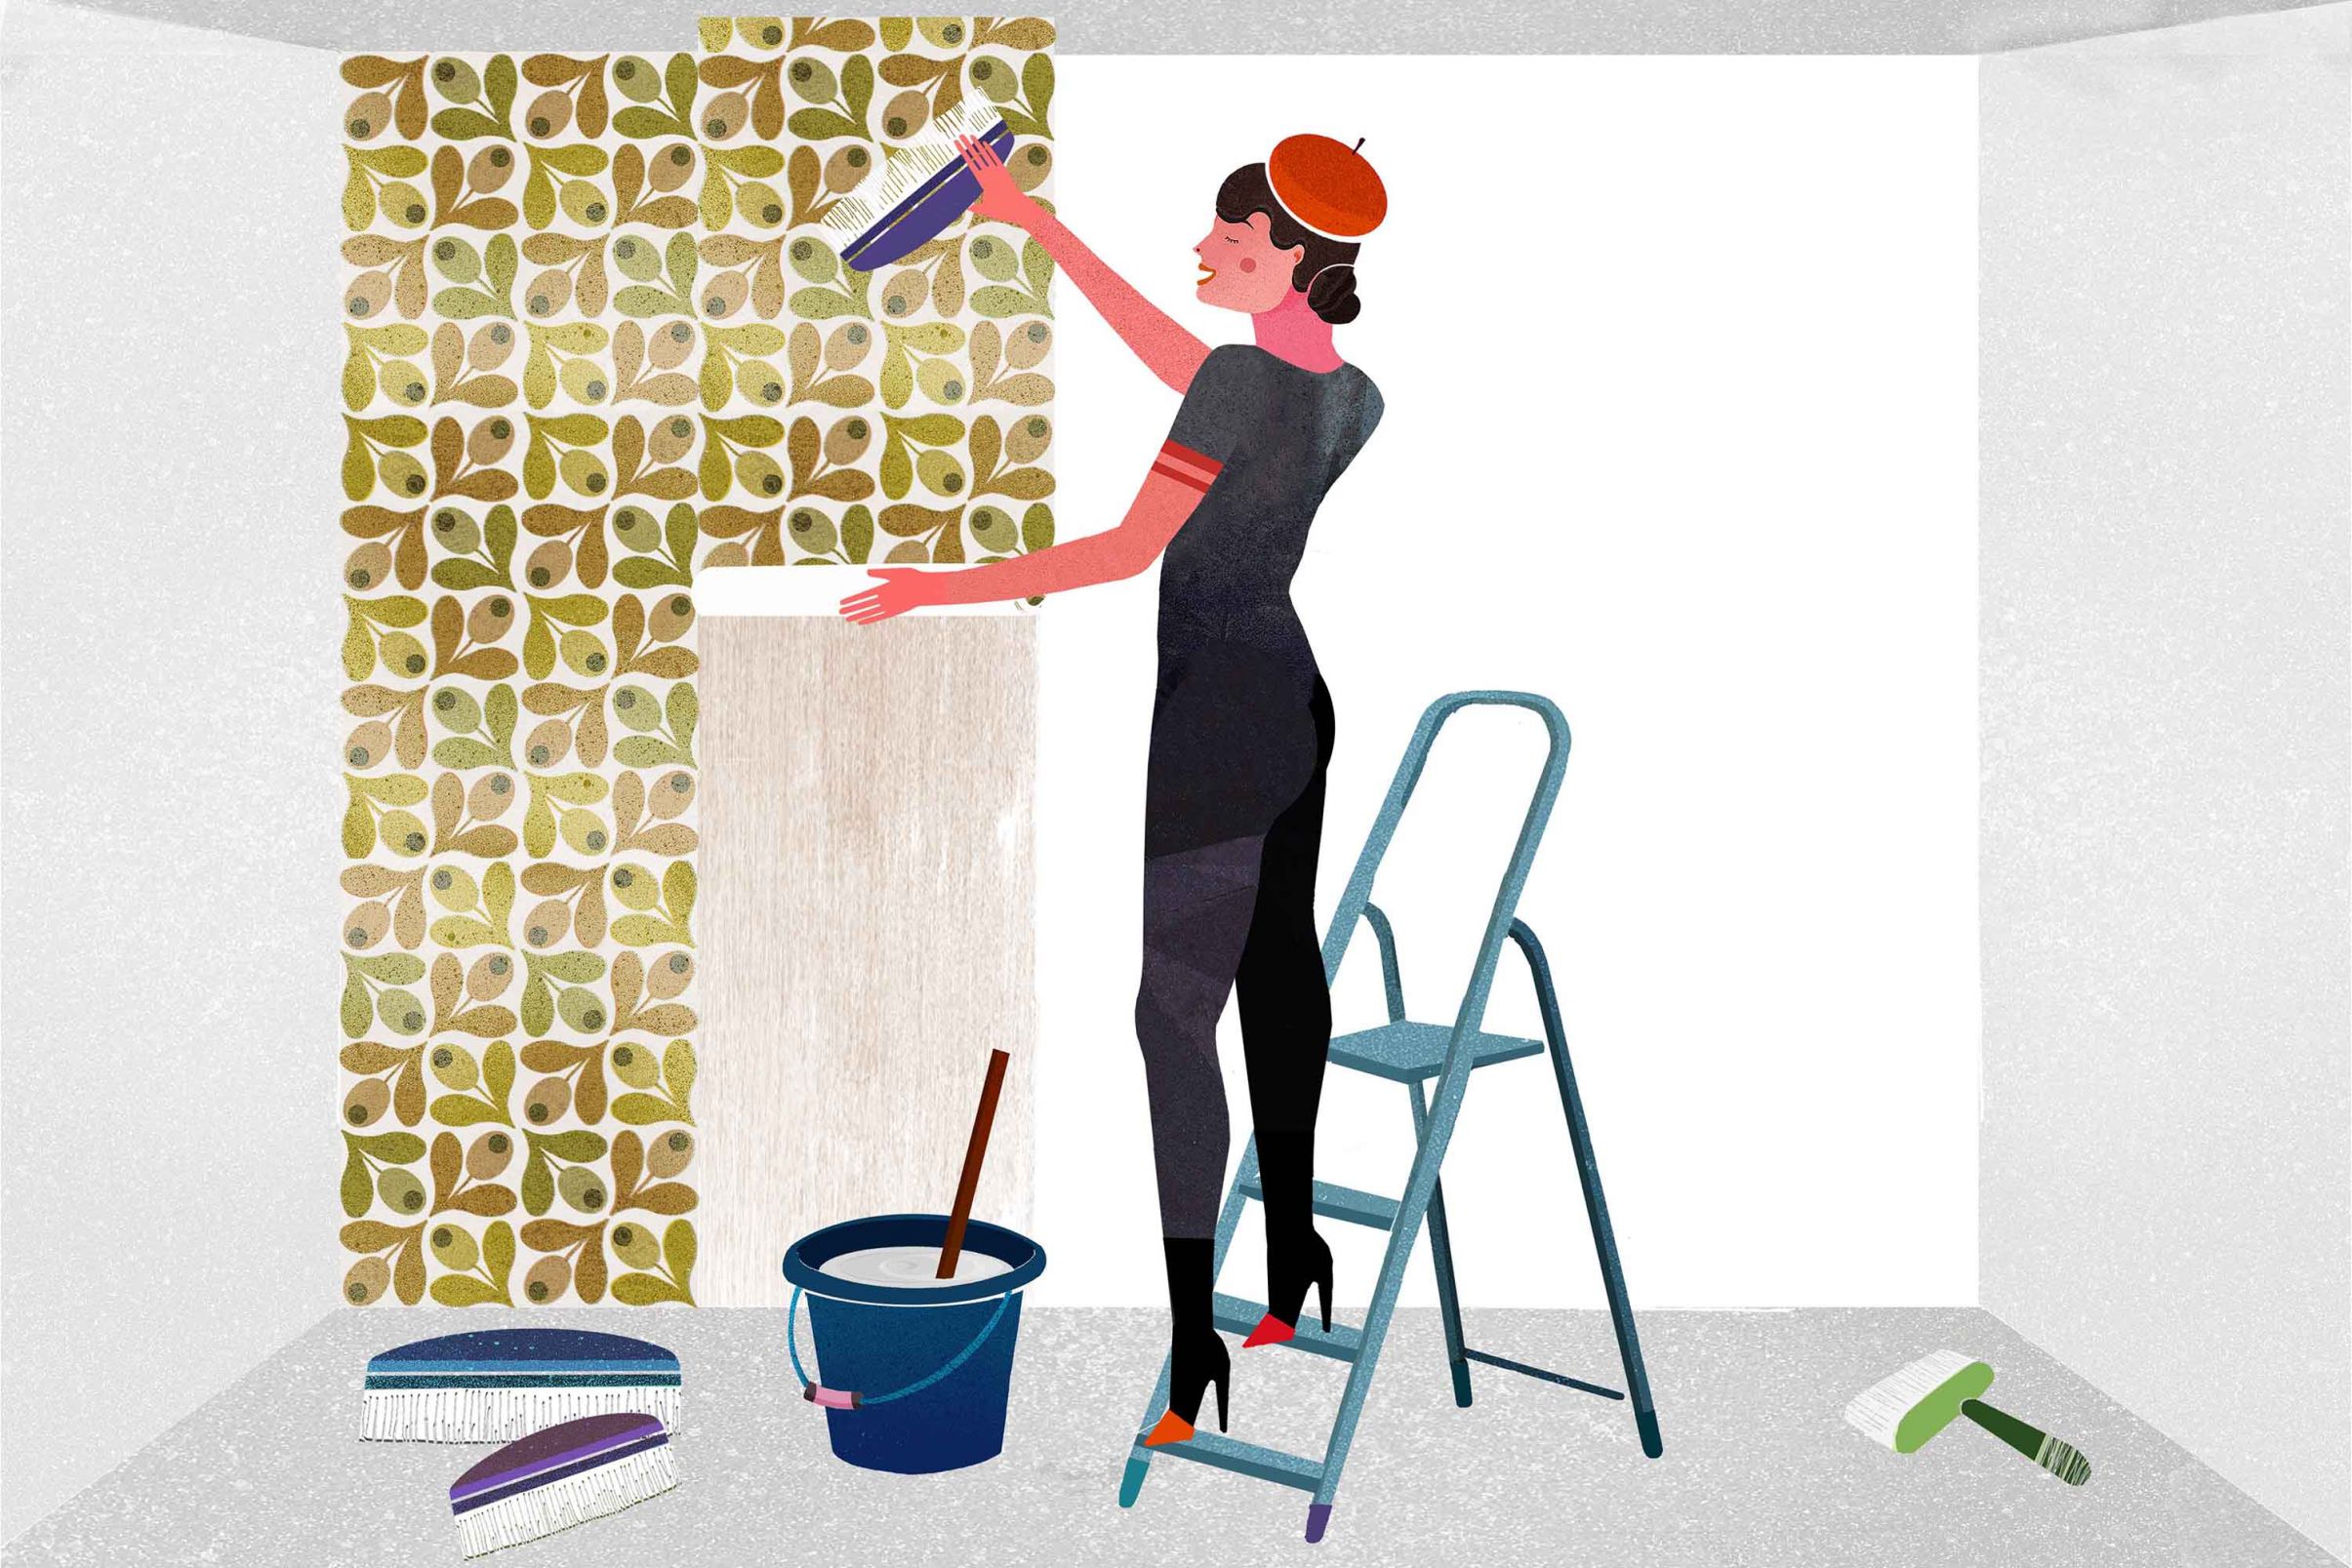
3 Hanging the wallpaper lengths on the wall
You can hang the lengths of wallpaper immediately after pasting the wall. Don't wait too long as the paste will dry and you will have to repeat the process.
- 1 Carefully drape the folded strip of wallpaper over your arm and climb up the ladder.
- 2 Align the length with the plumb line and don't forget to factor in the calculated overlap of 5 cm at the top of the wall.
- 3 Gently stick the length to the wall and roll the folded half down towards the bottom.
- 4 Now use a clean, dry wallpaper brush to smooth it out from the middle towards the sides.
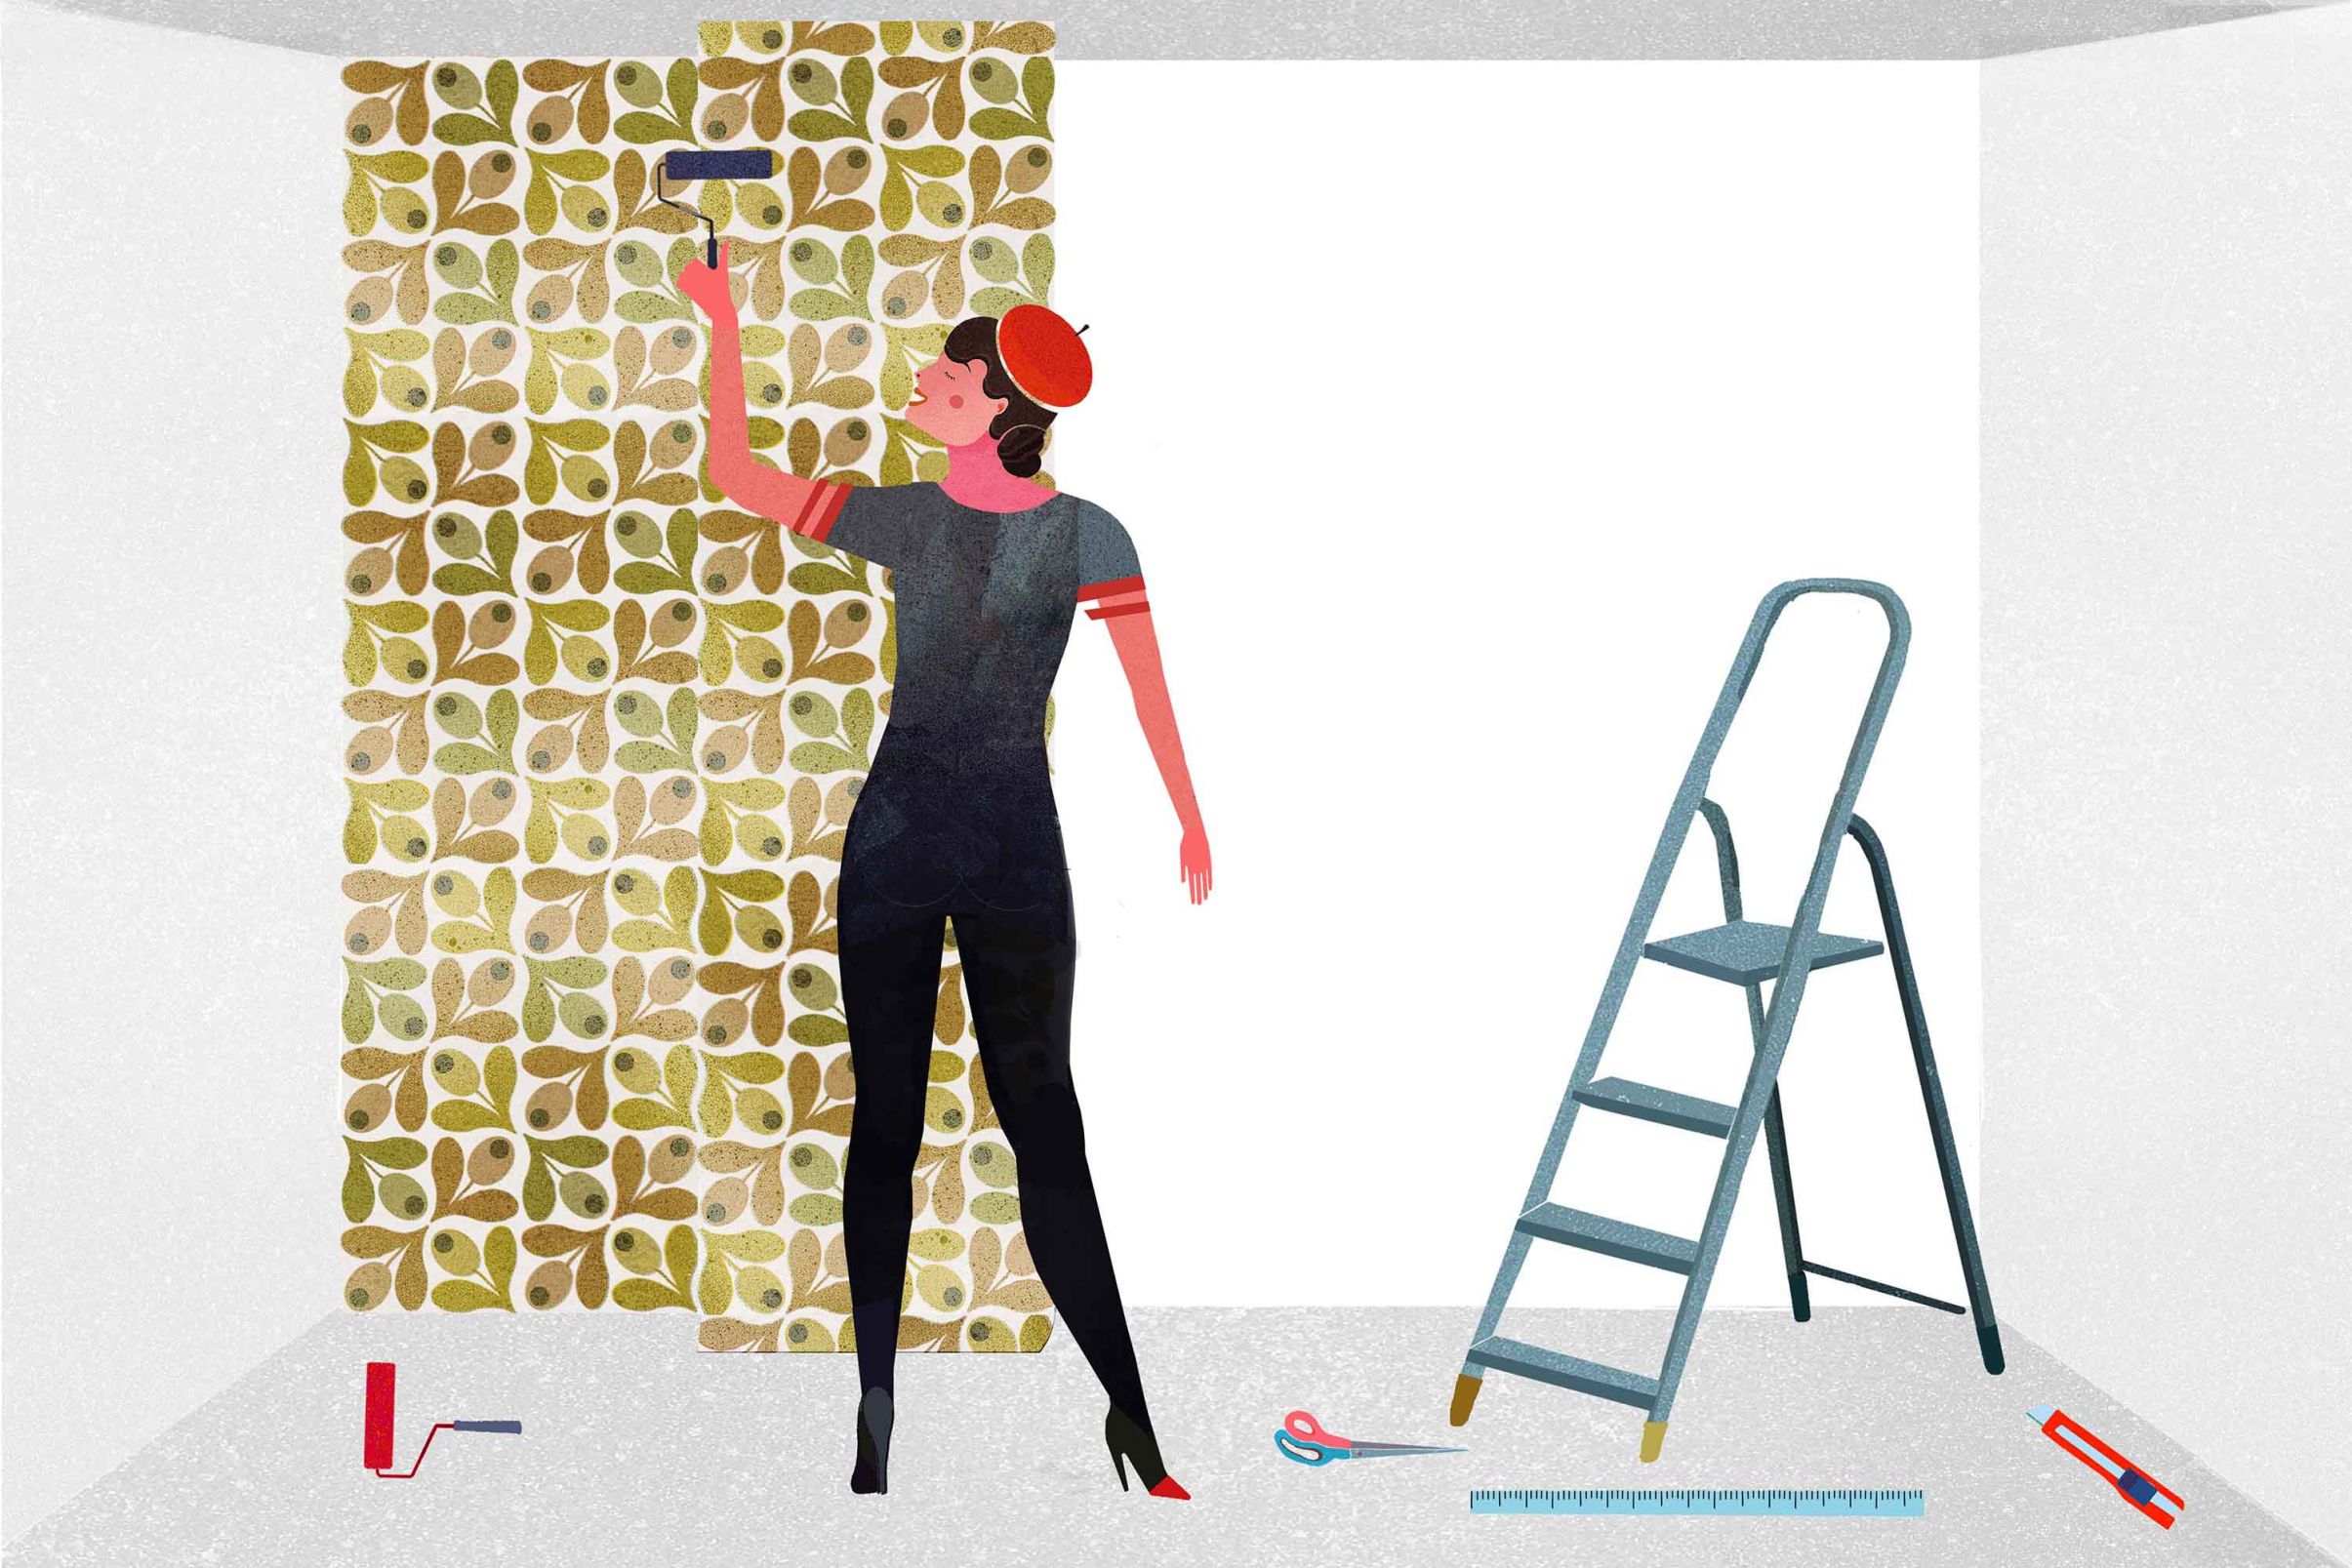
4 Press wallpaper on the wall, taking special care of the seams
Now comes the most important part of hanging non-woven wallpapers. The length of wallpaper is now smoothed out on the wall with a wallpaper roller. Please do this carefully and don't use too much force - you don't want the wallpaper to move or slide. Choose a wallpaper roller according to the surface of your wallpaper. You will find a choice of rollers made from rubber, sponge rubber or foamed material in every good DIY shop. If you are working with very delicate surfaces, choose a wallpaper roller with sponge rubber or foamed material.
Move it from the bottom up and from the middle to the outside edges to let air escape. This is also the reason why a wallpaper roller is more effective than a brush when it comes to hanging non-woven wallpapers, where the paste has been applied to the wall itself.
If necessary, you can then use a seam roller for the seams. Please be careful with delicate surfaces and only use a roller with sponge rubber or foamed material. Do not apply too much pressure, especially when working on the side edges, as the pattern can be distorted which will cause problems when applying the next length / adjusting the pattern to the last length.
If - as a result of applying too much pressure or a surplus of paste, some paste spills out, you need to remove it immediately. Use some kitchen roll to wipe off the surplus paste. Then wipe the area with a sponge cloth, followed by an absorbent dry cloth, until there is no trace of wallpaper paste. This process needs to be done with care: don't rub as this might damage the surface of the non-woven wallpaper.
When using the wallpaper and/or seam roller, make sure your tools do not get in contact with the surplus paste. If this happens, it will have annoying consequences: You will have to clean your tools, which - depending on the material (e.g. foam material) - might be a tricky and lengthy process. If you neglect to clean your tools, you are likely to spread the paste on the surface of the wallpaper with your roller(s).
Tip
When using foam rollers, make sure your have 2 or three additional rollers so you can use one of them if necessary.
If the edges of the wallpaper do not stick to the wall properly, you need some more wallpaper paste in those areas. Use a fine brush to carefully add some paste under the edge.
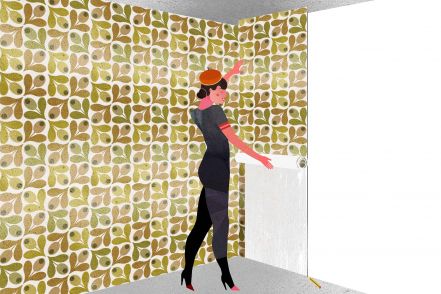
Always take your time when hanging the first length as this determine the overall outcome of the project. Any mistakes introduced when hanging the first length will have a detrimental effect to the entire wall and lead to further problems. This is why it is so important to get the marker line right: The first line is the blueprint for all the following lengths (but don't forget to use the plumb bob and line from time to time during the project, just to be sure).
When all lengths have been hung on the wall, they need time to dry. Don't try and speed things up by overheating the room, opening the windows to create a draft, or using a hair-dryer.
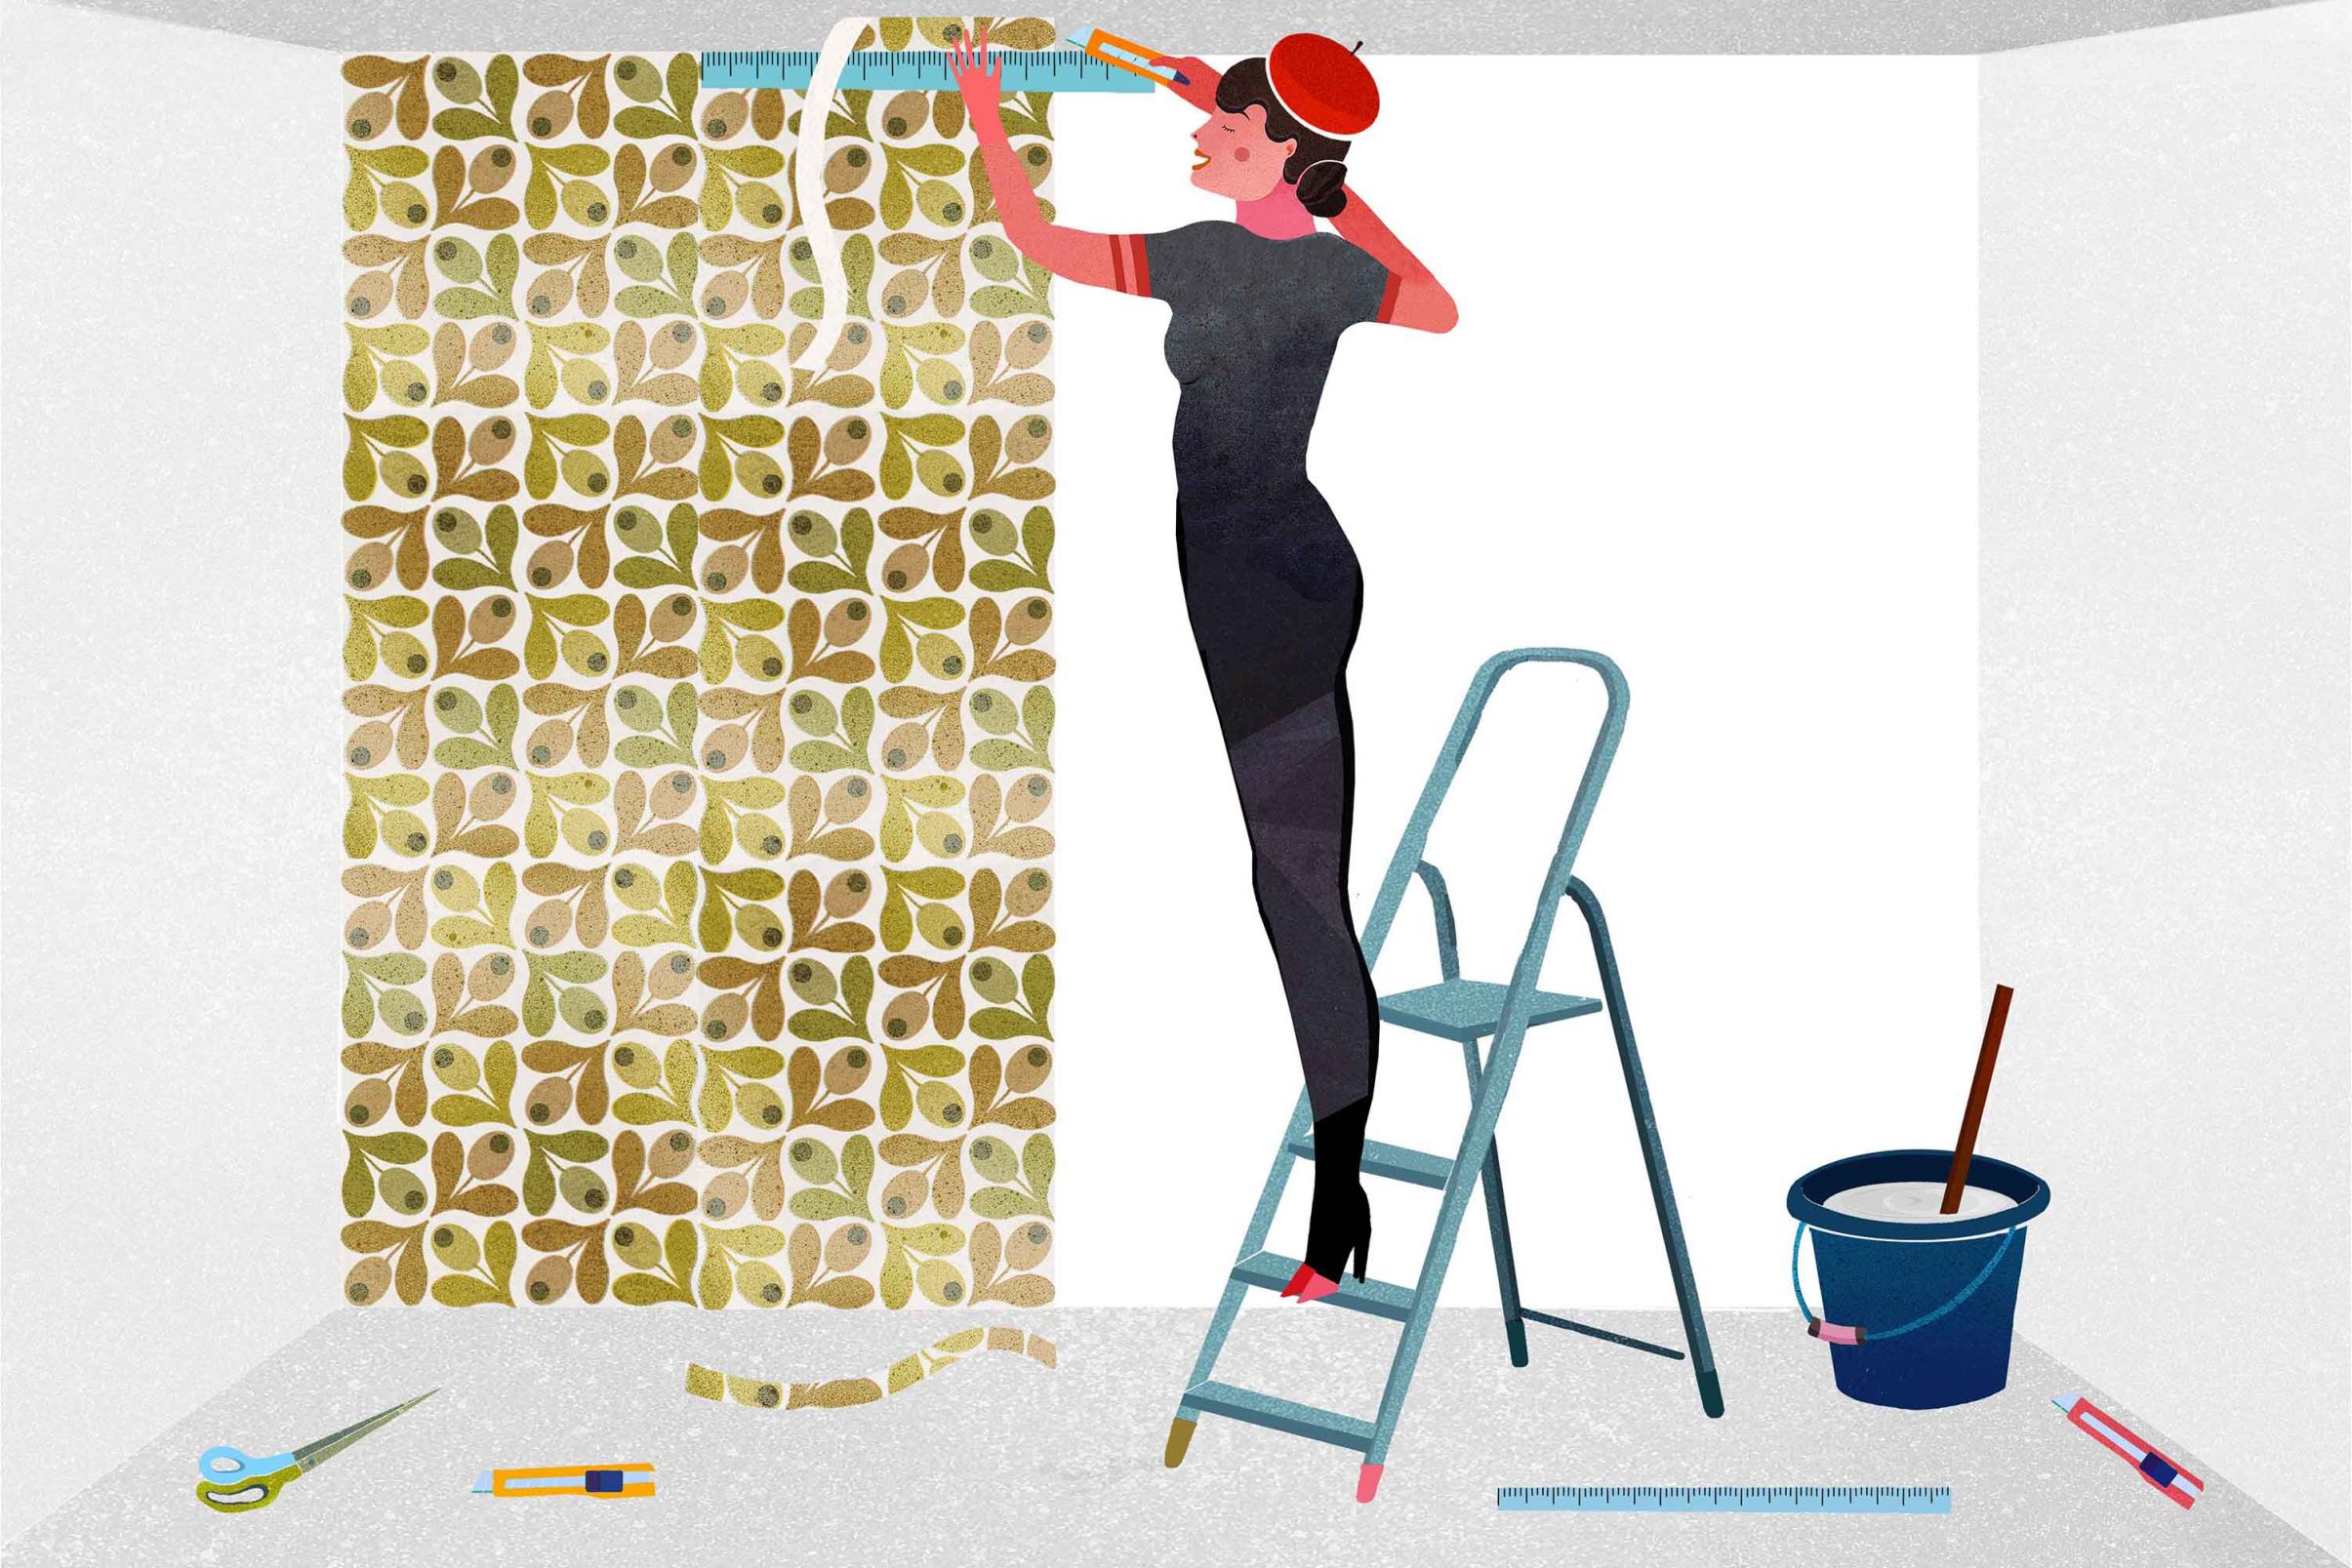
5 Cut off Overlaps
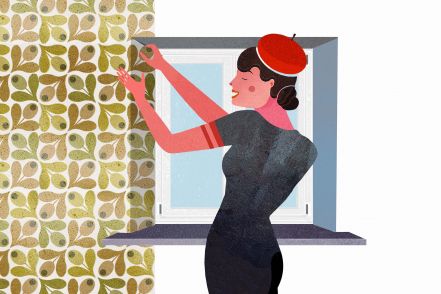
The first length of wallpaper has been hung. Now all you need to do is trim the excess and you can step back and admire your work! Cut off the overlaps at the top and bottom. If you have removed the skirting boards, this process is obviously easier. Wherever possible, this is a useful thing to do as it will make it much easier to make the bottom end look perfect.
There are two ways to achieve the perfect cut, depending on your preferences and the characteristics of the wallpaper:
- 1 Use a ruler, spatula or wallpaper cutting guide to press the upper and lower edges down and then carefully trim the overlapping paper with a cutter knife. You need sharp tools to avoid ripping the wallpaper.
- 2 Press the top and bottom end of the wallpaper down again with your ruler, wallpaper cutting guide or spatula. You can also use the back of the wallpaper cutting guide to achieve this. Now gently pull the wallpaper overlap away to cut along the visible fold crease with your scissors. You need a steady hand to cut the paper in a straight line. Now press the wallpaper back into place and use your roller to smooth it out. This should be done whilst the wallpaper can still be pulled off the wall without problems.

