How to wallpaper the ceiling

1 Measure and mark the first length
When wallpapering a room, the ceiling is always done first. As a general rule, wallpapering on the ceiling is done length-wise (longitudinal) and away from the window (i.e. the direction of the light) as otherwise unsightly shadows could be created. If, for whatever reason, you do decide to put the wallpaper up laterally, you should still follow the steps below.
General:
Working "overhead" isn't an easy process, even for pros. You can make it easier for yourself by choosing the rung on the ladder that leaves you with at least 10 cm distance between your head and the ceiling. This also relieves the pressure on your neck muscles.
Make sure that the ladder is placed on a non-slip surface so it doesn't move whilst you are working. Only use absolutely undamaged and stable ladders!
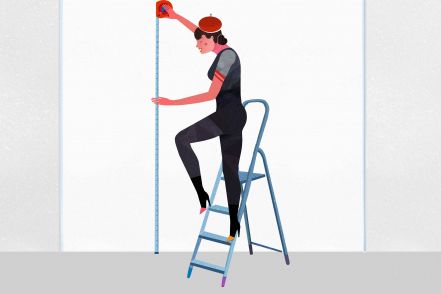
On your trestle table,measure the first strip of wallpaper according to the length of the ceiling, adding 5 cm at both ends. In order to avoid unwanted surprises, you need to mark the ceiling with a straight line to start with. The measurement for this marker line should be the width of the wallpaper minus 2 - 3 cm (as the wallpaper measurement includes the usual overlap). Use your folding yardstick to measure about 50 cm at various points of the ceiling (lengthwise) and mark those points. Use a water level to connect the dots on the ceiling in a straight, continuous line.
Alternatively, you can use a chalk line. This is a piece of string covered in (usually red) chalk powder which leaves an accurate straight line on the ceiling. All you need to do is mark a point at each side of the ceiling (50 cm from the end). Attach the string to thin nails at the marked points. Then pull it down in the middle and let it go. Where the string touches the ceiling as it "pings", it creates a perfect line across the entire ceiling.
Tip
When hanging non-woven wallpaper, you put the paste directly on the wall, not the back of the paper. This means that the chalk line can be smudged and rendered unusable. If you decide to paste the ceiling to increase adhesion, use a pencil to create the line as this won't smudge as easily. This means that it's best to use the water level to mark the first line for this type of wallpaper.
2 Pasting the ceiling
First, mix the paste. You will find detailed descriptions for this task in our instruction articles How to hang paper-based wallpaper and How to hang non-woven wallpaper. We recommend to mix a slightly thicker paste for ceilings, i.e. reduce the water content by a small amount.
Depending on the type of wallpaper used, follow these steps:
Paper-based wallpaper
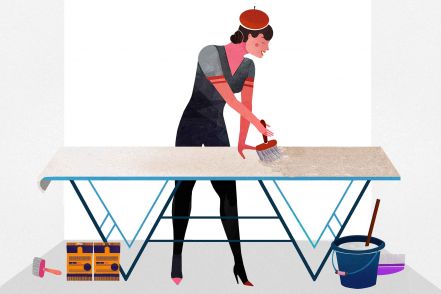
Lay the cut length of wallpaper "face down" on the trestle table. When pasting, remember that the length will be folded at the ratio of 1:3, i.e. 2/3 of the length at one end and 1/3 at the other. Divide the length by three and calculate where to fold it. You can put marker points on the table or the wallpaper to make folding easier. Apply the paste evenly and generously with the pasting brush. Move from the middle to the sides, taking special care of the edges. Now fold the length accurately, avoiding overlaps. Consult the paste manufacturer's instructions to find out how long the paste needs to soak into the paper.
Before you hang the wallpaper, you might want to also paste the ceiling to increase the adhesive strength. (Remember that this will smudge your chalk line, so it's best to use a pencil line for this approach.) You can apply the paste during the soaking time (usually about 5 - 10 minutes). Be sure to stick to the same soaking time for each length - it is of significant importance for the end result.
Cover your radiators to protect them from paste blotches and close the windows before you start pasting. Make sure the electricity is off (take out the fuse!) and remove light fittings with bulbs so you can cut out the relevant area for the fitting more easily later on.
Non-woven wallpapers
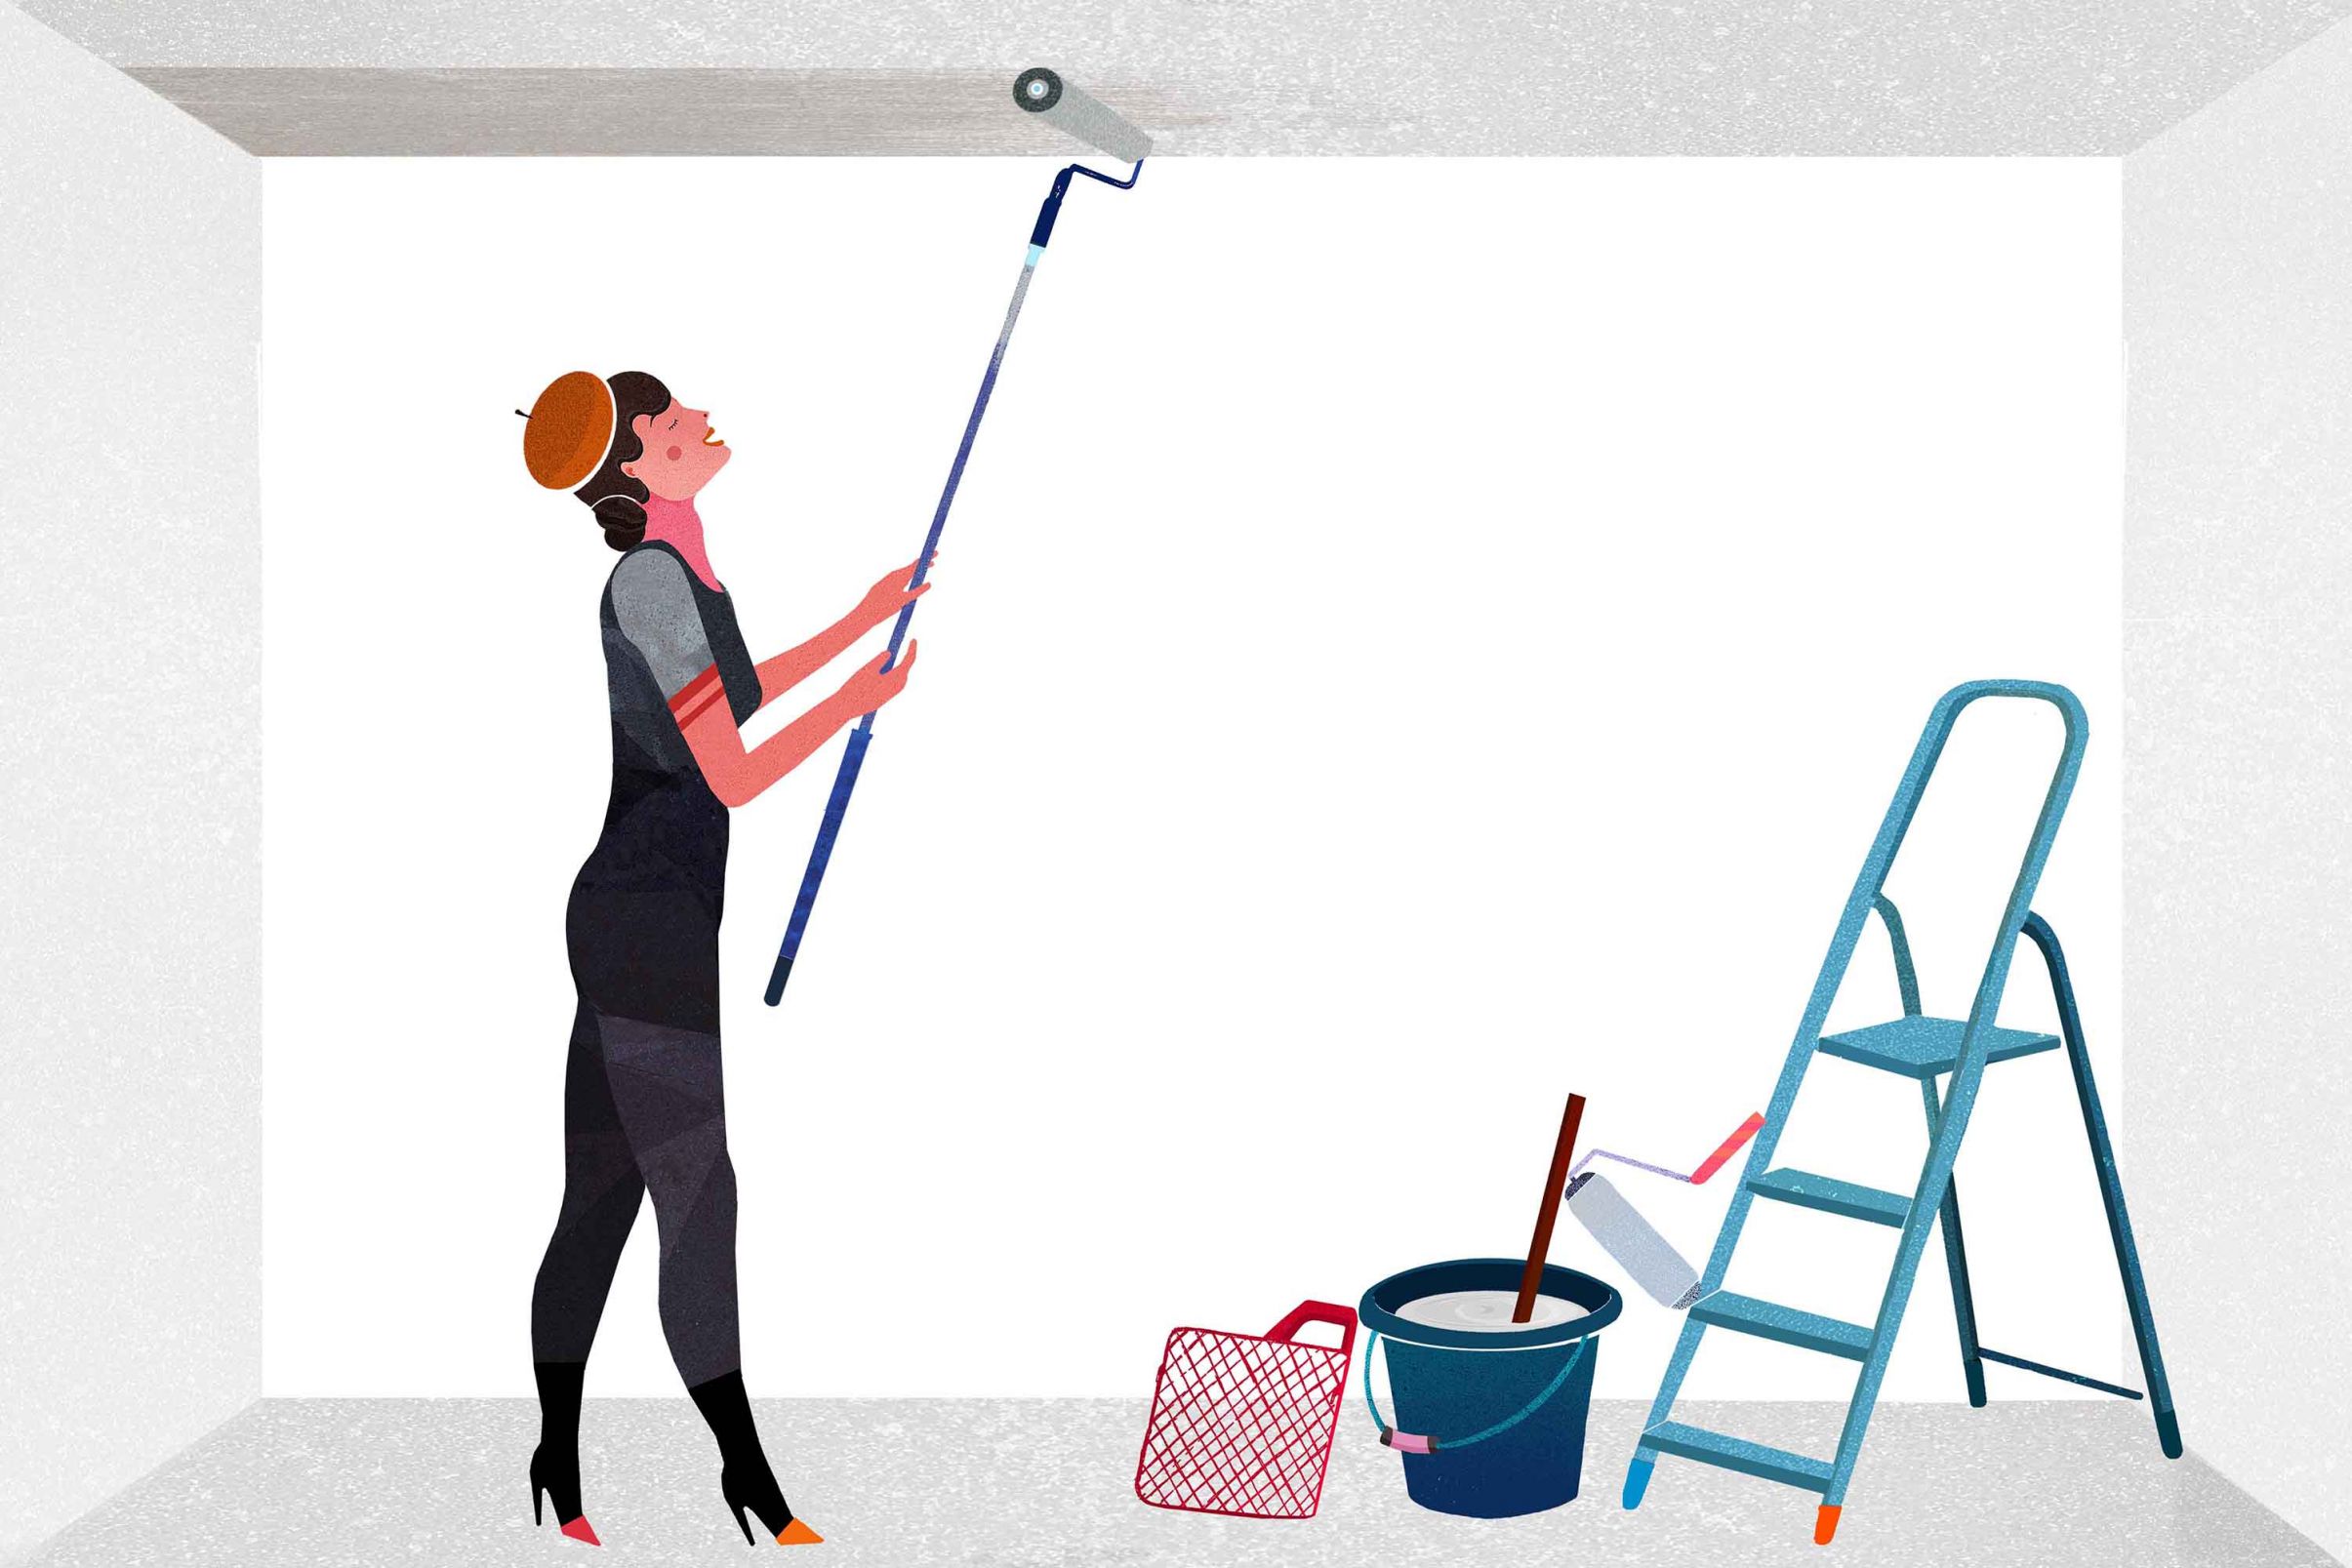
For this type of wallpaper, you only need to paste the ceiling. Make sure you apply the paste evenly and generously, but not too much (it will drip!). Use a short pile roller attached to a telescopic handle. For the first length, start at the moulding of the ceiling and use your roller to spread the paste to the marked line. Move slightly over the line to ensure the edges of the length will stick properly. There are no waiting times for this method. You can go straight on to the next step.
3 Hang the wallpaper
After the paper-based wallpaper has soaked for the recommended time/you have pasted the ceiling, you can hang the first length of wallpaper. Don't worry, it's nowhere near as bad as you might fear! And once you've finished the process, you will be proud of your achievement!
Once again, the individual steps depend on the type of wallpaper you are working with.
Paper-based wallpaper:
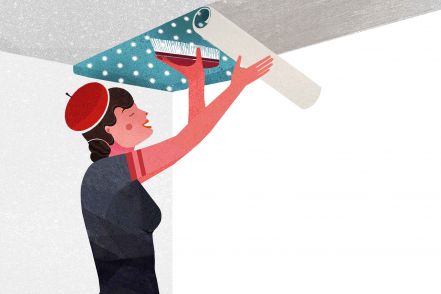
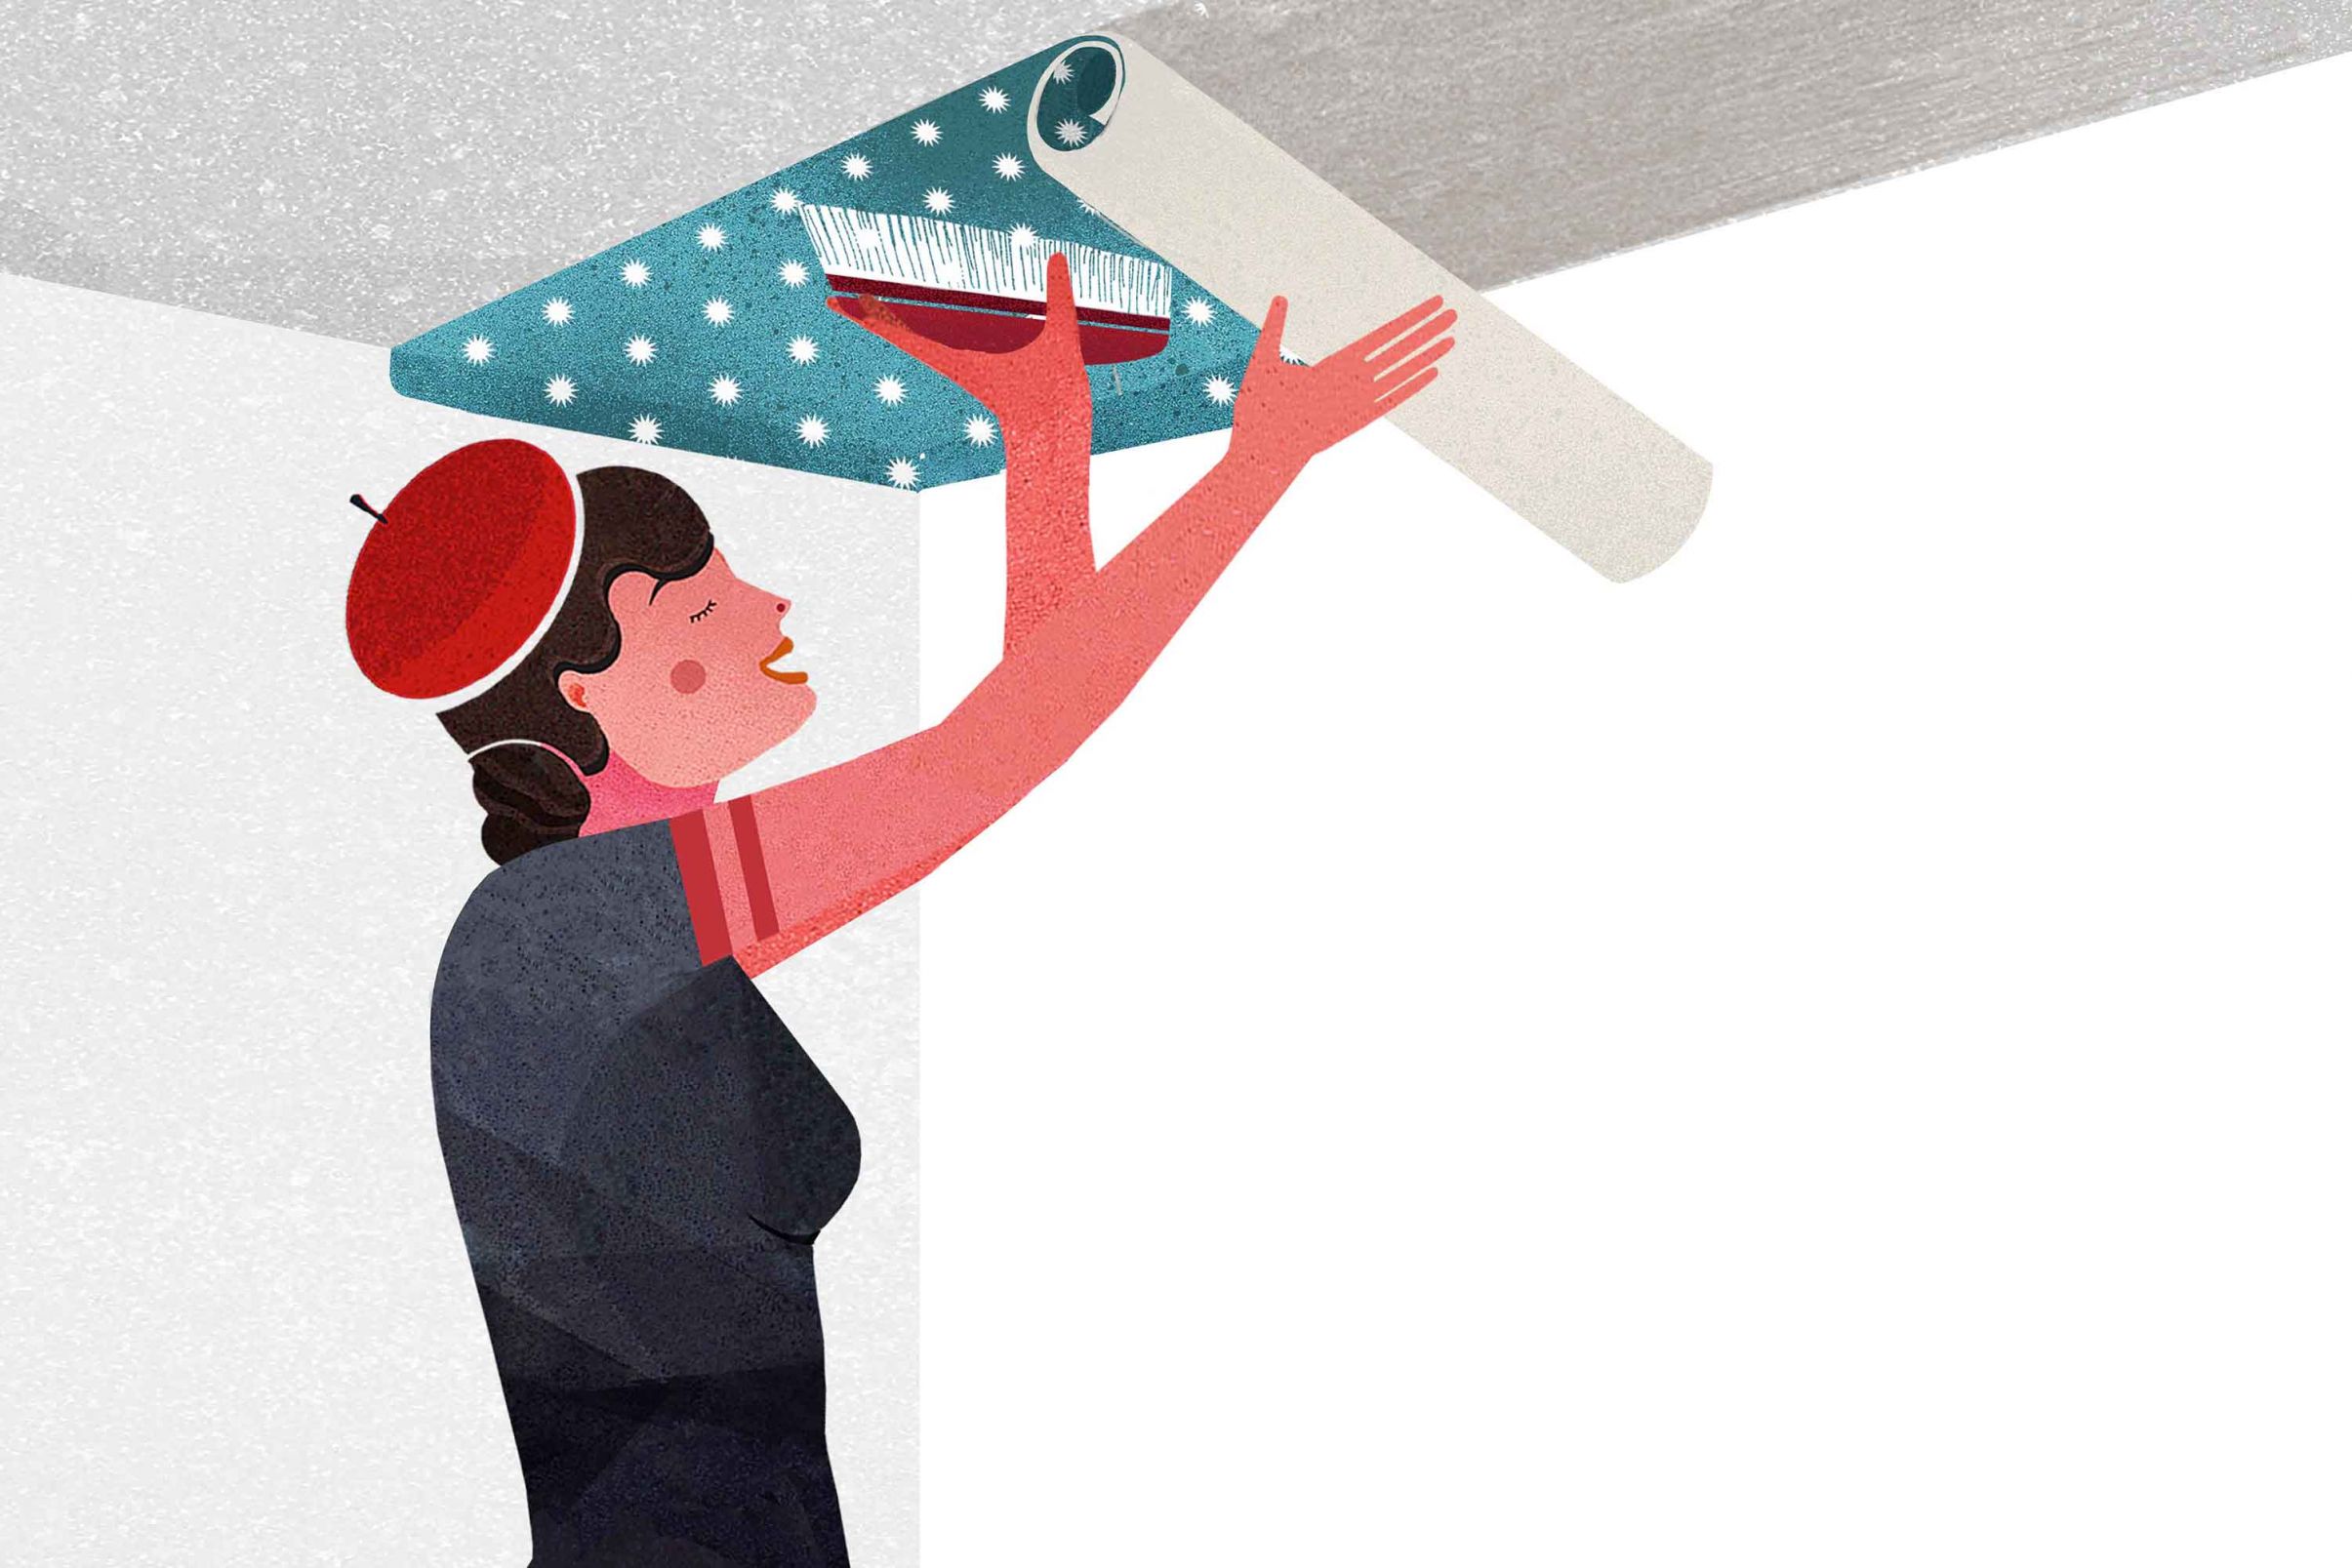
Pick up the soaked wallpaper at the shorter folded side and carefully climb up the ladder. You need some assistance here: another person will have to use a clean broom to hold the paper lightly in place so you can work more easily. Unfold the shorter side, align it with the marked line and press the length with the overlaps onto the ceiling towards the sides of the wall. Continue bit by bit. Unfold only as much of the paper as you can easily work with without contorting your body too much. Always keep an eye on the marker line. Meanwhile, your helper holds the folded part of the length in place with the broom.
Once the length is straight and in place, use your wallpapering brush to smooth out the paper from the middle to the sides - this will also force any air out and evenly spread the paste. Use a seam roller to smooth over the edges. Make sure you use the correct type for the wallpaper. For structured or Anaglypta paper, use a seam roller with foamed material. Remove any paste spillage immediately with a damp cloth. Find more information about hanging paper-based wall décor under: How to hang paper-based wallpaper.
Tips
Be patient and very precise and thorough when hanging the first length of wallpaper as it is the foundation for all remaining lengths, and as such determines the outcome of the rest of the project.
Let the lengths dry at a room temperature of about 18 - 20 Celsius. Avoid drafts and over-heating and resist the temptation to use hair dryers or fan heaters.
Non-woven wallpapers:
Carefully drape the rolled up length over your arms and take it up the ladder. Align it with the marked line and slowly roll it out, factoring in the overlaps for the wall sides. Lightly press it on the ceiling with your brush, and remove any air bubbles, moving from the middle to the sides. Once the length is in place, use the seam roller for the more delicate areas (edges). More details under: How to hang non-woven wallpaper.

4 Cut off Overlaps
Just two more steps and you've finished the first length! To cut the overlaps on both the top and bottom and the sides, use a cutter knife, wallpaper cutting guide, a long ruler or a wide spatula, as cutting the whole length on the ceiling with scissors would be too tricky. The wallpaper should neither be too damp nor too dry.
Put the cutting guide, spatula or ruler to the corners and press the wallpaper on the wall once more. Then use your cutter knife to cut the paper carefully and as straight as possible. You need a steady hand, especially when tackling the intersection between two walls, so that the paper doesn't rip.
5 Cut a hole for the lamp fitting
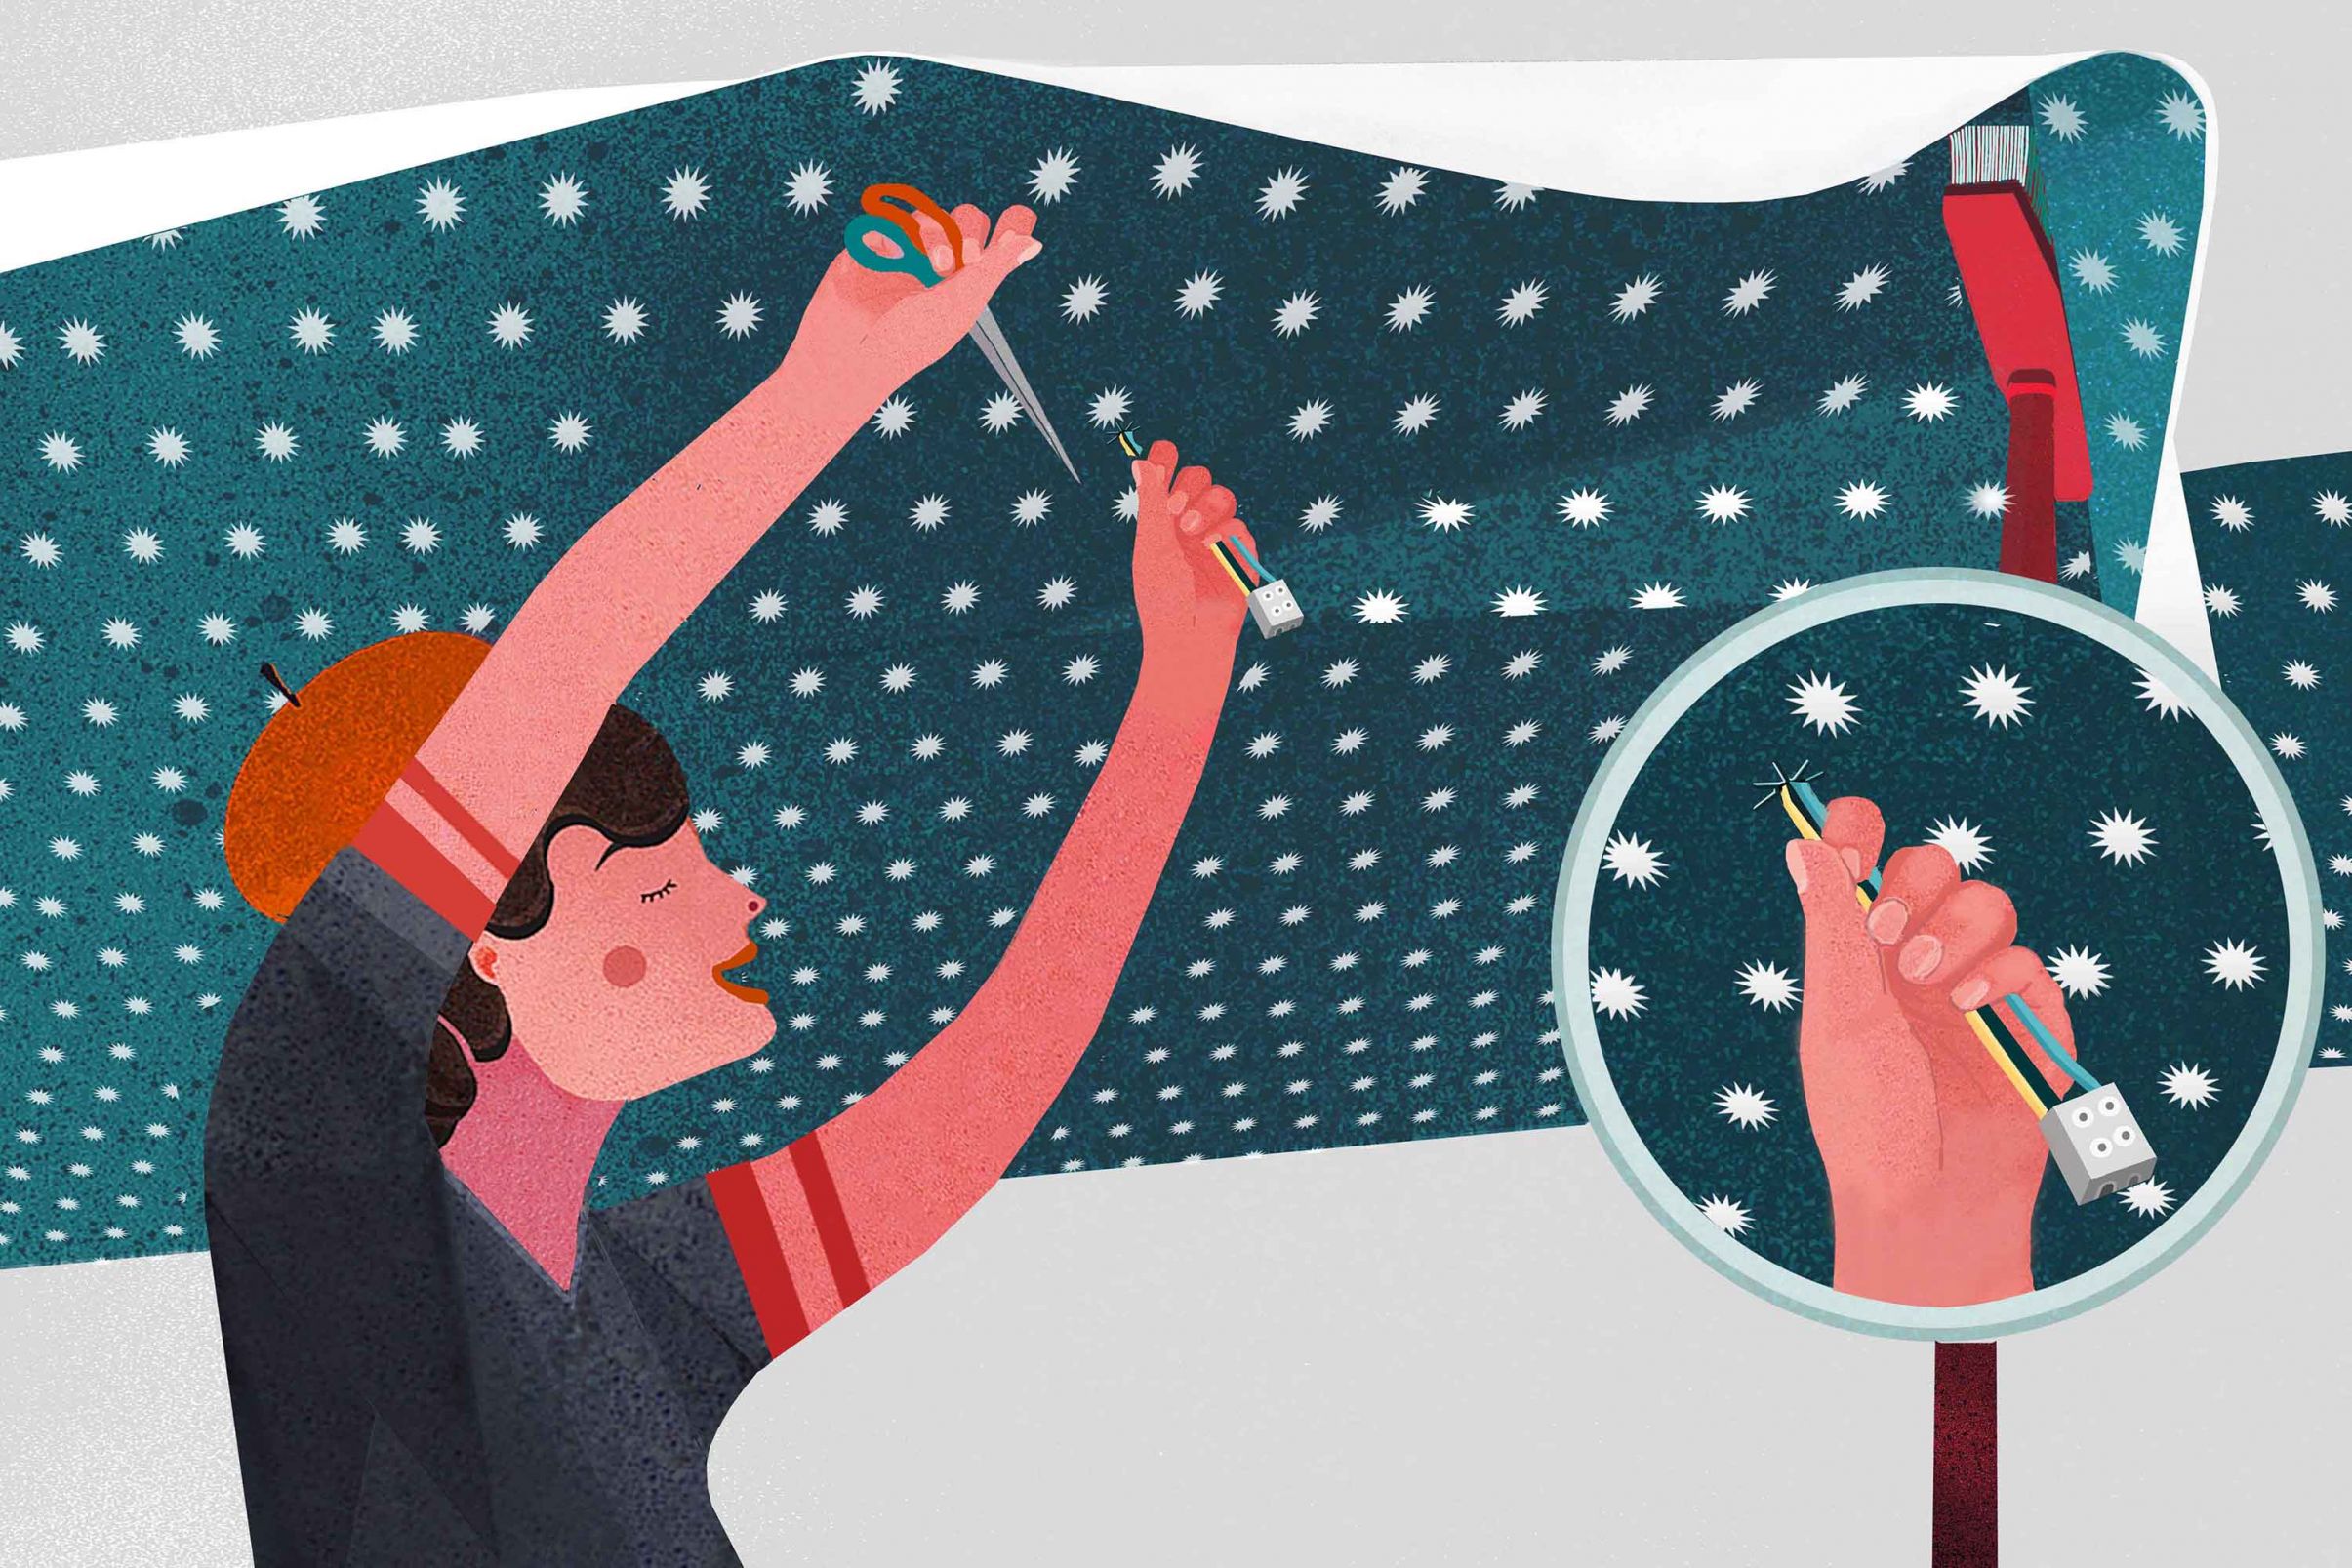
There is usually a fitting for a lamp on the ceiling. Before wallpapering/pasting the ceiling, you would have removed the lamp fitting. You can now see a small hole in the ceiling, with the cables for the light emerging from it.
You need to factor this in when putting the wallpaper up, by cutting a hole into the length as accurately as possible.
- 1 Hang the length (see step 3) and lightly brush it over the light fitting area. You can feel the cable and the hole in the ceiling through the wallpaper.
- 2 Use sharp pointy scissors to cut the wallpaper in a radial lines around the cable, so that you can pull it out. The cuts should be around 1 - 2 cm.
- 3 Now press the paper on and then use your seam roller to carefully brush the paper into place.
- 4 Ideally, the radial cuts will not be visible once the wallpaper has dried.

