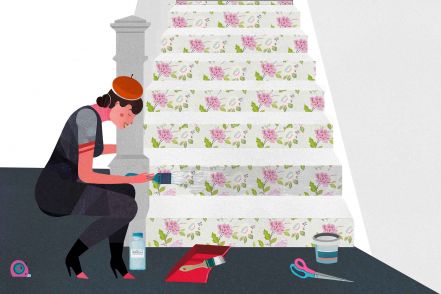
How to prepare for wallpapering
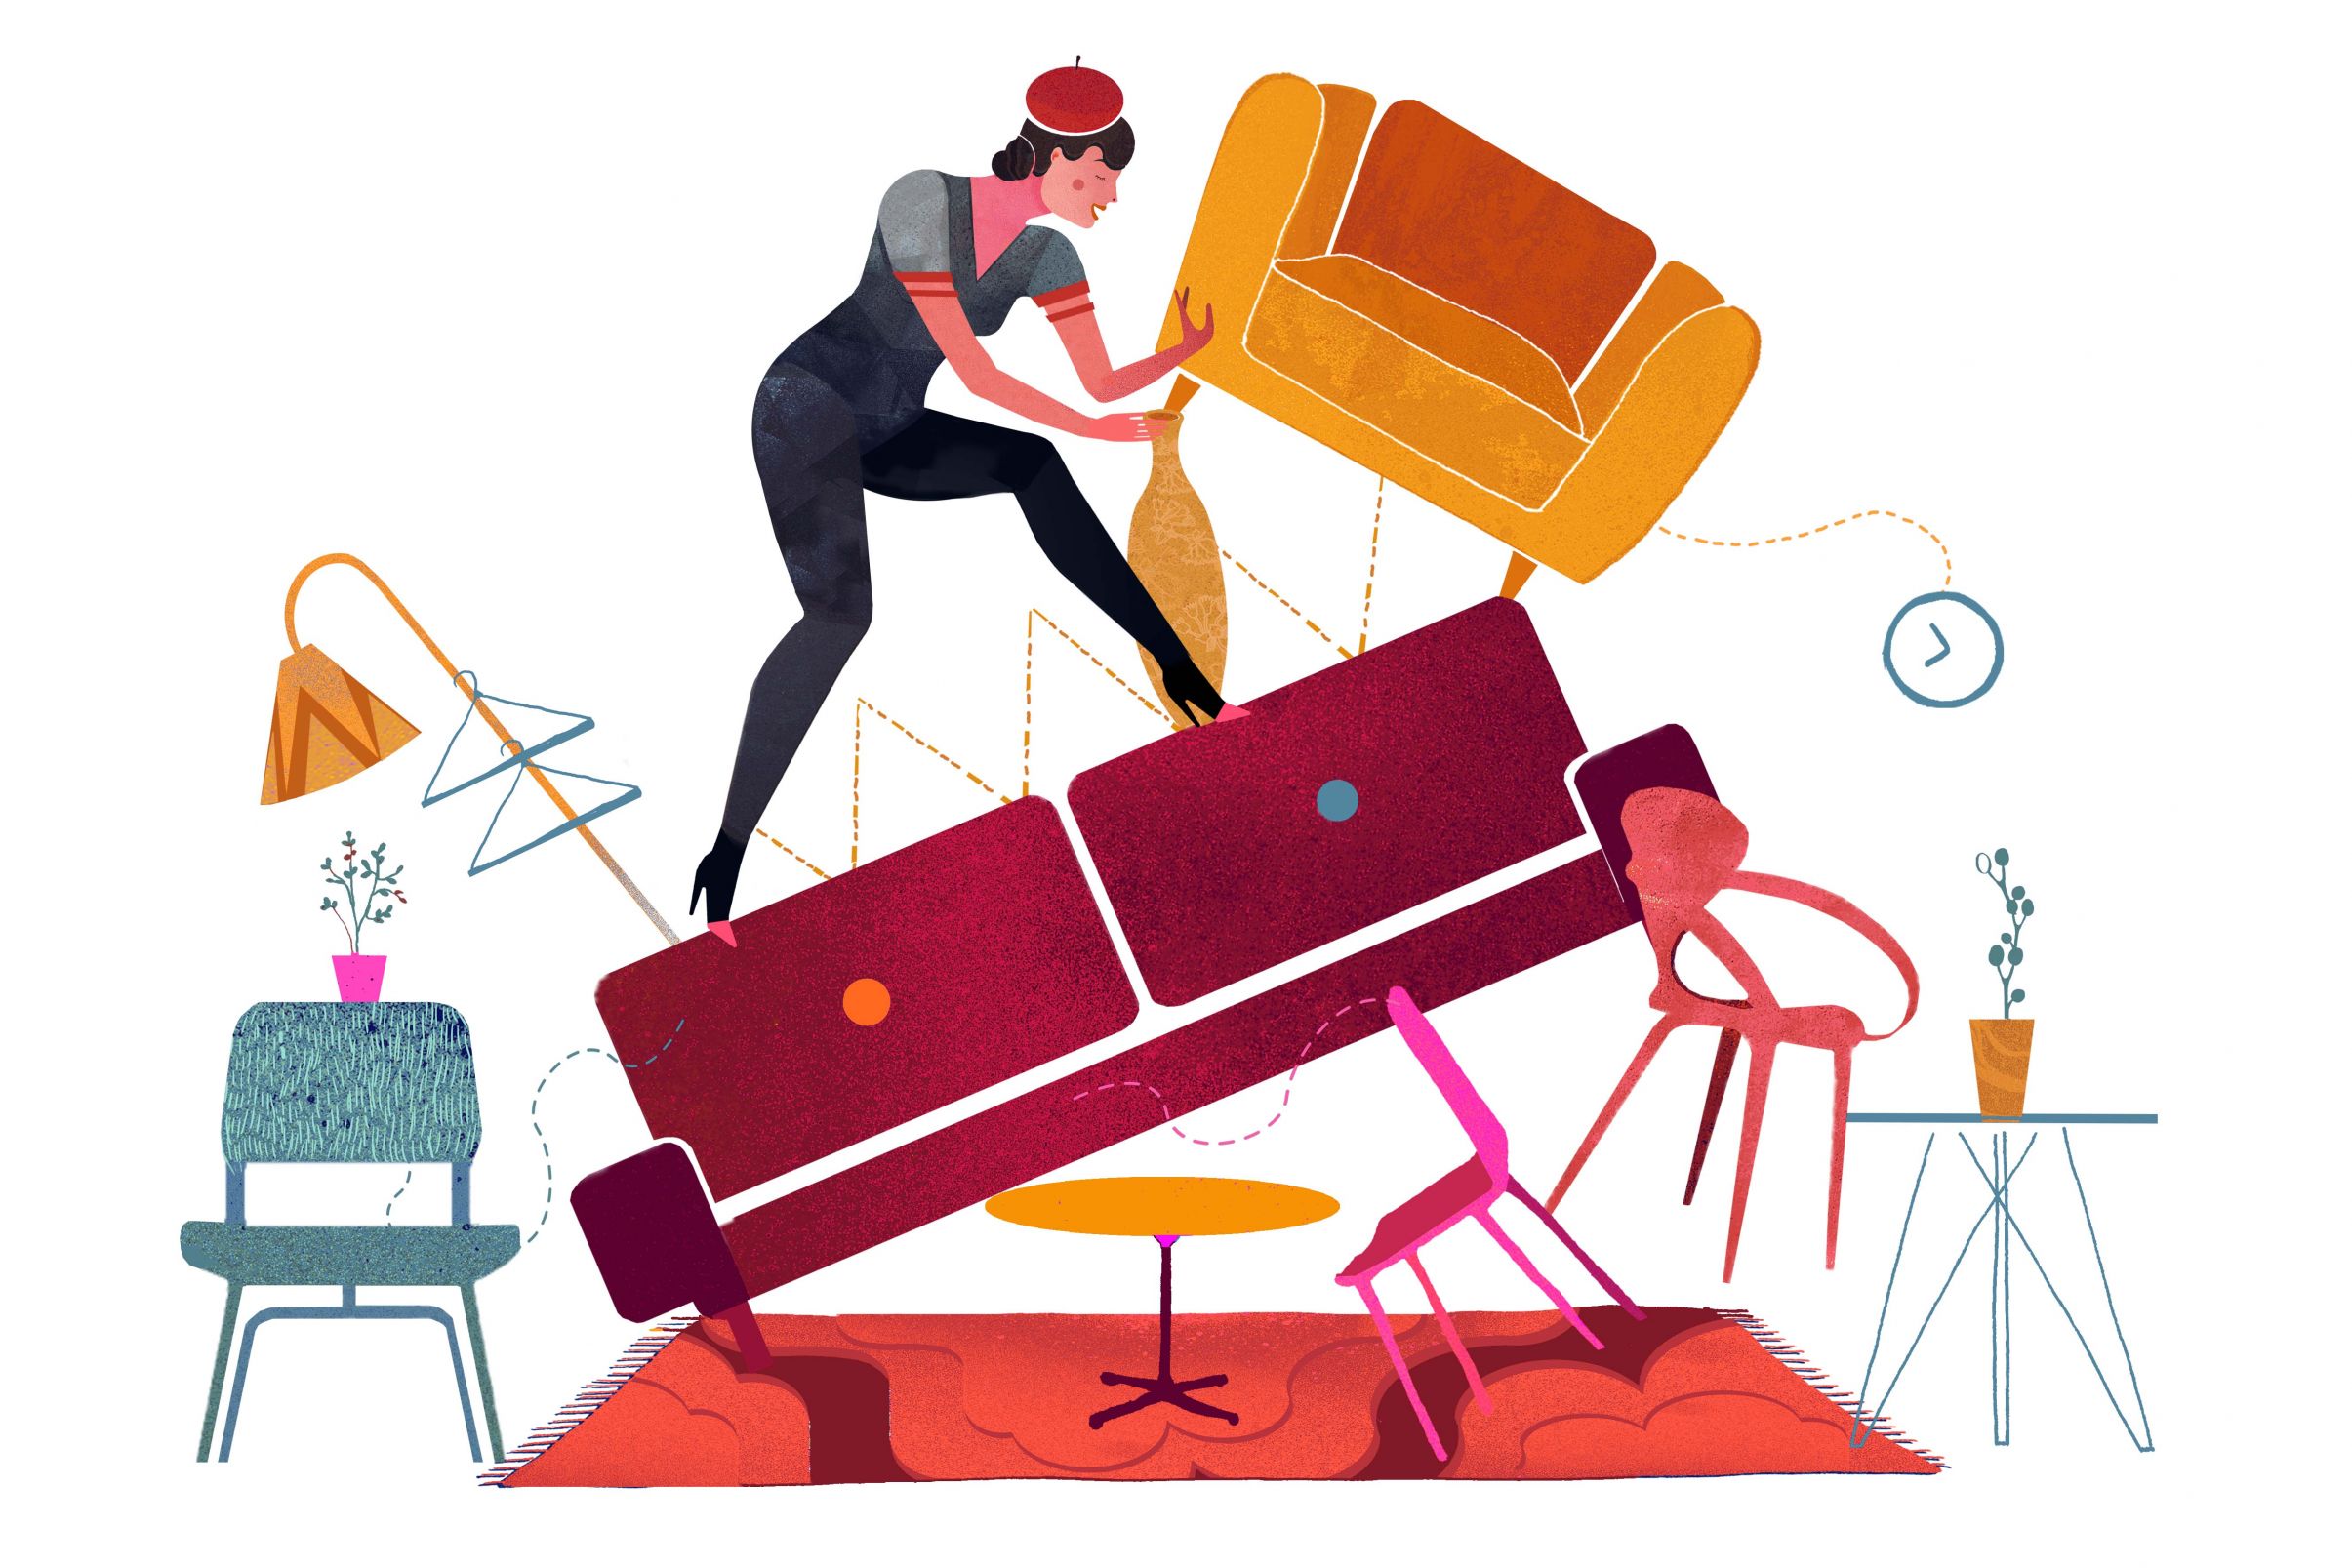
1 Move/remove furniture
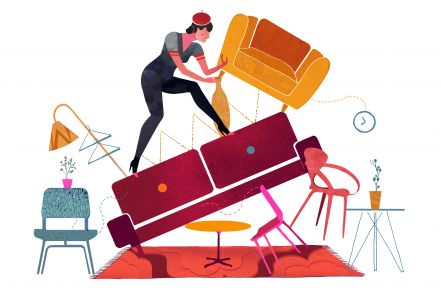
You finally have the new wallpaper in your hands, and in your mind's eye you can already see the finished product on the walls. All you need now is a fairy who grants you just one wish: Oh, to simply click your fingers and for the room to be adorned with the new wallpaper! Yes, that would be a dream, but as we all know: in real life, only hard work leads to success. Just set about the whole thing with a clear step-by-step plan, don't put yourself under pressure, and start with moving or removing the furniture. Ideally, the space you work in would be empty. This provides the most room to manoeuvre. If, due to space restrictions in your home, this isn't possible, you can move smaller pieces of furniture to other rooms, whilst larger objects (like a couch or an armchair) should be moved to the middle of the room and covered with a protective sheet. This method is also suitable if you just want to work on one wall.
Next,take off pieces of furniture or accessories that are mounted on the wall(s).If you intend to put them back in the same place after wallpapering, we recommend using toothpicks or matches to mark the drill-holes. This also prevents the holes being filled in accidentally when preparing the walls.
The ceiling is always the first area to be wallpapered. If you do intend to put wallpaper on the ceiling, the room needs to be completely empty in order to ensure unobstructed work. Ceiling and wall lamps should also be removed. We recommend commissioning an electrician for this task to make sure cables are disconnected correctly and safely. In place of the ceiling lamp, the electrician can mount a simple light fitting to provide illumination whilst the work takes place.
When moving cupboards, wardrobes and chests, the drawers and shelves should be empty. Drawers and loose shelves should then be removed so that they cannot fall out during transport.
And as for clearing the room, why not precede it with one of those slightly annoying chores: Decluttering! Pack the contents of furniture into removal boxes and label them accordingly. Use the process to do a mental inventory and get rid of anything that you don't need. If the contents of drawers, shelves or wardrobes and cupboards consist of items you use on a daily basis, simply keep them in accessible areas in other rooms for the duration of the work.
Crucial Questions for
Clearing Rooms
When clearing out, some specific elements of your home - like fitted kitchens, radiators, stove-pipes and skirting boards - can cause issues. The following provides a list of answers but they might require an individual approach for each specific case.
Stove-pipes
If you are planning to decorate a room containing a wood-burning stove, and the wall behind it isn't already equipped with a protective lining or similar, you should remove the stove-pipe so you can access the area more easily. If you are unsure, just ask your chimney sweep.
Fitted Kitchen
Wall cupboards and units as well as refrigerators (or fridge-freezers) can generally be taken off or moved fairly easily. The lower areas (worktops, electrical devices and standing cupboards) are usually left untouched - unless you are planning to install a completely new kitchen after wallpapering. If you do decide to remove the existing fitted kitchen in order to decorate all areas, we recommend calling in expert help.
Radiators
Radiators are usually not removed. In order to do so, you'd need a professional as the radiator would have to be completely emptied and bled. This is simply too much effort for just one room. Electric wall convector heaters can be removed from walls.
Skirting Boards
Intact, solid skirting boards screwed to the wall can remain in place. When cutting the wallpaper, special care should be given to mark the cutting edge exactly. Self-adhesive skirting boards should be removed and replaced with new ones after decorating.

2Waterproof covering of floors
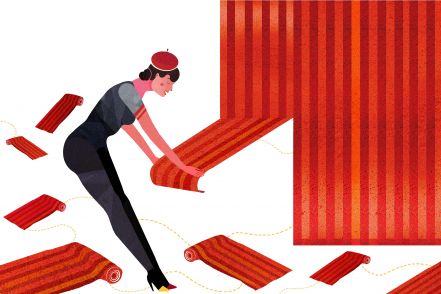
Right, that's done! The furniture has been moved, or - better yet - the room is completely empty and you are ready for the next step: The floor has to be covered safely, as a lot of things will be dropped onto it, e.g. the old, soaked wallpaper as well as small (or large!) drops of wallpaper paste. An unprotected floor can also be damaged by moving a ladder or accidentally dropping wallpaper equipment, so covering is serving a variety of purposes.
Felt floor protectors are a particularly suitable covering material. The front consists of textile material, the back has an anti-skid layer. This means that, if the felt material is used appropriately, any floor type will be protected perfectly. DIY retailers provide this protective felt in various roll sizes and grammages (strengths).
You just choose the correct roll size for the space in question. If the information on the roll says 1 m (Width) x 50 m (Length), you can cover a floor area of 50 m² with it. Choosing the right grammage depends on the protection requirements of your floor. The strength most commonly used for painting and decorating work is 200 - 220 g.
Don't forget
Whilst wallpapering, remember to remove bits of soaked, stripped wallpaper as well as traces of paste from the felt material immediately. If pieces of wallpaper dry on the felt material, they stick to it and could become hazardous when walking across the room. If you then try to remove them, you will inevitably pull at the floor protection material, potentially moving it.
Please proceed as follows:
- 1 Before putting the felt material down, vacuum the carpet. Smooth flooring (parquet, laminate, linoleum, tiles, etc.) should be mopped and left to dry.
- 2 Lay out the felt material in overlapping strips and use adhesive tape to keep it in place.
- 3 If the skirting boards are not taken out, then lay the felt so it covers about half of the skirting board and attach it with wide masking tape.
- 4 Make sure that you create no tripping hazards around thresholds and in corners. Smooth out the felt carefully to avoid dangerous folds in the material. Be especially thorough around those tricky areas that need clipping (e.g. around log burners or radiators).
- 5 Put a large cleaning rug or an old towel in front of the entrance to the room so you can wipe your feet. This prevents traces of wallpaper and paste from being distributed round the house.

3 Preparing your wallpapering equipment
Wallpapering equipment - an Overview:
- Trestle table, step ladder
- 2 - 3 pencils (sharpened!)
- Folding yardstick, tape measure, wallpaper scissors, cutter knife
- Plumb line, chalk line
- Sufficient wallpaper paste for the amount of wallpaper you intend to hang
- Pasting brush, paste roller, paste bucket, sponge, wallpaper paste syringe for touching up any imperfections
- Seam roller, rubber roller, pressure roller, smoother, wallpapering brush, wallpapering spatula
- Triangular cutting edge (to cut wallpaper at the bottom/at the skirting boards)
- Fabric gloves for delicate wall coverings (e.g. metal or velour)
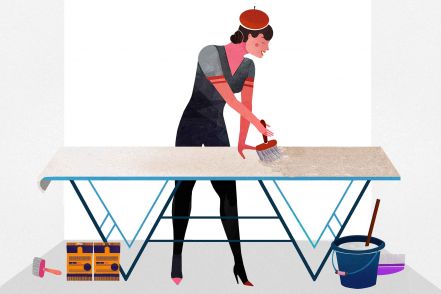
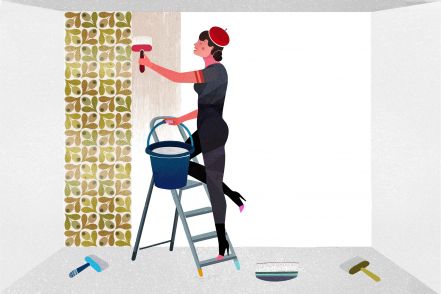
Wallpapering can be fun. In order to enjoy the task as much as our wallpaper girl does, and to avoid disturbing your carefully crafted schedule by looking for things (and cursing), you should prepare your wallpapering equipment as soon as you have covered the floor. It is best to choose a central place which provides you with sufficient room to move around (think "trestle table"!) and allows you to work without any obstacles getting in the way.
The following is a list of tools and utensils that might come in handy during the wallpapering process. It doesn't necessarily mean you will need them all. Depending on your own requirements and methods, you could, for instance, choose between a pasting brush and a paste roller.
4 How to check batch numbers
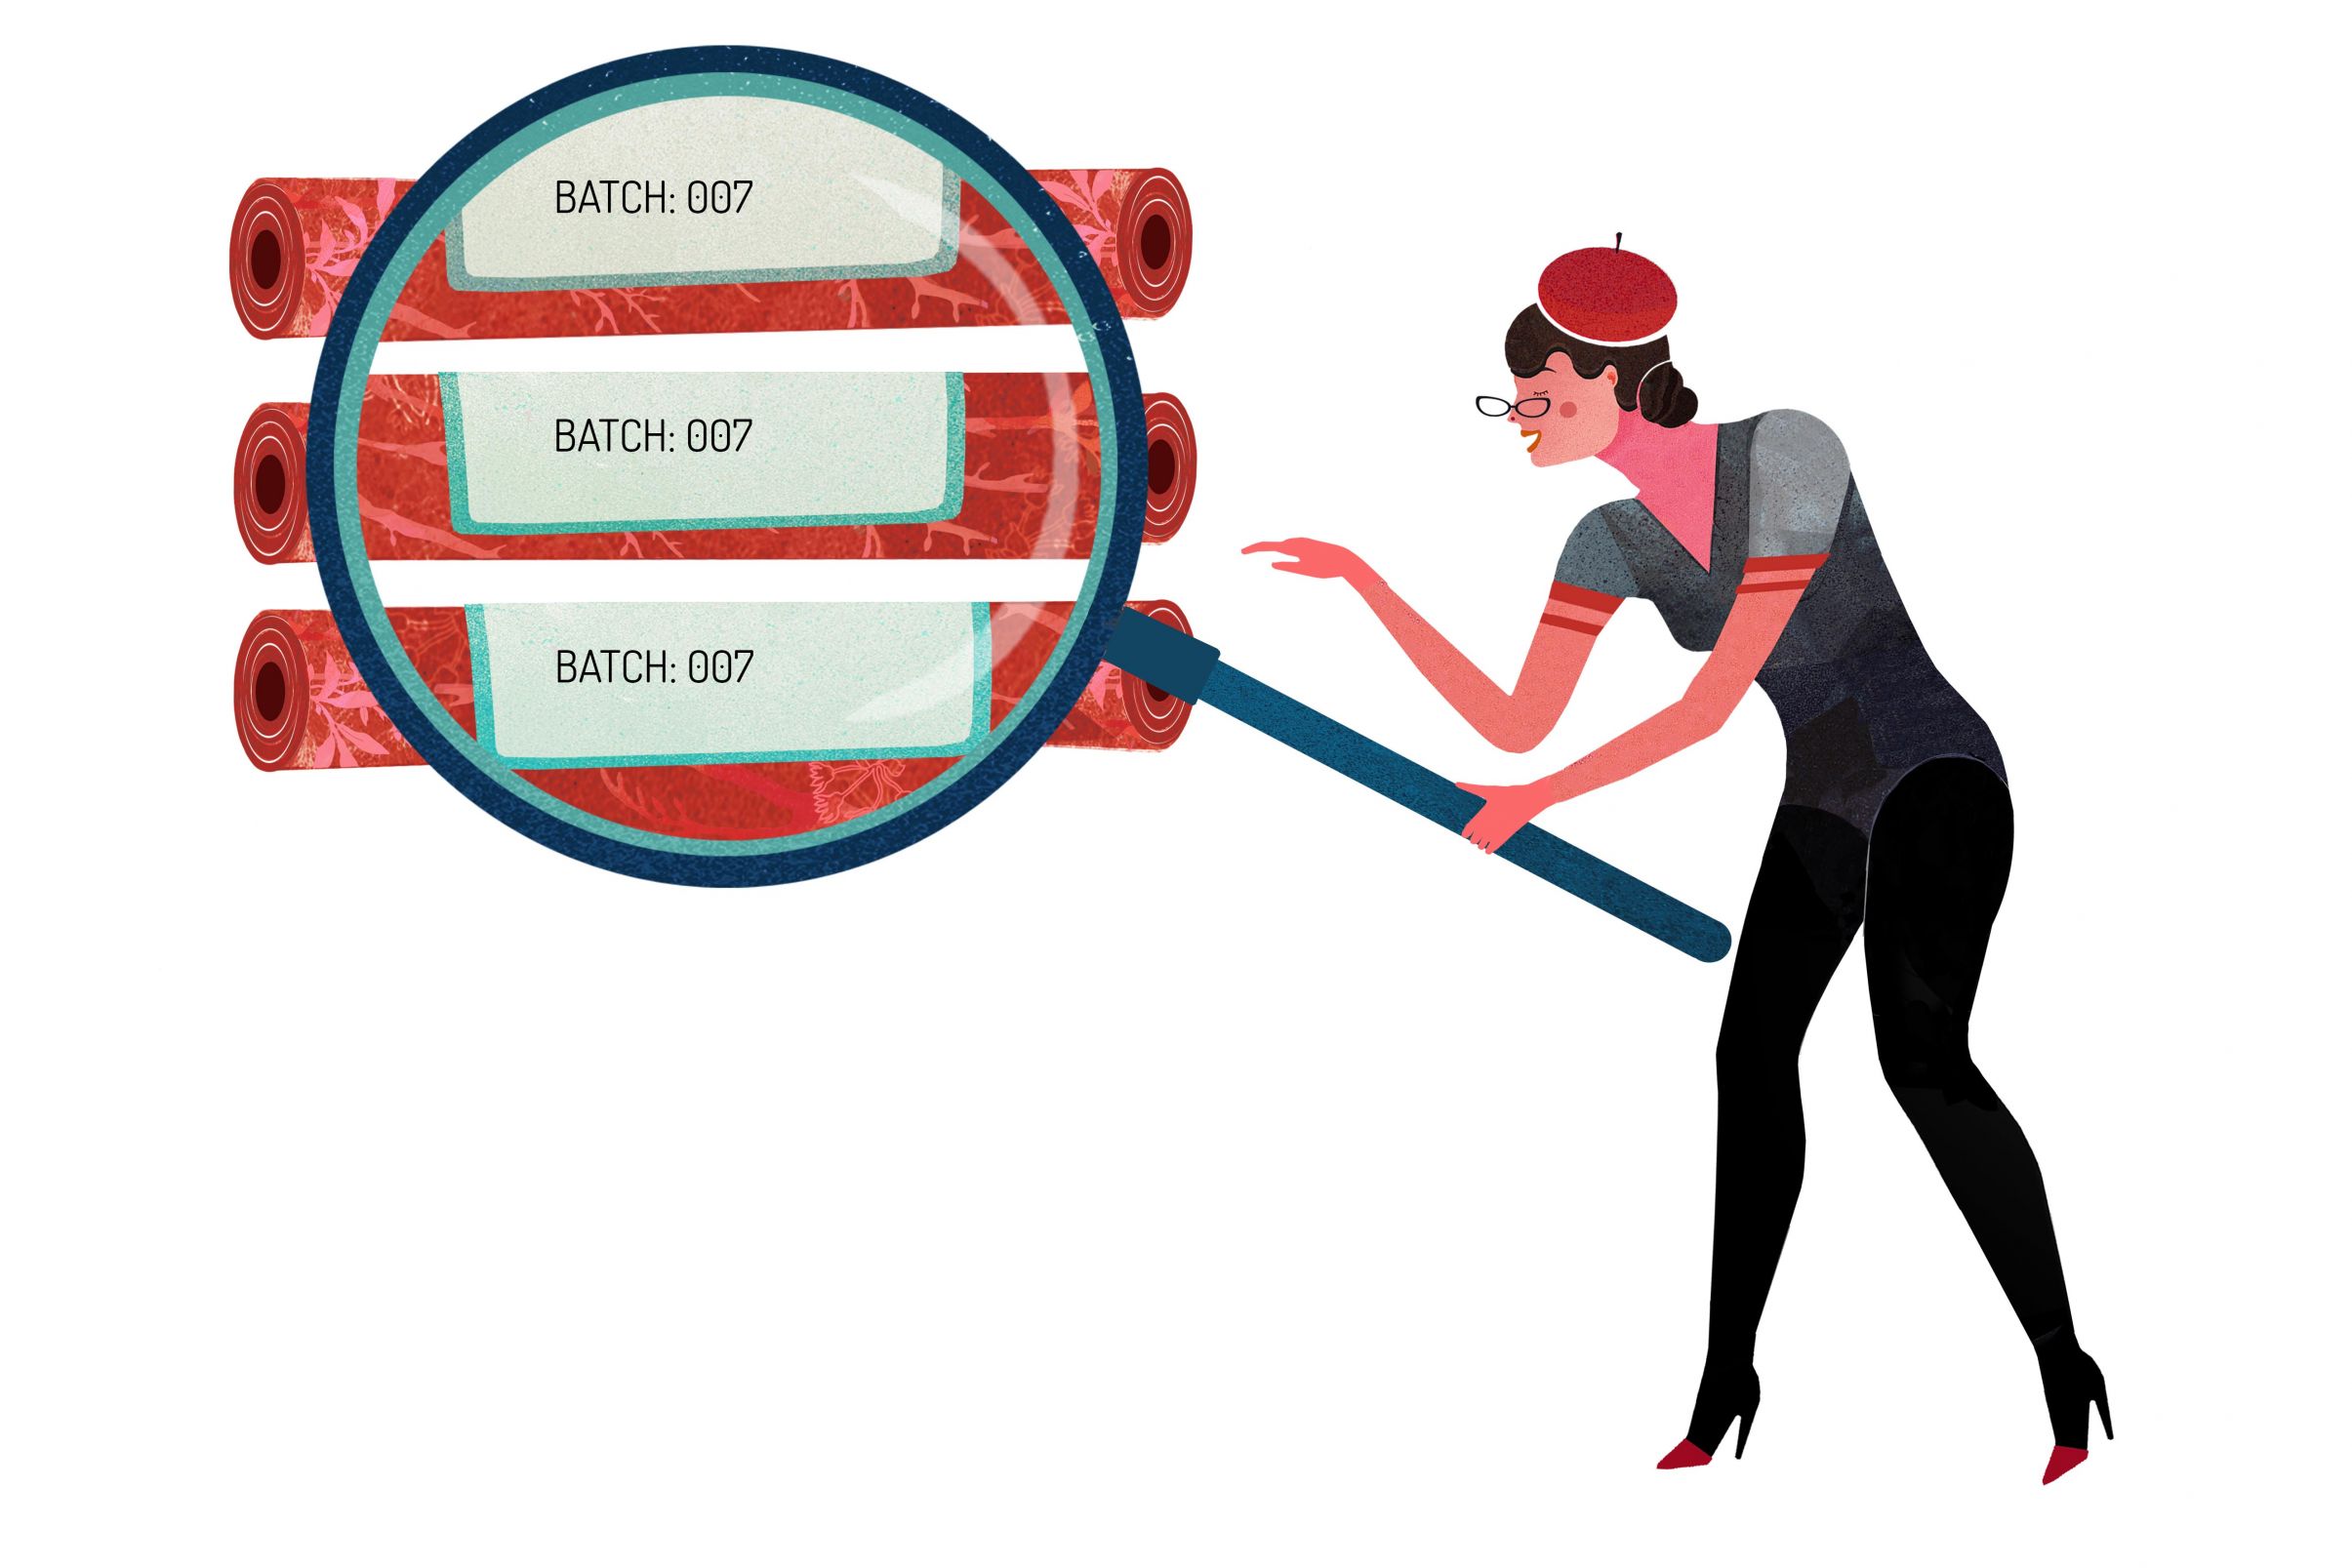
You won't need a magnifying glass to check batch numbers, but this small task can have a significant impact on the end result of your efforts.
The insert in each roll of wallpaper contains rows of numbers, symbols, and the EAN Code; if you look closely, you'll also find the batch number, usually to the right of the item number, consisting of figures and/or letters (generally two or three digits).
Make sure the batch numbers are the same!
Why is the batch number so important? Simple. It tells you whether the wallpaper rolls are from the same print run. Ideally, each of your wallpaper rolls should have the same number. If you spot a different batch number, this roll was produced at a different time or on another machine. This can result in slightly different colour shades as well as small variations in terms of patters, sheen, gloss and structure. You might not pick up on them at first glance, but they could quite possibly have a negative impact on the final picture, once the wall covering is in place.
If you've found yourself with a "stray"...
You've checked the wallpaper rolls and realised that one of the rolls has a non-identical batch number? Don't worry, the world will not stop turning - you simply need a slightly different approach. For instance, you could use it in a space which will be obscured by large or high pieces of furniture, or which distract the attention - e.g. a cupboard, wardrobe or a wall unit.
The rule of thumb is: Always use wallpaper rolls with identical batch numbers for a wall or ceiling.
To be on the safe side, you should compare batch numbers when you buy the wallpaper and always get one or two additional rolls (for offcuts, repairs, and other eventualities). It is essential that you calculate your exact wallpaper requirements before you start working. Once that is done, add a bit more...

