How to cut wallpaper correctly
1 Measuring the wall
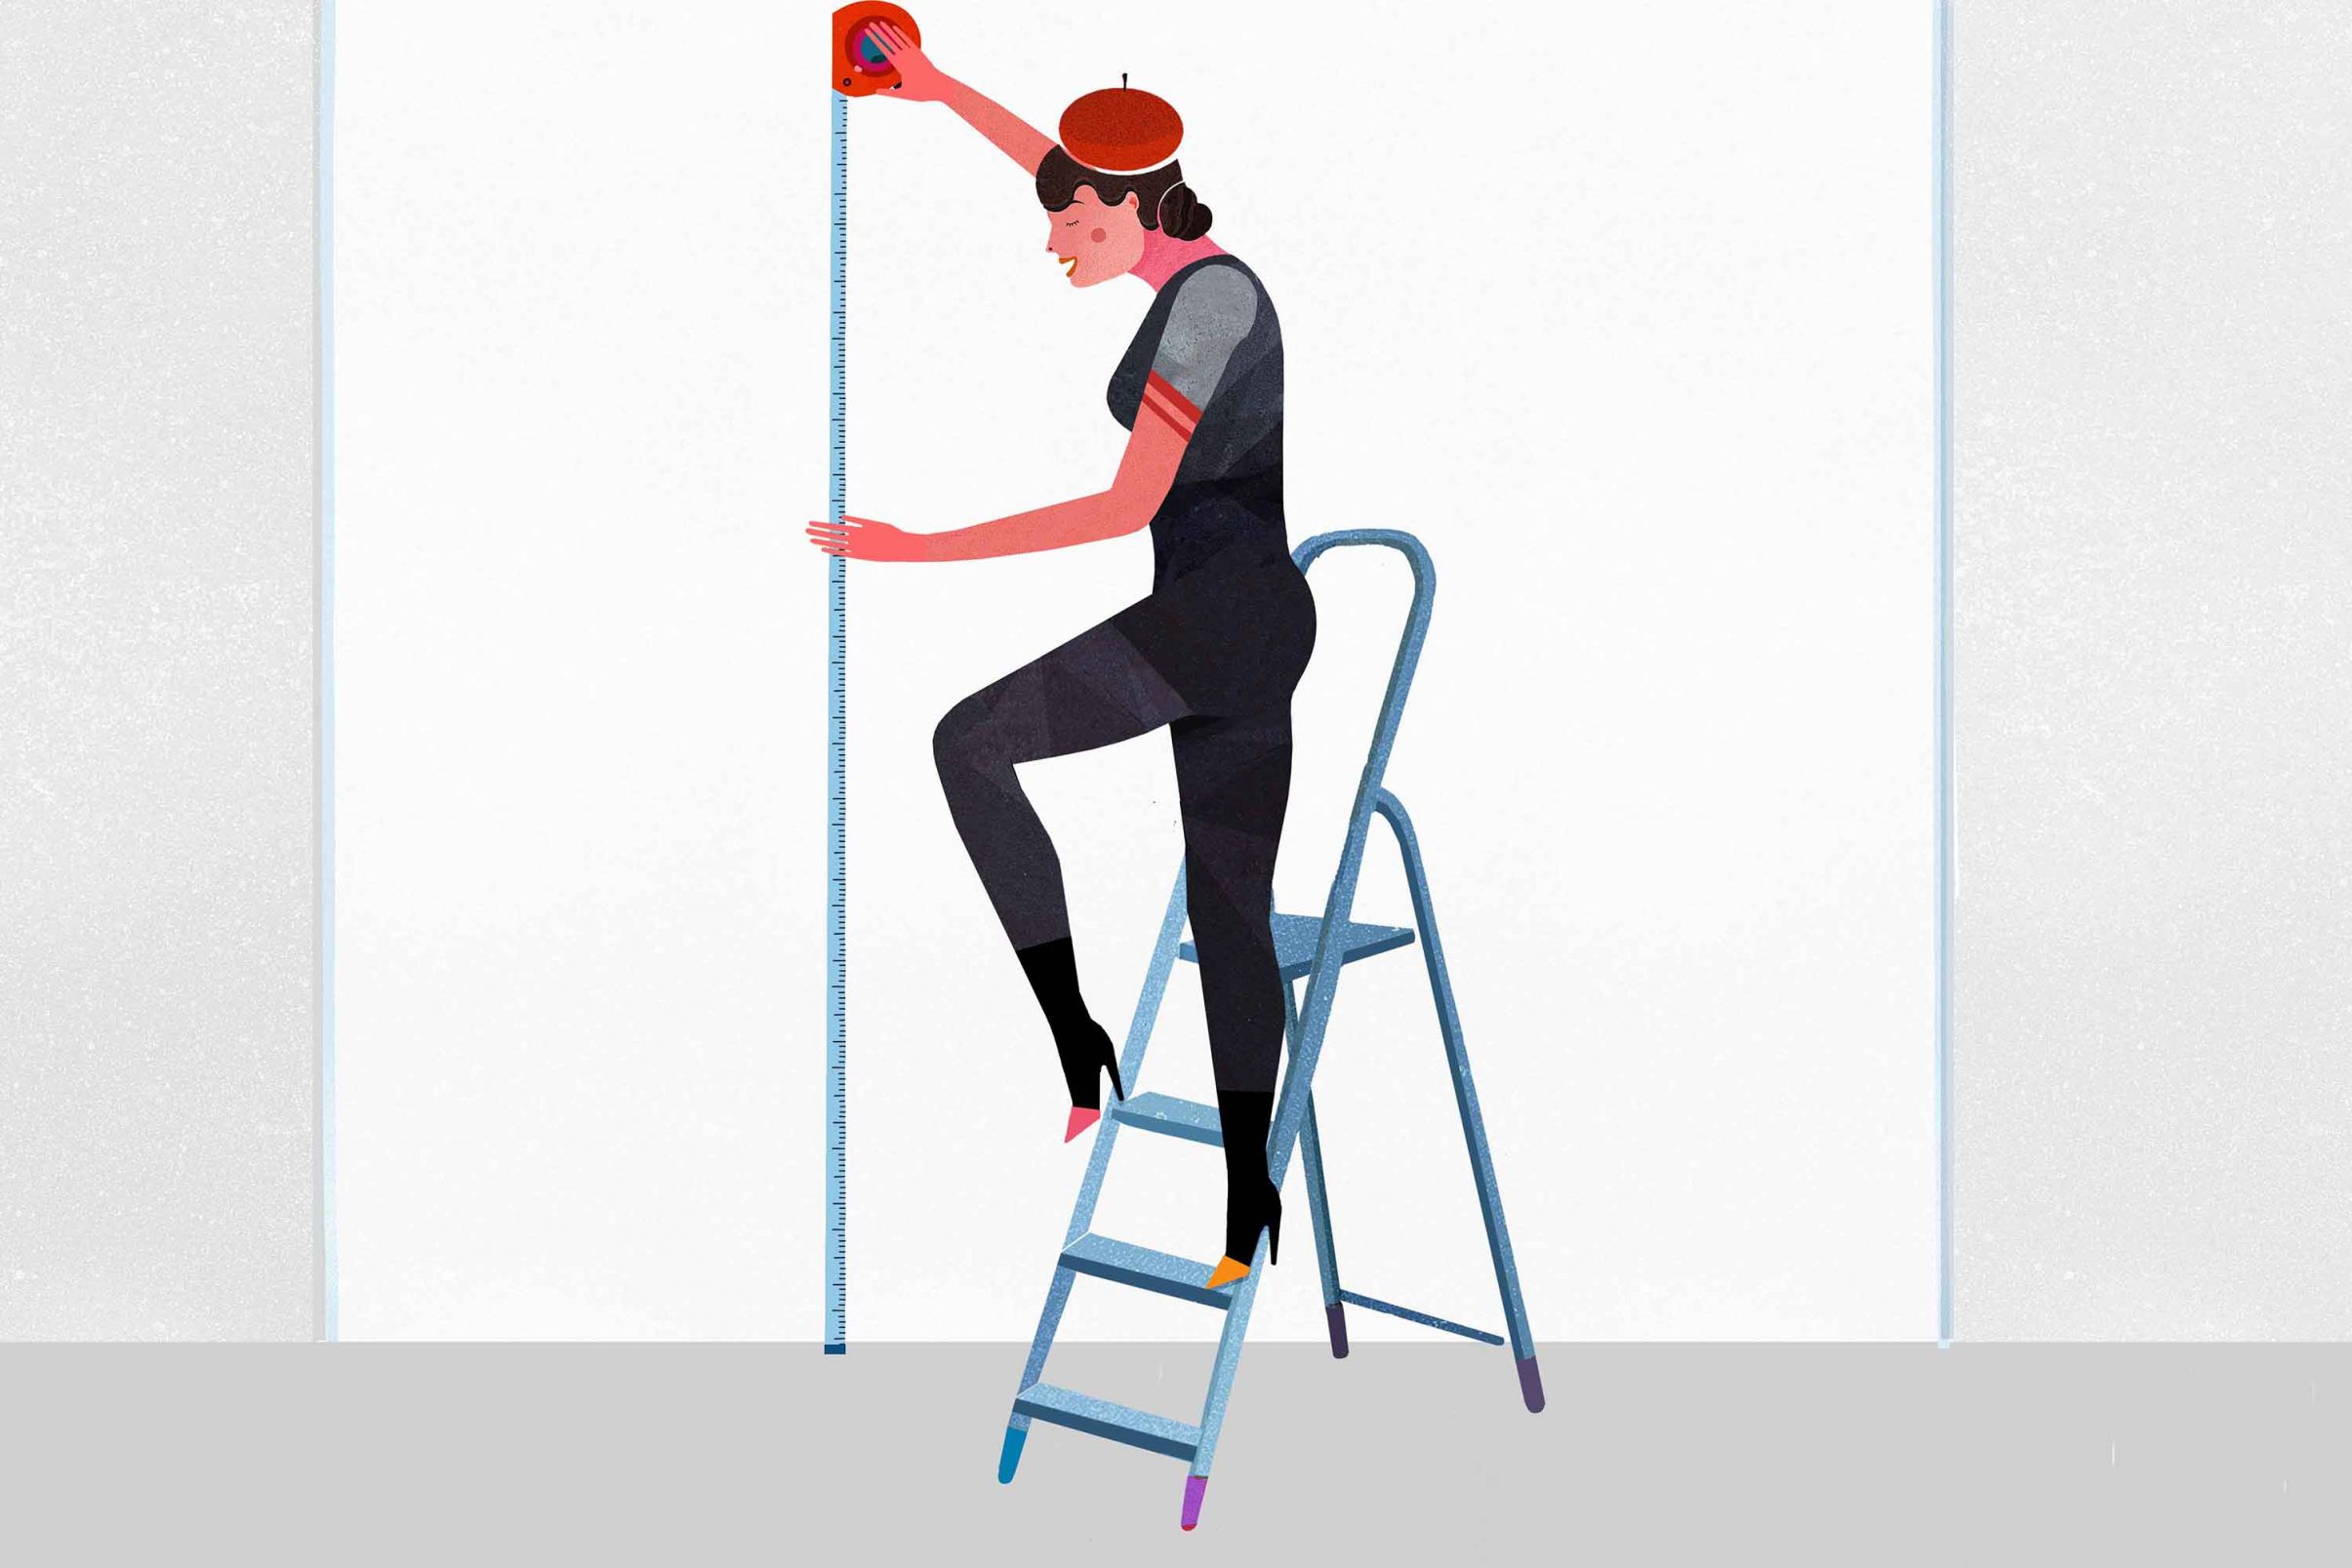
After all the prep work, you can finally get started on the actual wallpapering! So take a deep breath and look forward to the end result! To make sure it all goes without a hitch, you have to measure the wall once more. We already did that to determine the amount of wallpaper rolls we need, but as the old saying goes: Better safe than sorry.
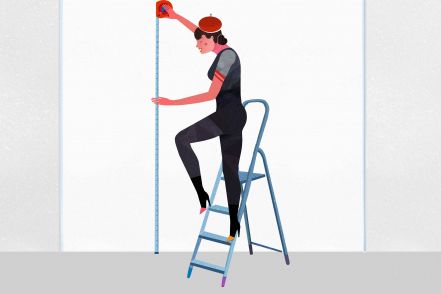
Use your folding rule or measuring tape tomeasure the height of the wall at various points. The longest/highest part of the wall is the initial dimension for cutting the wallpaper. To be on the safe side, add 5 cm to the top and bottom end so you can deal with potential differences in the height of the wall if necessary.
If you want to know roughly how many strips of wallpaper you can cut off a roll, just divide the length of the roll by the height of the wall (+ half a pattern repeat).The pattern repeat will be stated in the wallpaper label, e.g. 54 cm.
The next consideration is how many strips of wallpaper will be needed for the wall. The important factors to determine this are the width of the wall as well as of the wallpaper. Use your folding rule or measuring tape to measure the width of the wall. The width can be found on the label of the wallpaper, or simply measure it again. Let's say the wall width is 4.00 meters and the width of the roll is 0.52 meters: you will have about 8 strips.
Example:
The length of the roll of wallpaper is 10 meters, the height of your wall (including addition) is 2.6 meters, and the pattern repeat is 0.54 meters.
Your calculation will then be:
1. 2.60 m + 0.27 m equals 2.87 m
2. 10.00 m : 2.87 m equals 3 strips in one roll (rounded down)
Note: This calculation refers to patterned wallpapers - for plain-coloured styles, you obviously won't need any pattern repeat.
2 Determine the start of the pattern
At this point it makes sense to emphasise two issues that are important for the optical effect of patterned wallpapers. These tips are based on years of experience in dealing with accurate wallpapering and we would like to share them with you.
Before cutting the patterned wallpaper, you should first check and determine the start of the pattern in order to avoid cutting into the pattern or ending up with half a pattern repeat, as this would be detrimental to the overall effect. It would be ideal to have a complete image of the basic pattern or a complete pattern repeat to begin with. The "pattern repeat" is the height of the repetitive pattern. The higher the pattern, the larger the pattern repeat.
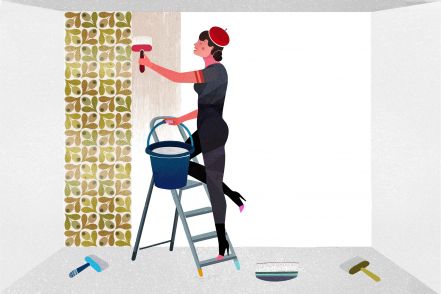
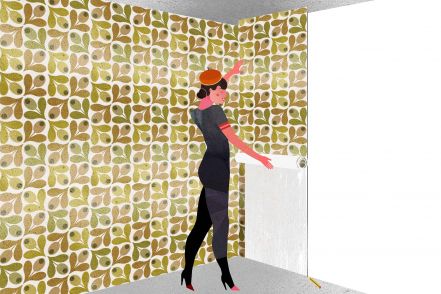
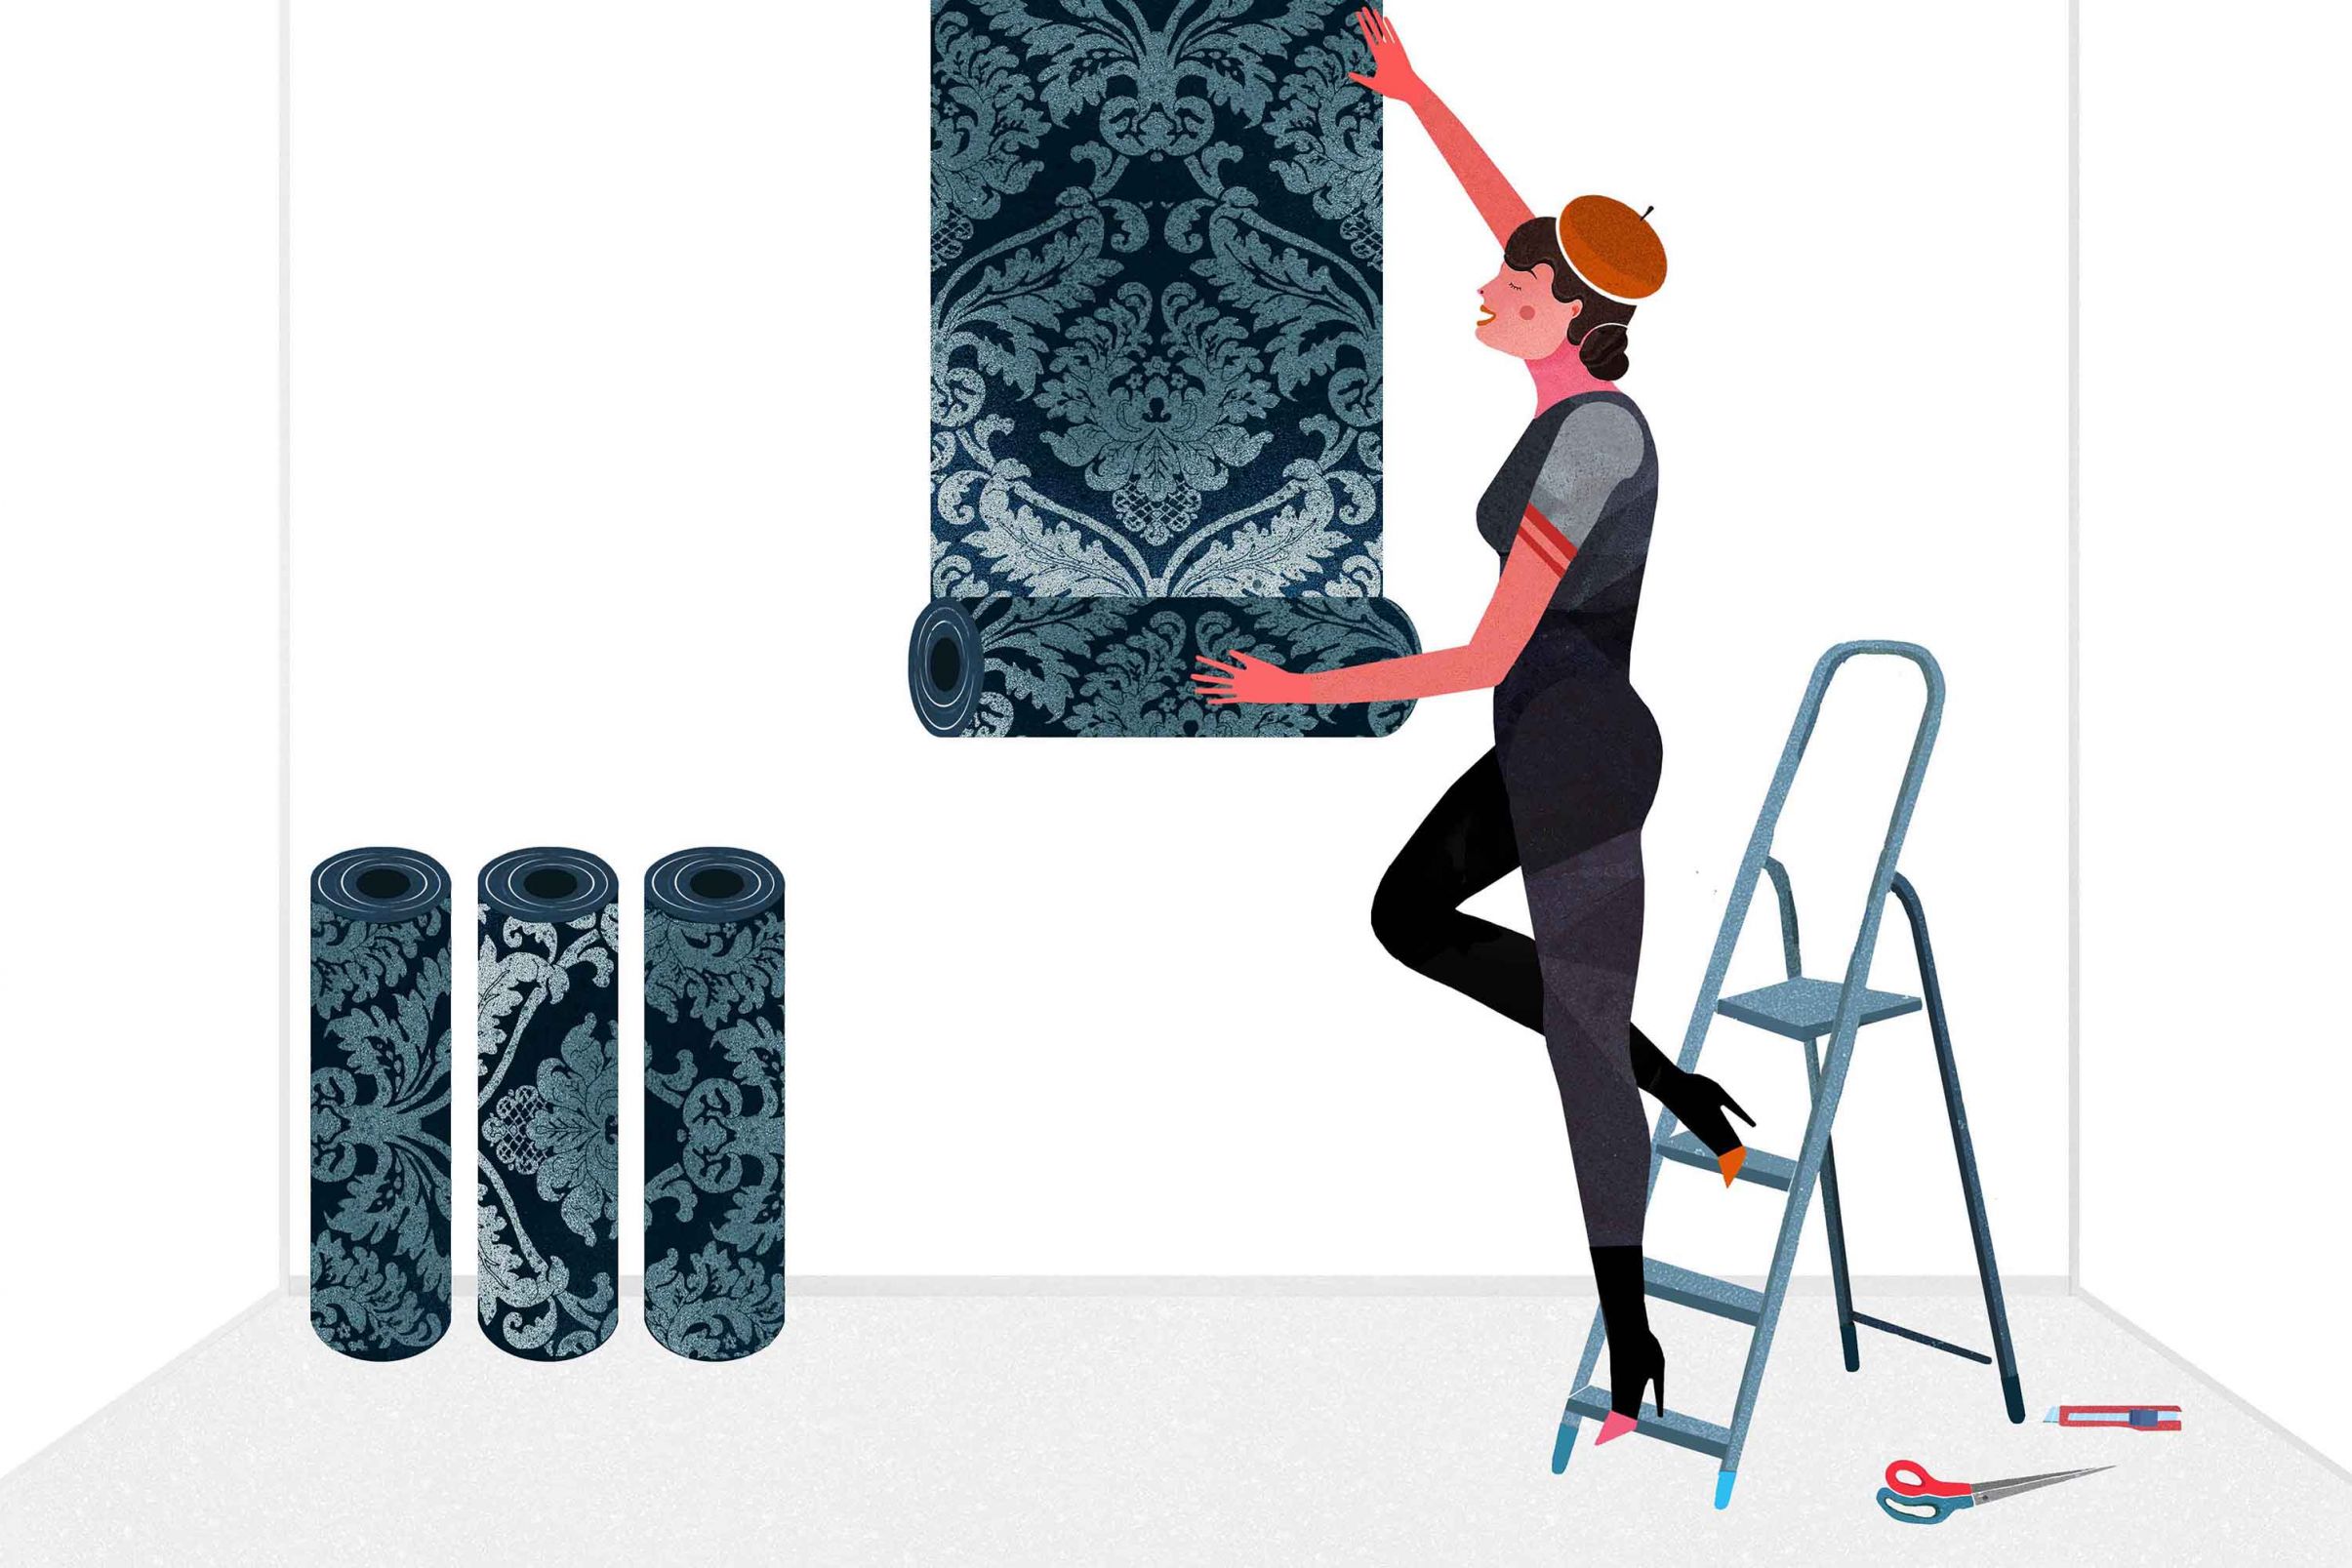
As the beginning of the roll does not necessarily show the complete image of the basic pattern, you should manually hold it up on the wall. Our wallpaper girl chose the middle of the wall to determine the start of the pattern and then begins at the top.
You might ask "why the middle of the wall"? Should I not start to the side of the window? That is generally the case, But when it comes to wallpapers with large patterns, just like the ones our wallpaper girl prefers, the middle of the most prominent wall is the best place to start the wallpapering process. It's all connected to our visual perception.
The eye of the beholder will focus on the most important wall. In a living room, this will be the wall where the sofa is, in the bedroom it's the one behind the bed, and in the dining room it is the wall opposite the window.
If a room has a wide wall projection, e.g. if there is a mantelpiece, this will be the first place the eye is drawn to, so you should start there; again, the pattern alignment should start in the middle.
Just follow our wallpaper girl's example and hold the wallpaper (in the middle of the visually most important wall) all the way up to the top to determine the start of the complete image of the basic pattern. It would be useful to have a helper present during this process, as the other person can look at the pattern from afar and instruct the one holding the wallpaper to move it into the correct position. Once you have found the start of the pattern image, mark the spot. You can start wallpapering from the side, but the important thing is the accurate pattern start at the top of the wall.
3 Cutting the strips of wallpaper on the trestle table
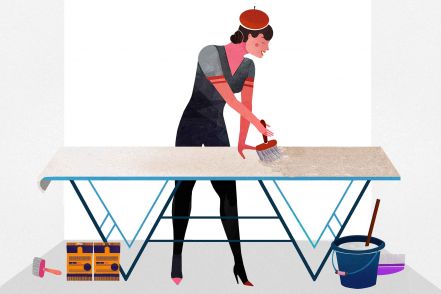
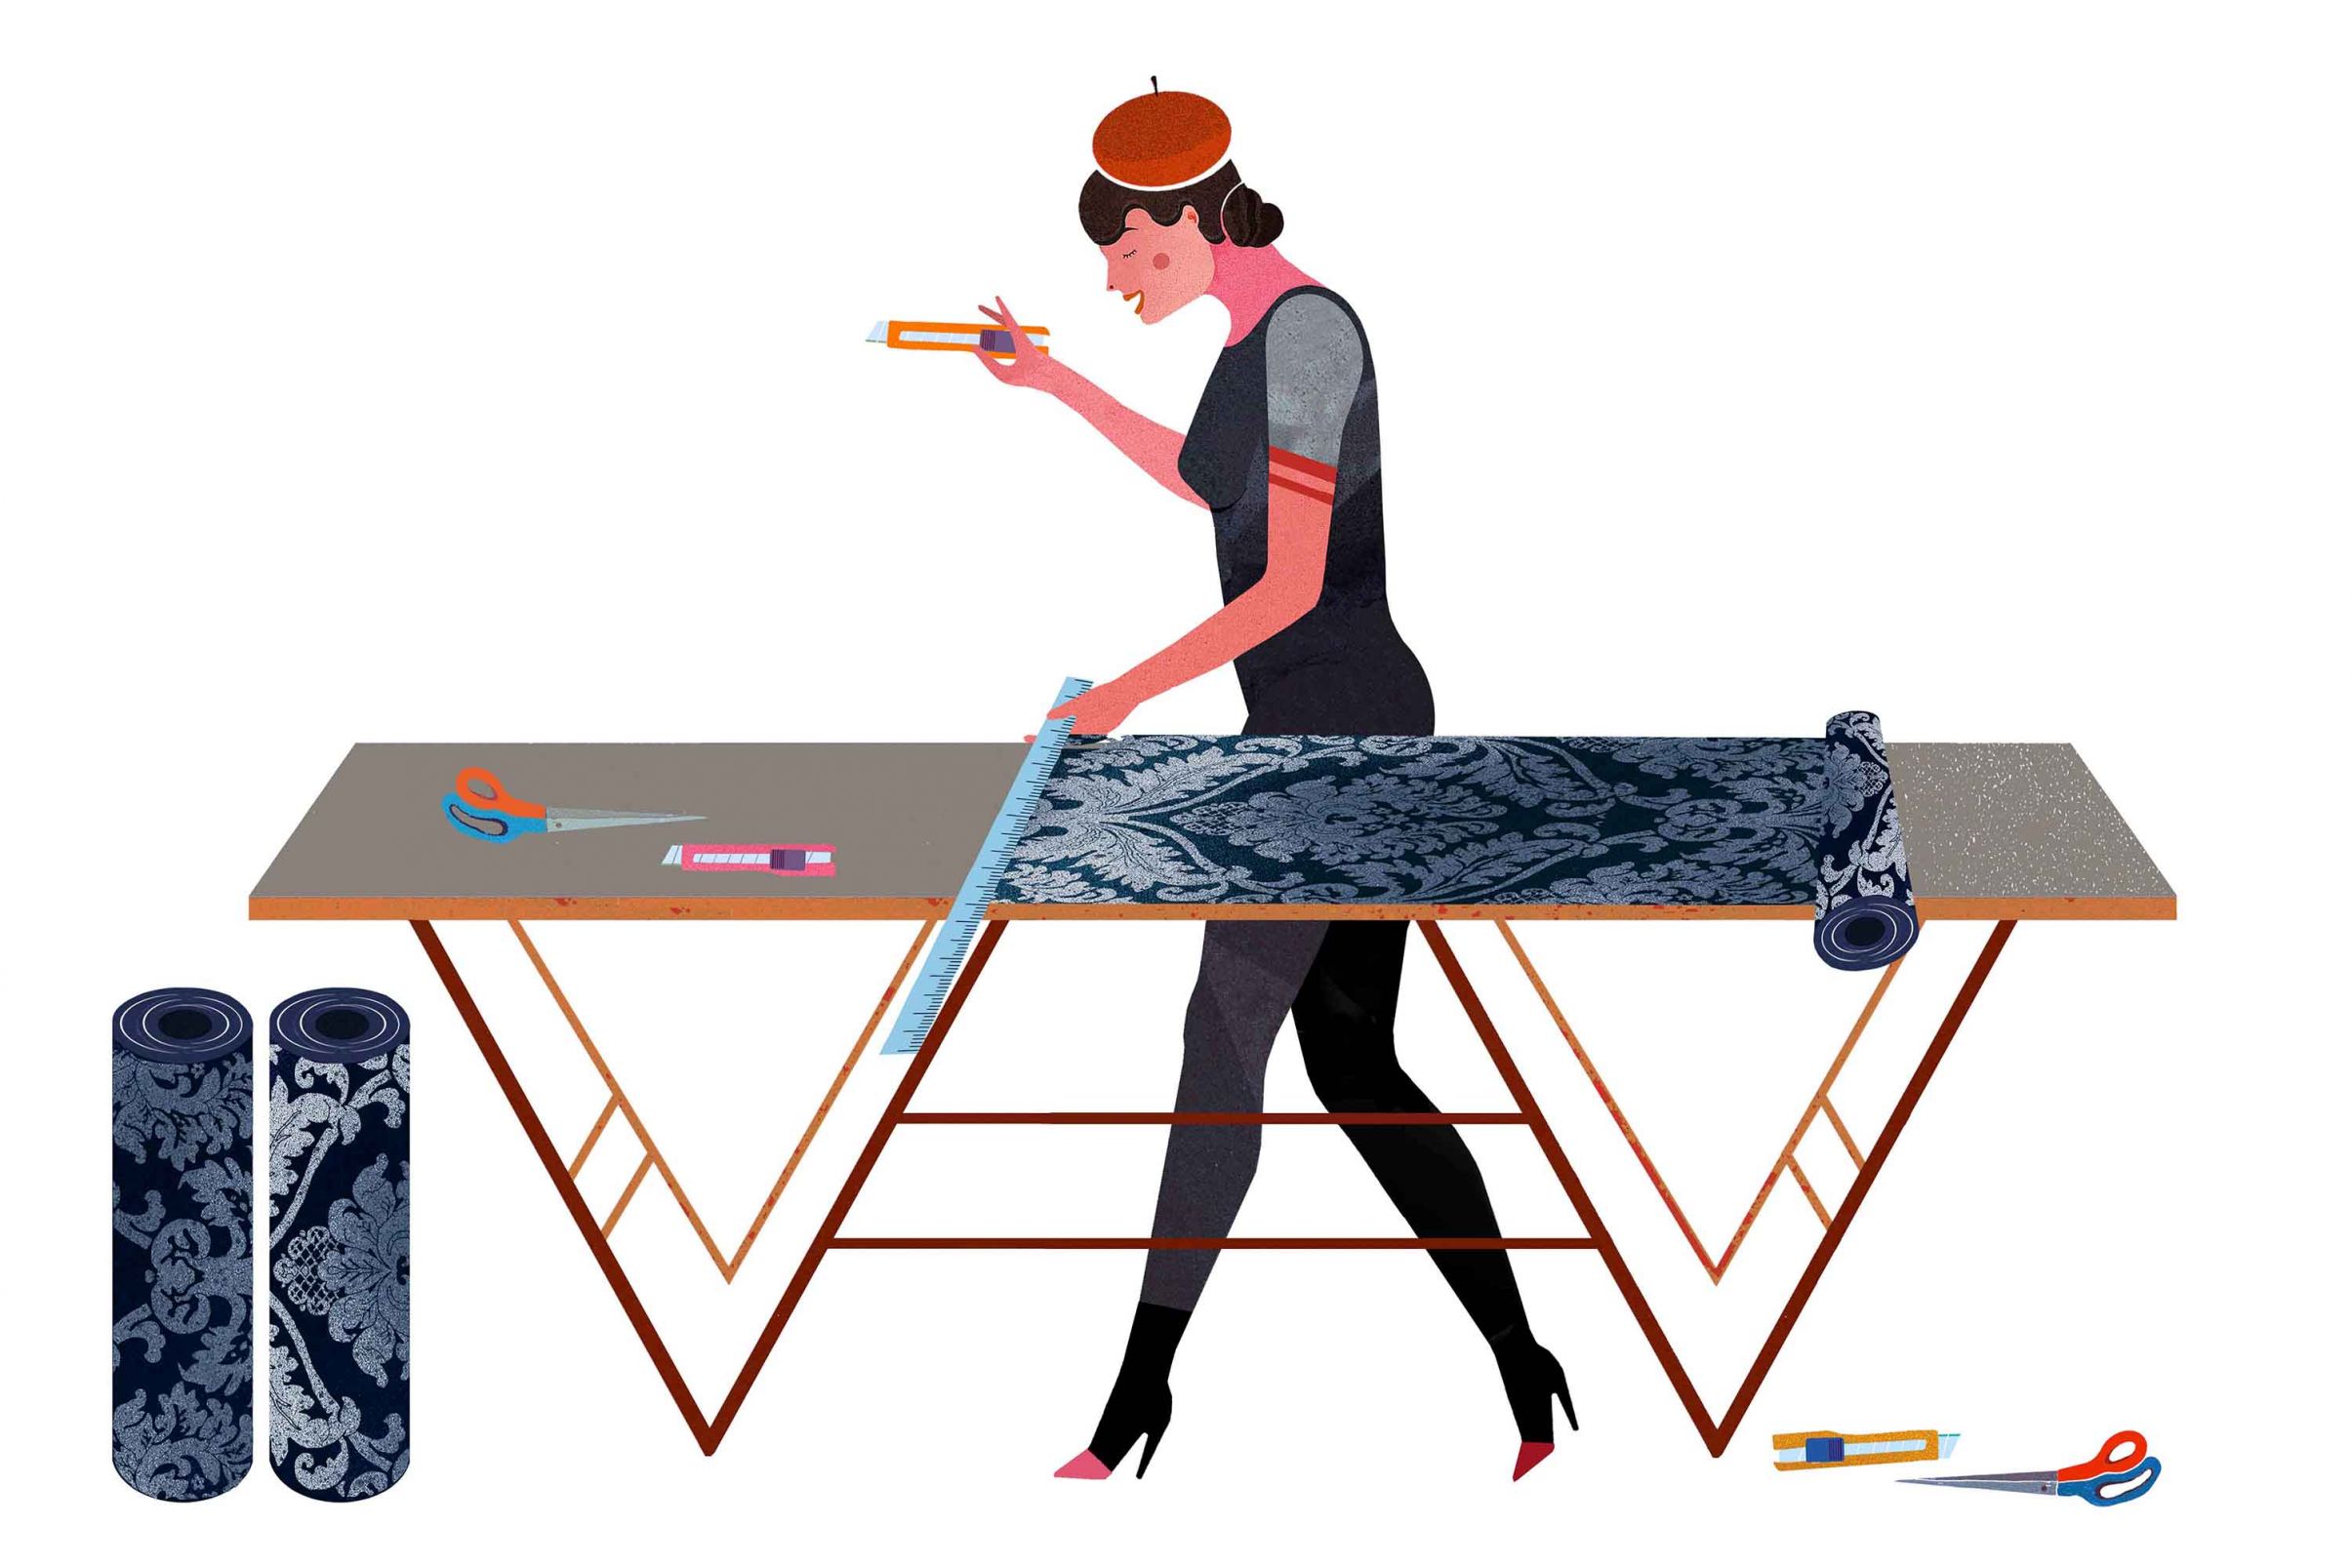
The trestle table is up, the wallpaper roll is ready, along with a pencil, a cutting/craft knife or a pair of large scissors. For wallpapers with very delicate or high-quality surfaces, we recommend wearing cotton gloves during cutting.
Now, we can start cutting the first strip (or length). Put the wallpaper on the table, with the pattern facing you, and roll it out. The previously determined measurements can be marked on the table beforehand - or simply measure the roll and mark the paper itself.
Remember to add 5 cm at the top and bottom of the strip. and check the pattern start. If it doesn't match the start of the roll, the cutting line needs to be adapted (again, plus 5 cm) first.
The cuts should always be at a right angle to the roll. Either use a wallpaper ruler or fold the wallpaper at the marked point "edge on edge", and cut it with your wallpapering knife or scissors.
For plain-coloured wallpapers, the cutting process for the first length is identical. However, you can unroll the wallpaper with the back facing you as you don't need to worry about a pattern.

Note
You might think that rolls of wallpaper are manufactured in a way that ensures the top of the pattern will be at the top (or end) of the wallpaper. Alas, that is not the case - they are generally rolled up in a fairly random manner (and direction). Please make sure you check the direction of the pattern in order to determine top and bottom correctly.
4 Remember the pattern repeat for any
additional strips of wallpaper
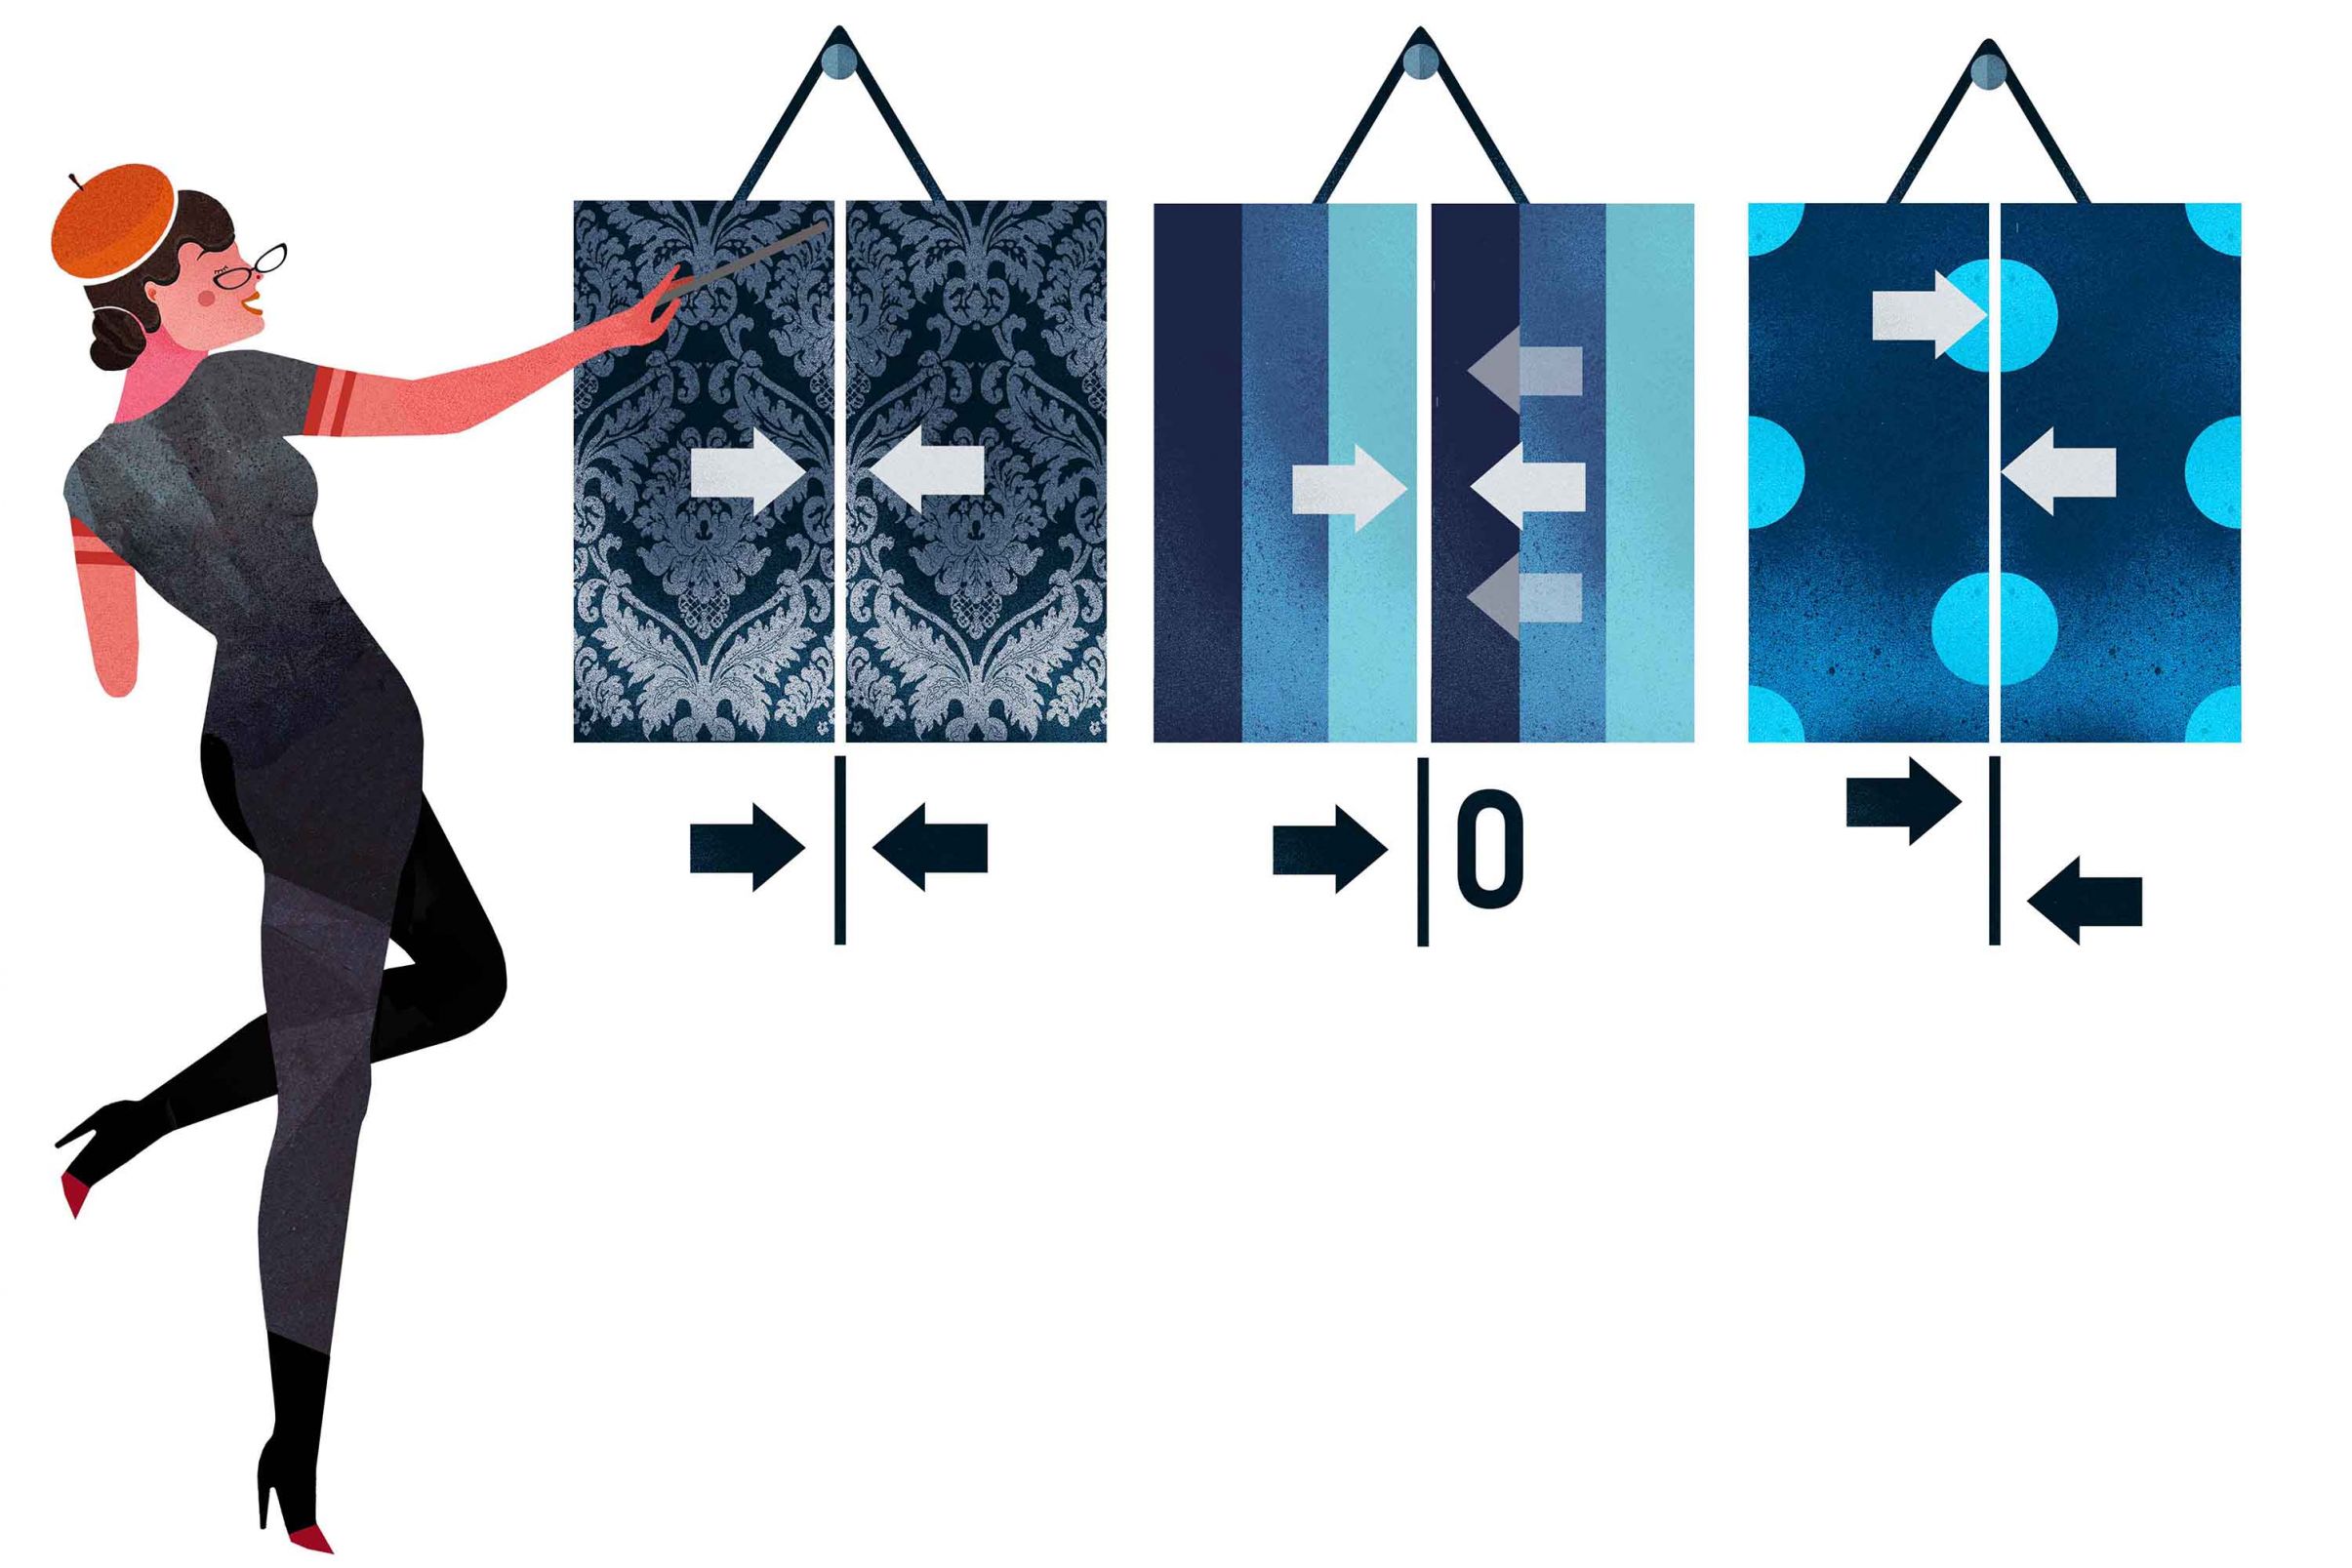
Next, the additional lengths are cut. In contrast to plain-coloured wallpapers without patterns, which can be cut off the roll one after the other, you need to factor in the pattern repeat size and offset when working with patterned wallpapers. This is important as it ensures that you can make sure the pattern fits length by length. As mentioned before, the pattern repeat size is the height of the pattern which is repeated on the roll (for instance, "70 cm" means that the pattern is repeated on the roll after every 70 cm).
Let us introduce you to the three most common pattern repeat offsets for patterned wallpapers. The arrow symbols you can see on the three different patterned wallpapers can be found on the insert of the wallpaper roll and are usually next to the pattern repeat size.
Arrows facing each other = Straight Match
No pattern repeat offset needed. The pattern will be at the same height for all lengths of wallpaper. Cutting additional lengths: pattern is put on pattern in order to see if the patterns are parallel at the sides/edges. If the trestle table is not wide enough to do this, the lengths should be put side by side on the floor to determine the beginning of the pattern. With this method, there should only be a very small amount of offcuts.
Arrow and Number 0 = Free Match
The lengths can be used without paying attention to the pattern - similarly to plain wallpapers without patterns. You simply cut all additional lengths according to the height of your wall. There are no offcuts.
Two offset arrows = Offset Match
The pattern will be moved by about half a pattern repeat for the next length of wallpaper. For instance: if the pattern repeat is 50 cm, the offset will be 25 cm. This means that every other length is identical, i.e. length 1, 3, 5, etc. But length number 2 and 4 have 1/2 pattern repeat offset. When cutting, this means: You can cut length 3 and 5 according to the first length (by placing pattern on pattern). For lengths number 2 and 4, you can check the offset by placing length 1 and 2 / length 3 and 4 next to each other on the table or floor. In order to reduce waste through offcuts (fairly high for this method), you should use a new roll for length number 2.
If you start wallpapering from the middle of the wall, please pay attention to the pattern match in order to determine how you need to continue working to the left or right. This is important to ensure that the pattern matches on either side.
Note
Paper wallpapers must be cut on the trestle table. Non-woven wallpapers can be cut directly on the wall during wallpapering, should you prefer this alternative method. However, in our option, cutting the wallpaper on the trestle table is always simpler and safer.

