How to prepare the wallpapering surface

1 Analysing the current condition of the wall
Right, the old wallpaper has been stripped successfully - with more or less effort. Now it is time to have a closer look at the condition of the wall: the surface needs to be clean, even, firm and fully absorbent. We will show you methods to ensure that you can check those characteristics, as not all of them are immediately obvious to the naked eye.
Check Absorbency
To find out whether a wall or ceiling is absorbent throughout, just apply the simple water test. Apply some water with a brush or roller. If water pearls appear, the surface is not sufficiently, or not at all, absorbent.
If the water is being absorbed immediately and the surface turns darker, it is very absorbent. Also, highly absorbent surfaces often have hairline cracks.
Check Firmness
What about the firmness of the wall/ceiling - in other words: how firm is the surface?
If you move your hand over the surface and the palm of your hand turns white, or the wall/ceiling is sandy, you need to act.
To find out how stable the surface is, apply pressure: Press your thumbnail against the wall/ceiling. If small particles come off or a dent forms, the surface is not firm enough for wallpaper.
Old paintwork or paint residues which come to the fore after stripping wallpaper also need to be checked for firmness. Use your cutter knife to cut a cross in the surface, put some sticky tape on it, press down firmly and tear it off swiftly. If there are bits of paint on the tape, the surface is not firm enough.
Distemper paint contains water-soluble glues and requires special treatment. There is an easy way to find out whether you are dealing with distemper: Dampen the area and move your fingertips over it. If it is distemper paint, rubbing it will result in a substance similar to wallpaper paste, and the paint will stick to the fingers.
Check Cleanliness and Evenness of Colour
Smudges and Stains on a wall can have various reasons. Dampness in the wall causes water or rust stains. Water stains are easily identifiable as they have clearly visible edges; rust stains are reddish brown in colour and come off when in contact with water. An easy way to identify real rust stains is rubbing a damp cloth over the stain. If it comes off, it is a rust stain.
You should inspect the wall very thoroughly. Can you see distinct colour differences or light/dark areas? Such irregularities can be the result of multiple treatments of the wall, but they also often appear as a result of using gypsum plasterboard. If you have chosen high-quality non-woven or other types of thin wallpaper, you need to correct the colour differences as otherwise they will be visible though the paper.
Check for Dampness
Dark patches, mildew spots or signs of mould on the wall or ceiling are signs of dampness. The best way to determine the extent of the damp is to use a moisture meter. But obviously not everyone has one or feels inclined to buy one. Alternatively, you can do the tin foil test which will make residual moisture visible. Put some tin foil on the damp area and leave it in place for 24 hours. If there is condensation under the foil when you take it off, the wall needs to be left to fully dry before treating it any further. You might need to repeat the foil test.
Mould?
Consult the experts!
If the damp has lead to mould on your walls or ceilings, we recommend talking to a professional in order to track down the exact reason and evaluate the extent of the problem. Without finding the source of the mould, the problem could reoccur, and short-term through-drying is only dealing with the symptoms rather than the reason. However, if there are only small spots of mould, you can use a commercial mould remover with disinfecting properties. Wear a protective breathing mask and gloves and ensure good ventilation.
Check Smoothness
Small holes or cracks will be visible when you inspect the wall or ceiling. Find out how to fix these under the header How to fill small holes and cracks.
Professionals move the beam of a hand-held lamp across the wall in order to check its surface thoroughly and to determine whether it is even.
If the surface is badly damaged or shows, for instance, a mixture of old paint layers and many repairs using a variety of materials, special preparation work has to be done to provide the perfect surface for the wallpaper. Find more info under Special treatments for badly damaged surfaces.
If the surface is slightly rough or matted, you can find a variety of products in DIY shops which are used to prepare the surface and even it out.
Subsequent Tasks The following steps of these instructions will tell you how to prepare the surface in order to create the perfect base for the wallpaper.

2 Filling small holes and cracks
If stripping the wallpaper has left the surface with the odd small blemish due to careless spatula work, simply use filler to smooth them over. You might also find damages hidden under the old wallpaper, e.g. cracks in the plaster.
If existing holes are not to be re-used to hang wall shelving, pictures or other decorative objects after wallpapering, they need to be filled, too.
Ready mixed fillers or powder fillers (to be mixed with water) can be found in any DIY shop. Each variety has its own pros and cons, and you should make your decision based on specific conditions.
Ready Mixed Fillers
- Paste in tubes or buckets
- Immediately usable, no mixing required
- Short drying time, so you can work on the surface soon afterwards
- Reusable, so you can use remaining fillers for your next project
Powder Fillers
- Ideal if you need large amounts of fillers
- Easily mixed with water
- Can be applied in a thick layer to fill holes and cracks
- Cheaper than ready mixed filler
- Easy to sand down
Tips
Dampen the area you wish to fill before applying filler. Do not use too large an amount and apply in an even and thin layer. Fill deeper holes with paper first. After the filler has dried, smooth over with sandpaper until you achieve a completely smooth surface.
3 Applying deep primer or thinned wallpaper paste
(depending on the outcome of the analysis)
Now that you have filled the small holes and cracks and the wall/ceiling is completely dry, the surface needs to be primed so that it provides the ideal base for wallpapering. Depending on the results of the analysis, you will have to use either deep primer or thinned wallpaper paste.
Choice of deep primer according to the analysis of the wall
Choose a colourless deep primer if the wall is even in colour and you are not planning to use non-woven or other thin wallpapers which might not cover uneven colours. This type of deep primer is also used to treat crumbly or chalky walls and ceilings. Furthermore, it regulates absorbency.
White, pigmented deep primer is used in order to even out colour differences. It has the same properties as the colourless variant in terms of absorbency and strengthening the surface. Pigmented deep primer is also useful for those who are unable to finish the entire priming process in one go - a great solution as the areas that have already been treated are clearly visible when you continue the work later on. This is not the case for colourless deep primer once it has dried.
What is Deep Primer?
Deep primer is a liquid to viscous undercoating which regulates the absorbency of the surface, reinforces it, and evens out colour differences.
The main distinction here is between solvent-containing Deep Primer (SC) and solvent-free deep primer (SF). Water-based solvent-free primer is the preferred solution for interior walls as it is odourless and does not require any specific protective measures during application. Solvent-containing deep primer is mainly used for exterior walls due to its long-lasting vapours. Water-based solvent-free primer is the better solution as it doesn't seal the surface (and in terms of the environment, too).
Solvent-free Primer can be colourless (unpigmented) or coloured (pigmented) and is available in canisters or buckets. It is applied with a paint roller with a flexible telescopic handle.
Sandy or chalky surfaces
They should be brushed down - or use an old vacuum cleaner - before you apply the deep primer. Ensure good ventilation and wear a protective mask if necessary.
If the surface has been painted with distemper paint
This needs to be washed off completely before applying deep primer. Old coats or remnants of paint which are crumbly and do not provide a proper firm surface for the wallpaper have to be removed without a trace before priming.
Stubborn stains
For stubborn stains like, for instance, rust spots, we recommend using a sealing primer which will seal the stains. If untreated rust stains come in contact with humidity or wallpaper paste, they smudge and (if you are using thin wallpaper) will be visible through the paper.
Special Case gypsum plasterboard
Light construction methods using gypsum plasterboard have become more and more popular in recent years. They are also much more frequently used for extensions or modifications. As gypsum plasterboard is very absorbent, special measures are necessary when wallpapering. If the surface is not treated in advance, the wallpaper will be very difficult to strip once applied, as doing so will often mean that the plasterboard's paper layer will be ripped off, thus damaging the gypsum. Often, the edges are evened out with filler, and repairing the gypsum plasterboard also creates colour differences which will be visible through thin or non-woven wallpapers and interfere with the overall appearance of the finished wall.
Correct application of deep primer
Deep primer can be applied in diluted or undiluted form. Please check the manufacturer's instructions on the label. Deep primer in a canister will have to be poured into a wide bucket. Some primers already come in a bucket and can be used straight away You should attach a wipe-off grid to the side of the bucket.
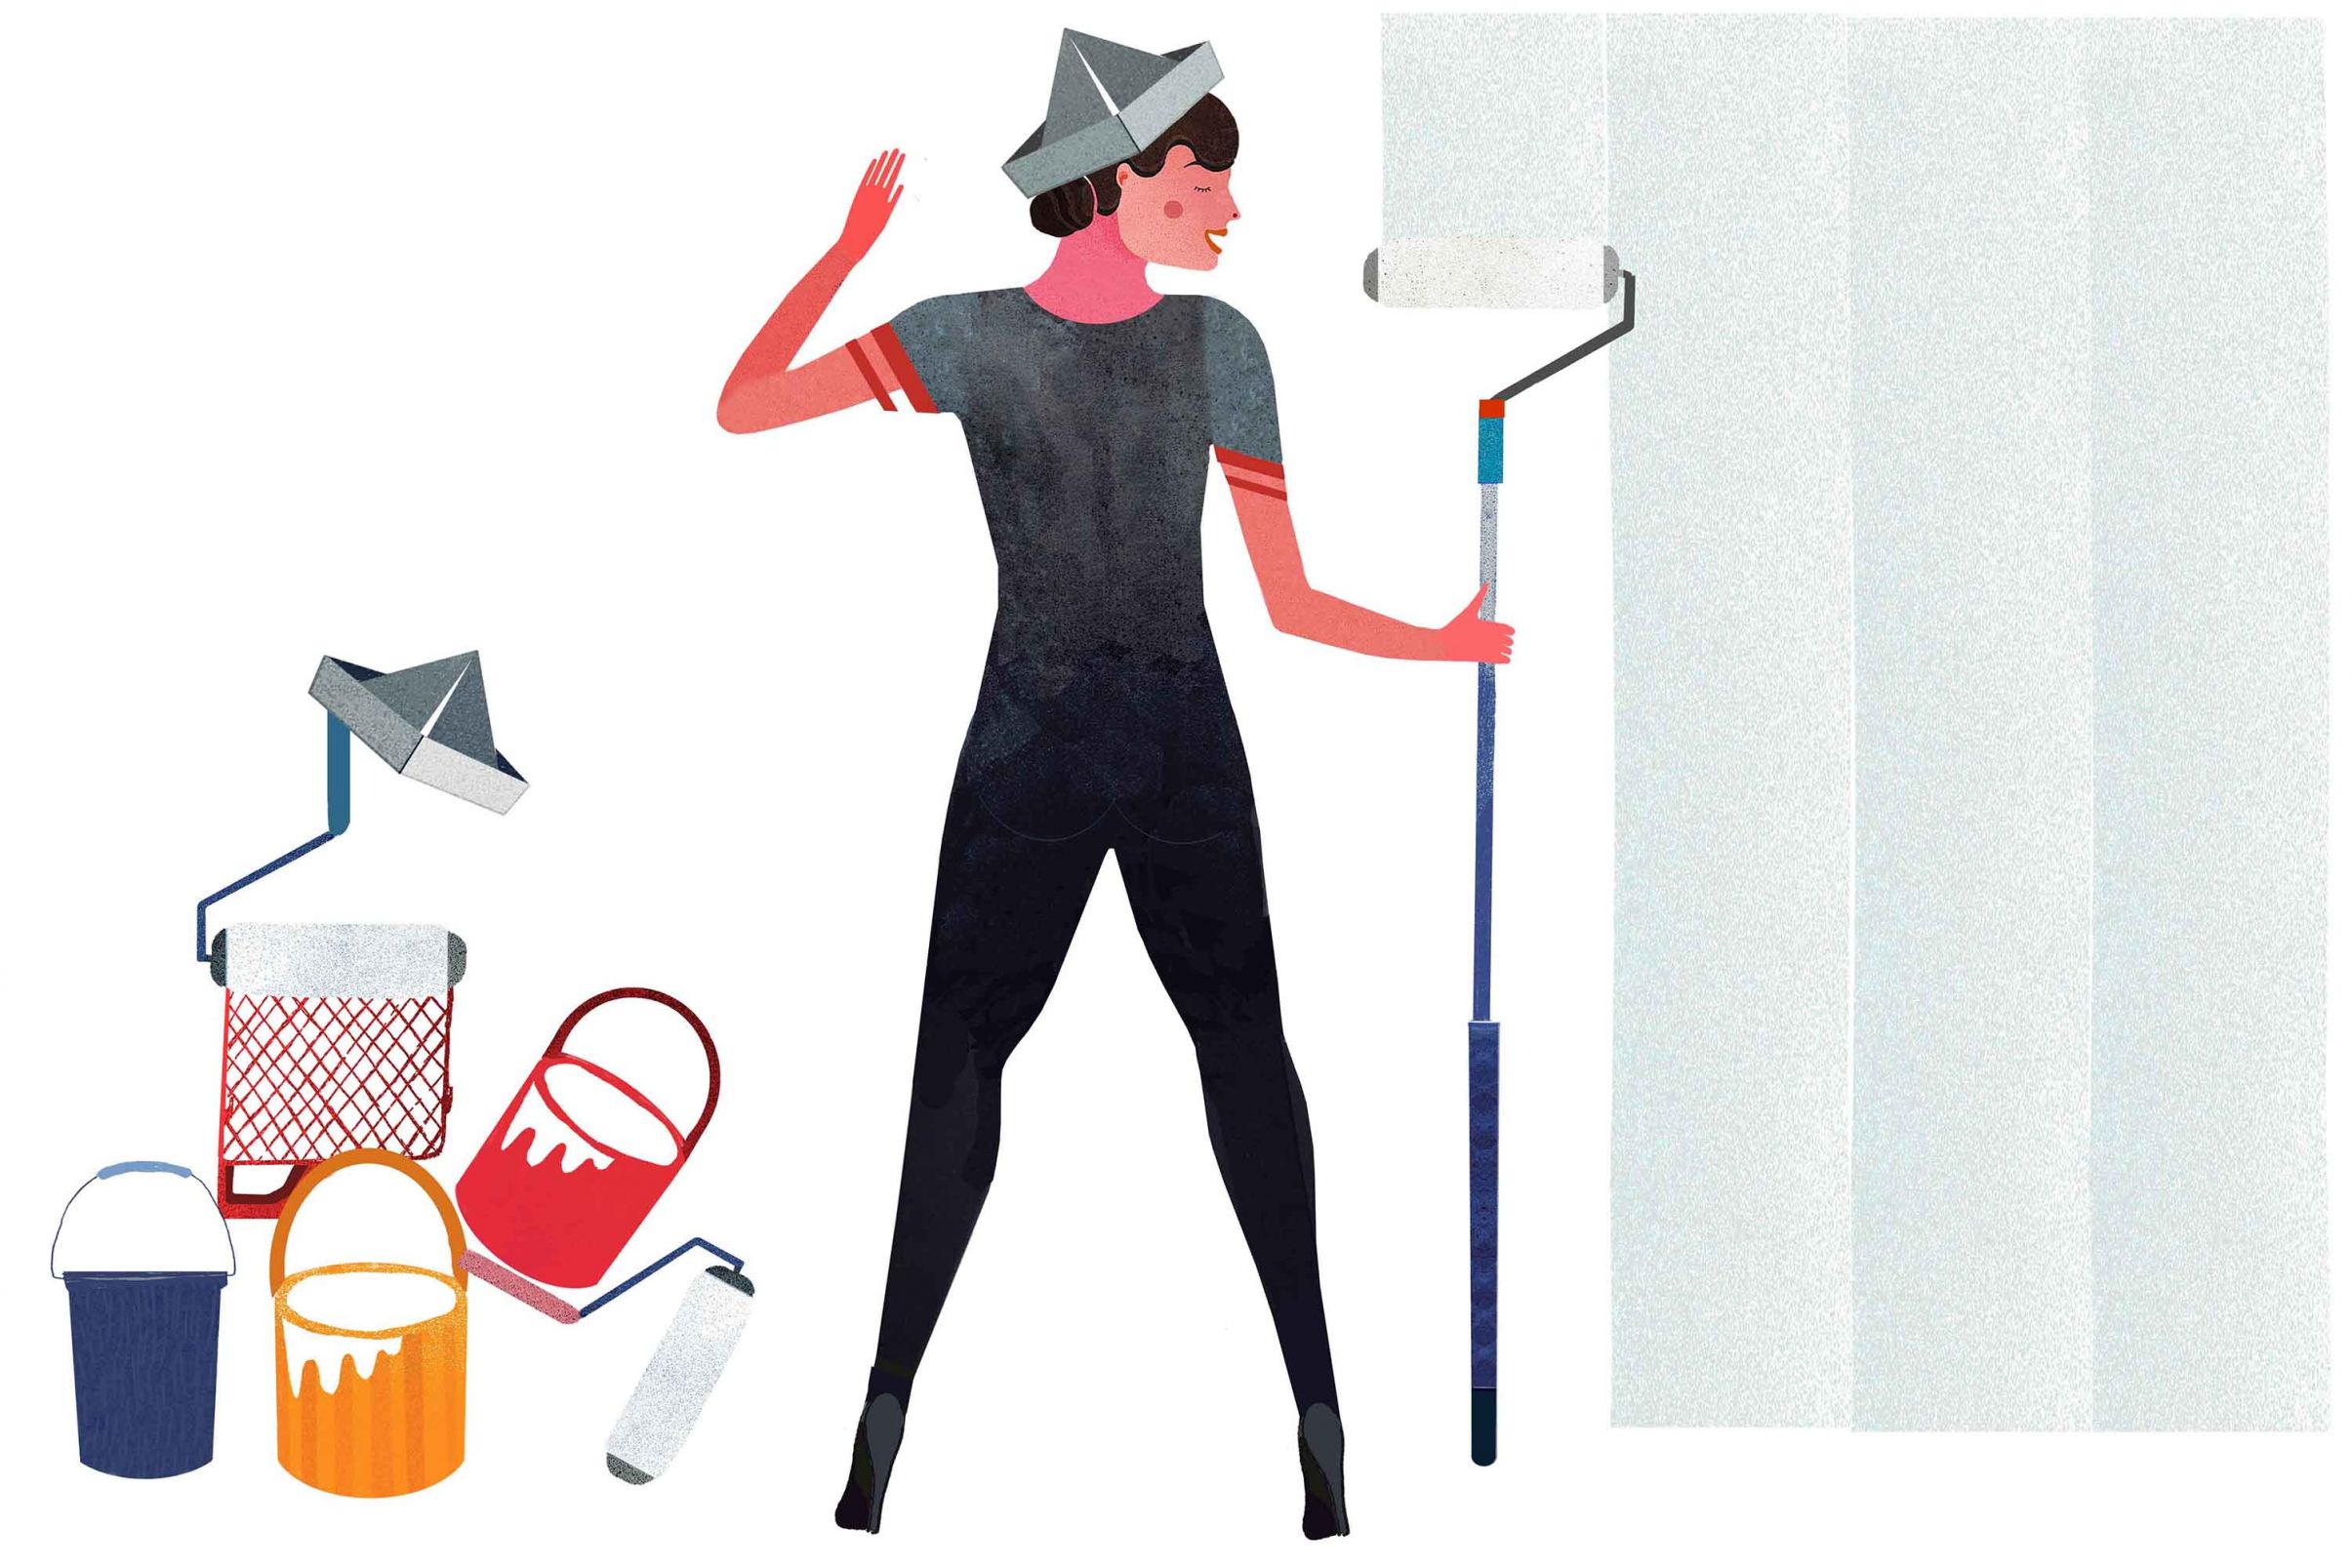
The easiest way to apply the primer is with a paint roller with a telescopic handle which will enable you to cover the entire wall without having to use a ladder. For tricky corners or narrow areas (e.g. for radiators), small rollers and angled brushes with long handles are very useful.
First, thoroughly stir the deep primer. Then, immerse the roll in it and remove excess primer on the grid. Start at the top of the wall and move the roller down. Continue to work in a vertical manner. For the ceiling, it would be useful to protect your head against drops. As for white/pigmented deep primer, it is important to paint away from the window and the light.
To determine whether one layer of deep primer is sufficient, check if the surface absorbs it properly. If it dries very quickly, you will need to repeat the process until the wall and ceiling are saturated, i.e. they cannot absorb any more deep primer. Depending on what deep primer product you are using, you might be able to apply another layer whilst the first one is still damp, or you might have to wait until it has completely dried out. Check the product instructions for more information.
This is why we recommend to prepare gypsum plasterboard walls with white/pigmented deep primer or other special primers for gypsum plasterboard. In order to ensure the wallpaper can easily be stripped later on, you could alternatively apply a liquid primer with a brush.
Pre-treating surfaces with diluted wallpaper paste (for very absorbent surfaces)
Very absorbent surfaces like gypsum plaster and concrete can be pre-treated by applying diluted wallpaper paste with a brush in order to create an evenly absorbent surface. However, the surface needs to be firm and stable, as otherwise the diluted paste will not have the desired effect. Also, if there are clearly visible colour differences on the surface, pigmented deep primer or special priming substances might be more suitable.
You will find information regarding the dilution ratio for the wallpaper paste on the packaging. Apply it in the same way as you would with deep primer.
4 How to apply Lining Paper
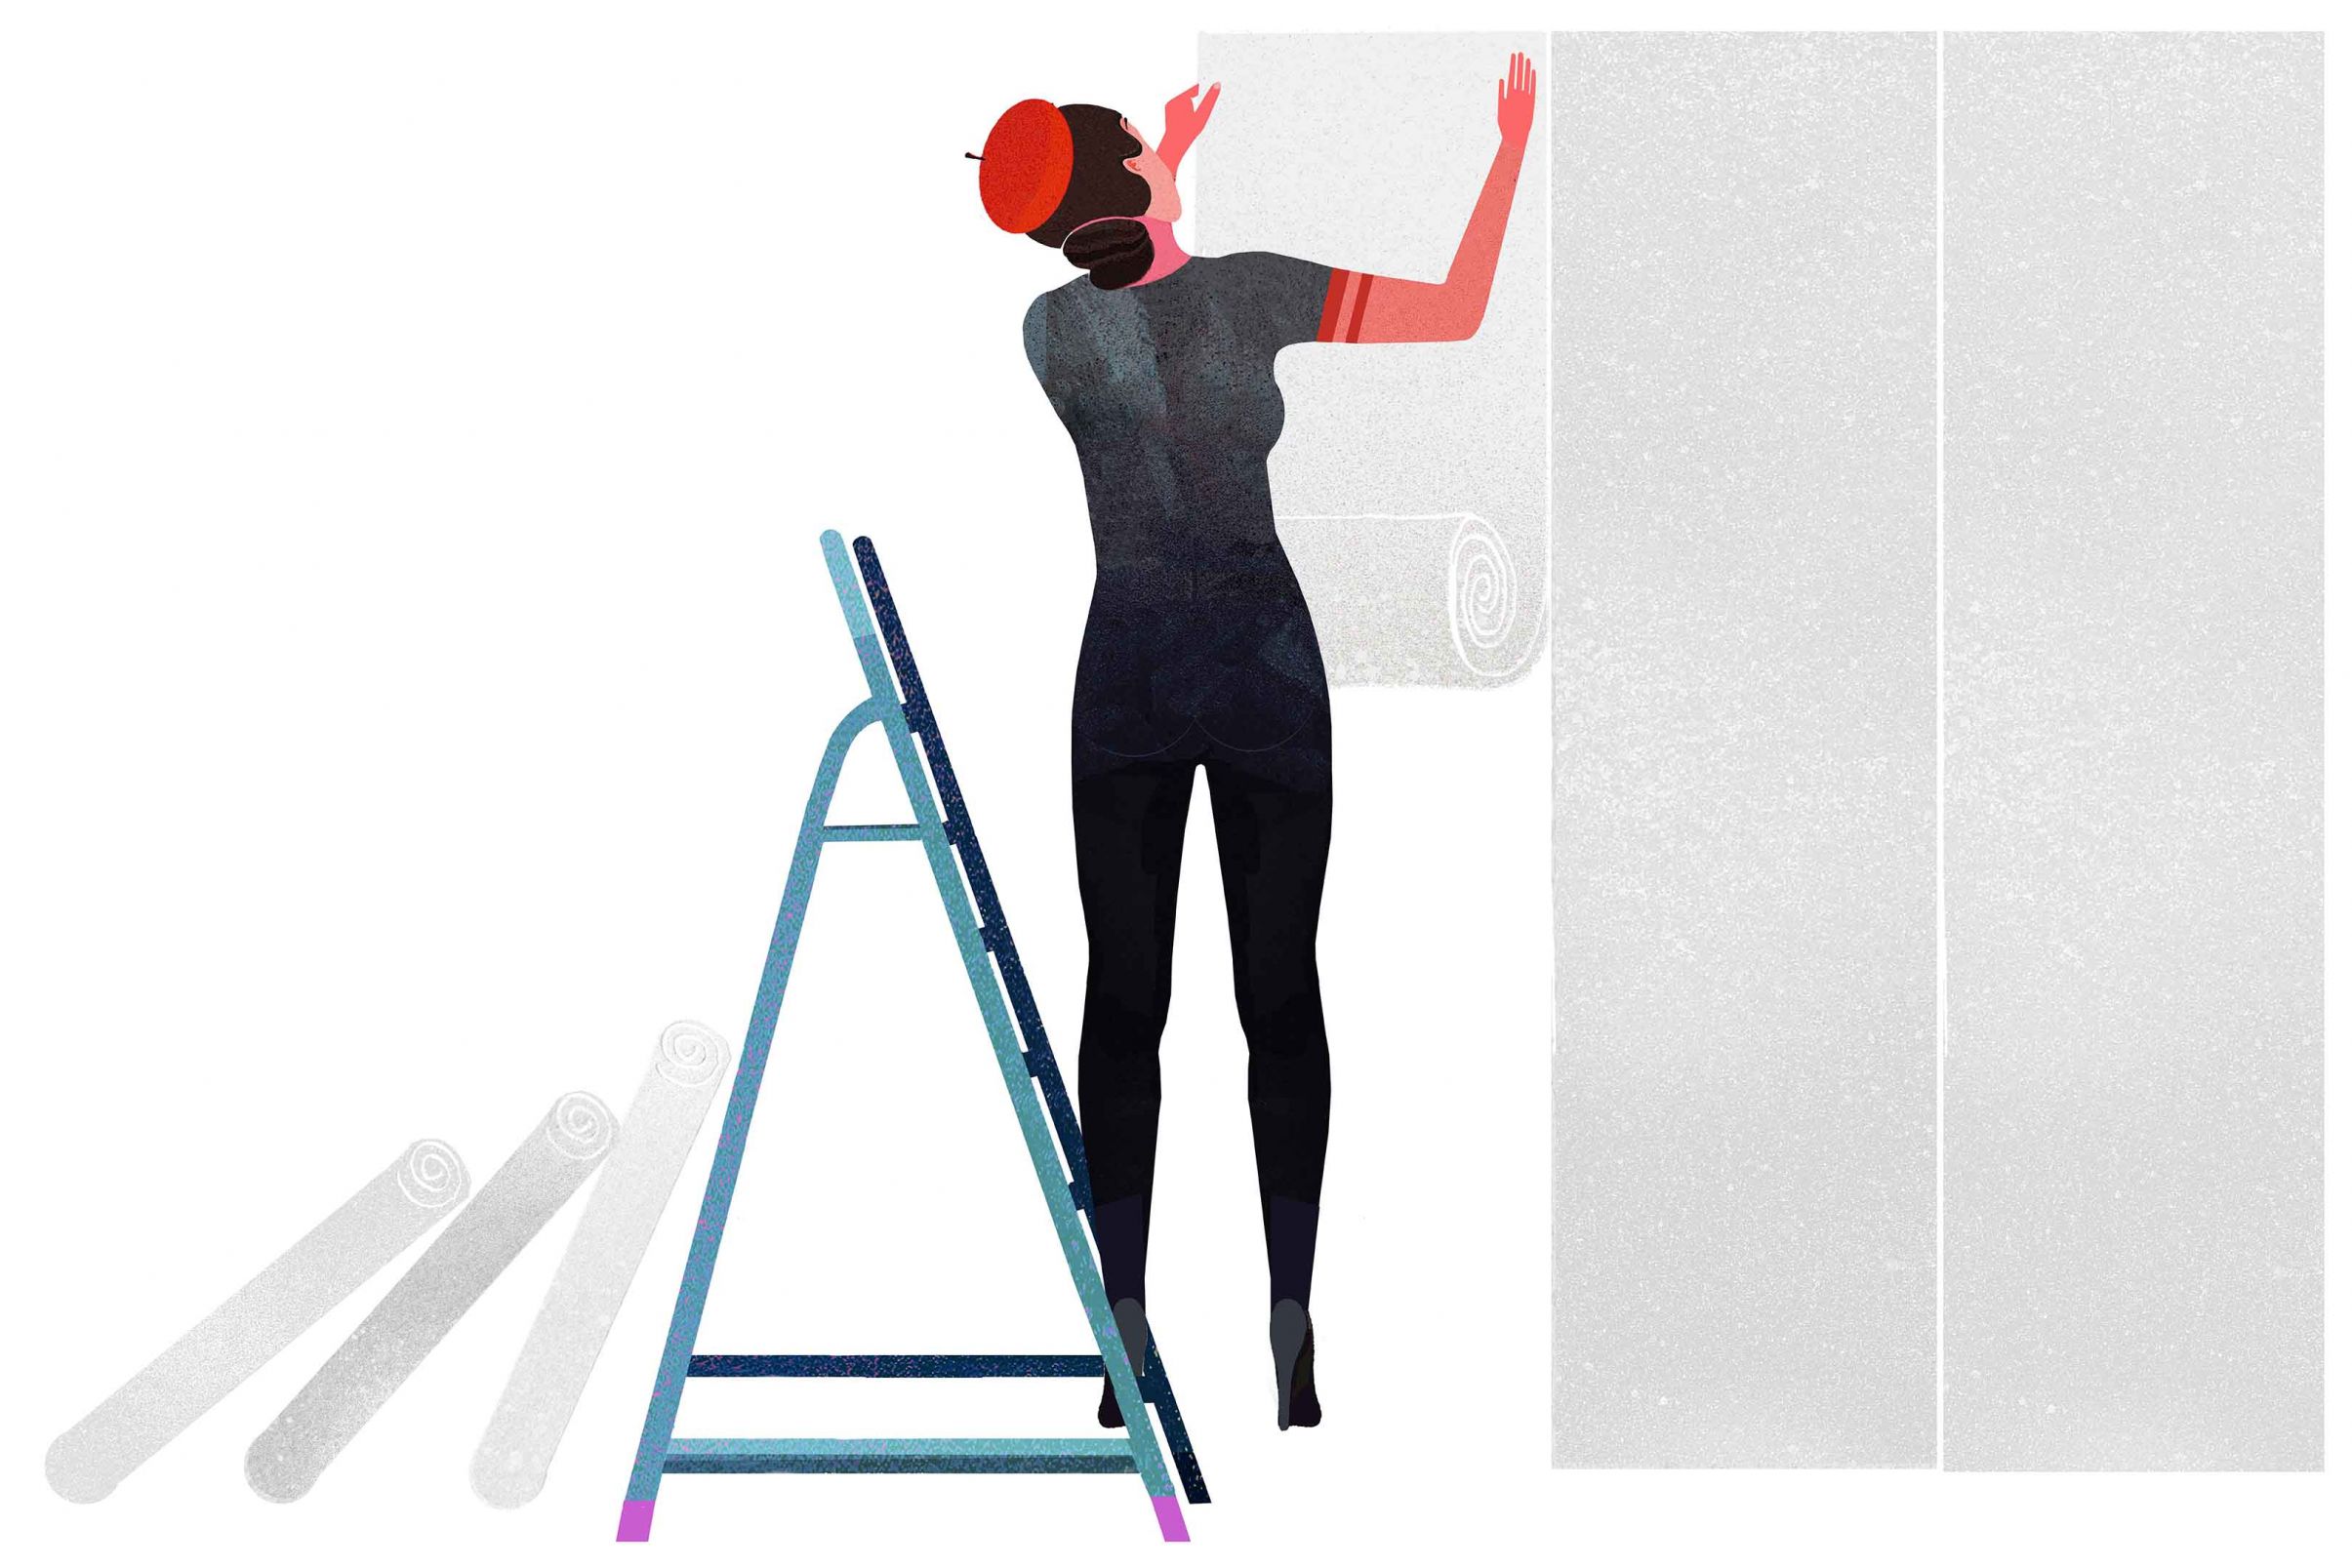
Did you find some old newspaper when you stripped the wallpaper? In the olden days, using newspaper was common practice in order to provide the perfect surface for walls and ceilings and make sure the new wallpaper would adhere to the wall properly. Today, we use can lining paper to achieve the same result, and it is especially recommended under valuable and high-quality wallpapers. In other words: you CAN use lining paper, but it's not a must.
You can buy lining paper in rolls, just like wallpaper. It comes in the same widths as regular wallpaper and is usually white and without a pattern. Various different strengths/grammages are available, as they should tie in with those of the decorative wallpaper. So: thin wallpaper requires only a thin lining paper, thick wall décor needs thicker lining paper.
By using paper or non-woven lining material, the wall's granulation is smoothed over, thus ensuring the flawless appearance of the decorative wallpaper. It creates an even, light and absorbent surface and prevents tensions on the edges which might otherwise occur during the drying process and lead to gaps between individual sheets of wallpaper. Non-woven lining paper also retains its form, allows for crease-free and easy application of the decorative wallpaper, and can smooth over small cracks.
Paper lining is used to prepare for paper wall décor, non-woven lining paper is used for non-woven wall décor. Find more detailed information about applying lining paper in our instructions regarding paper wallpaper and non-woven wallpaper.
Make sure the edges of the lining paper are not converging with the edges of the decorative wallpaper. The lining paper should be dry before you start applying the decorative paper.

5 Special measures for damaged surfaces
In some cases, especially in old buildings, the appearance of the "naked" wall might be less than ideal and require specific measures in order to create the perfect surface.
If the surface looks like a patchwork blanket, showing signs of old paint layers or repairs made with a variety of materials, resulting in a combination of surface structures, we recommend to re-apply filler to the entire wall or ceiling, as failing to do so will result in aforementioned patchwork effect and no wallpaper, however beautiful, will be presented in the most favourable way.
Those cases require four different steps which we will only describe in very basic terms as they really should be left to professional craftsmen.
-
1Sand down the Surface
A (hand-held) orbital sander with rotating disks and abrasive paper (sandpaper, 60 grit) is used to treat the entire area in order to smooth out edges and bumps without damaging the surface. Also, by sanding old paint layers, the surface is being prepared for the subsequent application of bonding primer.
-
2Applying bonding primer on tricky surfaces
he next step is to apply a bonding primer on sanded-down "tricky" surfaces to provide the best base for the compound layer. You can buy this liquid bonding primer in buckets, ready to use. The bonding primer is pigmented (white) so it neutralises different surface colours. It can be used diluted or undiluted. After stirring the primer, it is applied to the surface with a paint roller in vertical movements from top to bottom. After about 24 hours of drying time, the filling process can begin.
-
3Large-Scale Surface Filling
To fill large surfaces, various tools are required, e.g. plastering trowels, spatulas in various sizes as well as filler in powder form. Filler for large-scale projects is available in sacks. The powder is mixed with water according to the manufacturer's instructions, to achieve a creamy, lump-free consistency. The filler is applied to the whole wall or ceiling with a plastering trowel and then smoothed out with a large spatula to create an even surface.
-
4Sanding of the filled Surfaces
The final step is sanding the surface. To make this process easier even for the higher areas, a special sander with a long handle is used (sanding paper 60 grit). A vacuum cleaner can be attached to this to collect the dust. After this last step, the surface is perfectly prepared for the new wallpaper.


