How to wallpaper in the bathroom
1 Characteristics of wallpapered bathrooms
The following instructions will explain the various possibilities and working methods for using wallpaper in bathrooms. It can be a great way to give a room a new, fresh, contemporary look and is much cheaper (and quicker) than re-tiling your bathroom.
But before we go into the processes in detail, we'd like to give you some information regarding the use of wallpaper in "damp rooms" like bathrooms. Whether you live in rented or your own property is another significant consideration when it comes to wallpaper in bathrooms.
“Room climate” and wallpaper adhesion in bathrooms
Bathrooms are in the category of “damp rooms”, where steam from hot baths and showers increases the air humidity considerably. This is why the correct ventilation in bathrooms is very important. The damp air needs to be able to escape, otherwise it will settle in the walls. If the air humidity remains at a constant high level, it will lead to mould.
When it comes to wallpapering bathroom walls, be they tiled or not, one needs to use sanitary (wipeable) wallpapers with excellent water resistance. The best option is to use vinyl wallpaper.
If humidity penetrates the wallpaper, the adhesion strength is reduced and the wallpaper can start to come off the wall. This is similar to the process removing old wallpaper by soaking it in water and soap in order to be able to pull it off more easily. If you choose a non-woven or paper-based wallpaper without vinyl coating for your bathroom, you should treat it with a colourless latex coating which will protect it from water and humidity.
In order to increase the adhesive strength of wallpapers in bathrooms, you can add some (about 20%) dispersion adhesive to your regular wallpaper paste. Alternatively, you can simply replace the paste with 100% dispersion adhesive. Your local DIY shop will be able to recommend the correct dispersion glue, as there are various different types available. Please note that dispersion adhesive takes longer to dry and harden than wallpaper paste. Plasterboard will have to be primed (as per usual) before applying the adhesive.
Rental or own property - what you need to know
If you are the proud owner of a flat or house, you can (within building regulations) more or less do what you like in terms of renovating or improving your property. However, if you are renting an apartment or a house, it's a very different situation. Generally speaking, if you live in rented accommodation you are only allowed to make changes that will easily be reversed when the time comes to move out. As for bathroom alterations, there is only a limited amount of reversible options, which is why you might need to consult your landlord or landlady first.
In other words: Before you start the process, talk to the owner of your abode first!
Explain your plans in detail and tell them what you wish to achieve, and how you are going to do it. If you have the written "OK", and it has also been defined (in writing) what you might need to do to reverse the work, there is nothing stopping you from commencing your bathroom renovation.
Wallpapering tiled bathroom walls
Ugly, outdated tiles annoying you every morning? There is a solution! We will introduce three methods of wallpapering tiled bathroom walls using beautiful patterned wall décor which will transform your old bathroom into an oasis of calm.
Method 1: Remove old tiles, re-plaster the wall, apply wallpaper
Removing the old tiles and any remnants of glue and then re-plastering - this is the classic method for bathroom renovations. However, it is a dusty, dirty and very time-consuming process.
Alas, if the old tiles are damaged, are beginning to come off the wall, if they have cracks or the grouting is crumbling and mouldy, there is no way round, you will have to remove them and start from scratch. Wallpapering over damaged surfaces or covering them with plasterboard is no solution! However, in rented accommodation it is usually not permitted to take old tiles off. Again, you should consult your landlord or landlady.
Method 2: Smooth over tiled walls, then apply wallpaper
The advantage of this process is that you do not have to remove the tiles first. This method can only be applied after consulting the owner as reversing the process is not possible, due to the fact that the surface of the tiles as well as the grouting is compromised during the process. In contrast to using plasterboard ("drywalling"- explanations under 3.), no thick material is attached to the tiles.
Method 3: Mounting gypsum plasterboard as a surface for hanging wallpaper
For the third way to hide old tiles behind a new wallpaper, the wall is covered with gypsum plasterboard panelling. This method is suitable for rental accommodation, too, as the tiles remain unharmed and the wallpaper-covered plasterboard panels can later be removed. Please note that the drill holes in the grouting will have to be filled in order to restore the wall to its original state. This method is a clean, time-saving option.
Due to the panelling, the wall "moves into the room" ever so slightly. This can lead to problems when it comes to plumbing and fittings. When in doubt, it's best to consult an expert who can also perform the necessary cuts to accommodate aforementioned plumbing and fittings.
Wallpapering untiled bathroom walls
If the walls of your bathroom aren't tiled, you can proceed with your project according to the instructions above. If you decide to use dispersion glue for your wallpaper, you should inform the owner of the accommodation and make sure he or she agrees, especially in the light of what future removal will entail. Due to the increased adhesive strength of this type of glue, it is - compared to "regular" wallpapering paste - a more labour-intensive process to remove wallpaper at a later date. This is usually achieved with the help of a steam wallpaper stripper and it can be a fiddly task to make sure no plasterboard comes off with the wallpaper.

2 Filling in grouting, levelling out the filler, and sanding down tiles with sandpaper
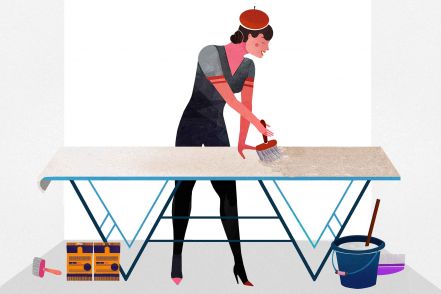
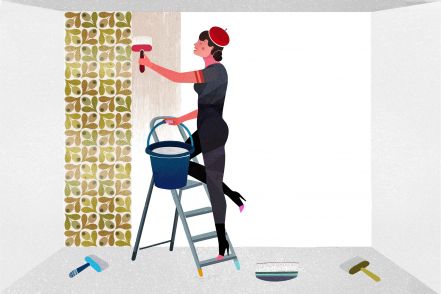
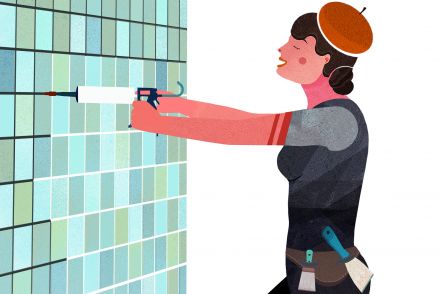
Our Wallpaper Girl demonstrates how it works.
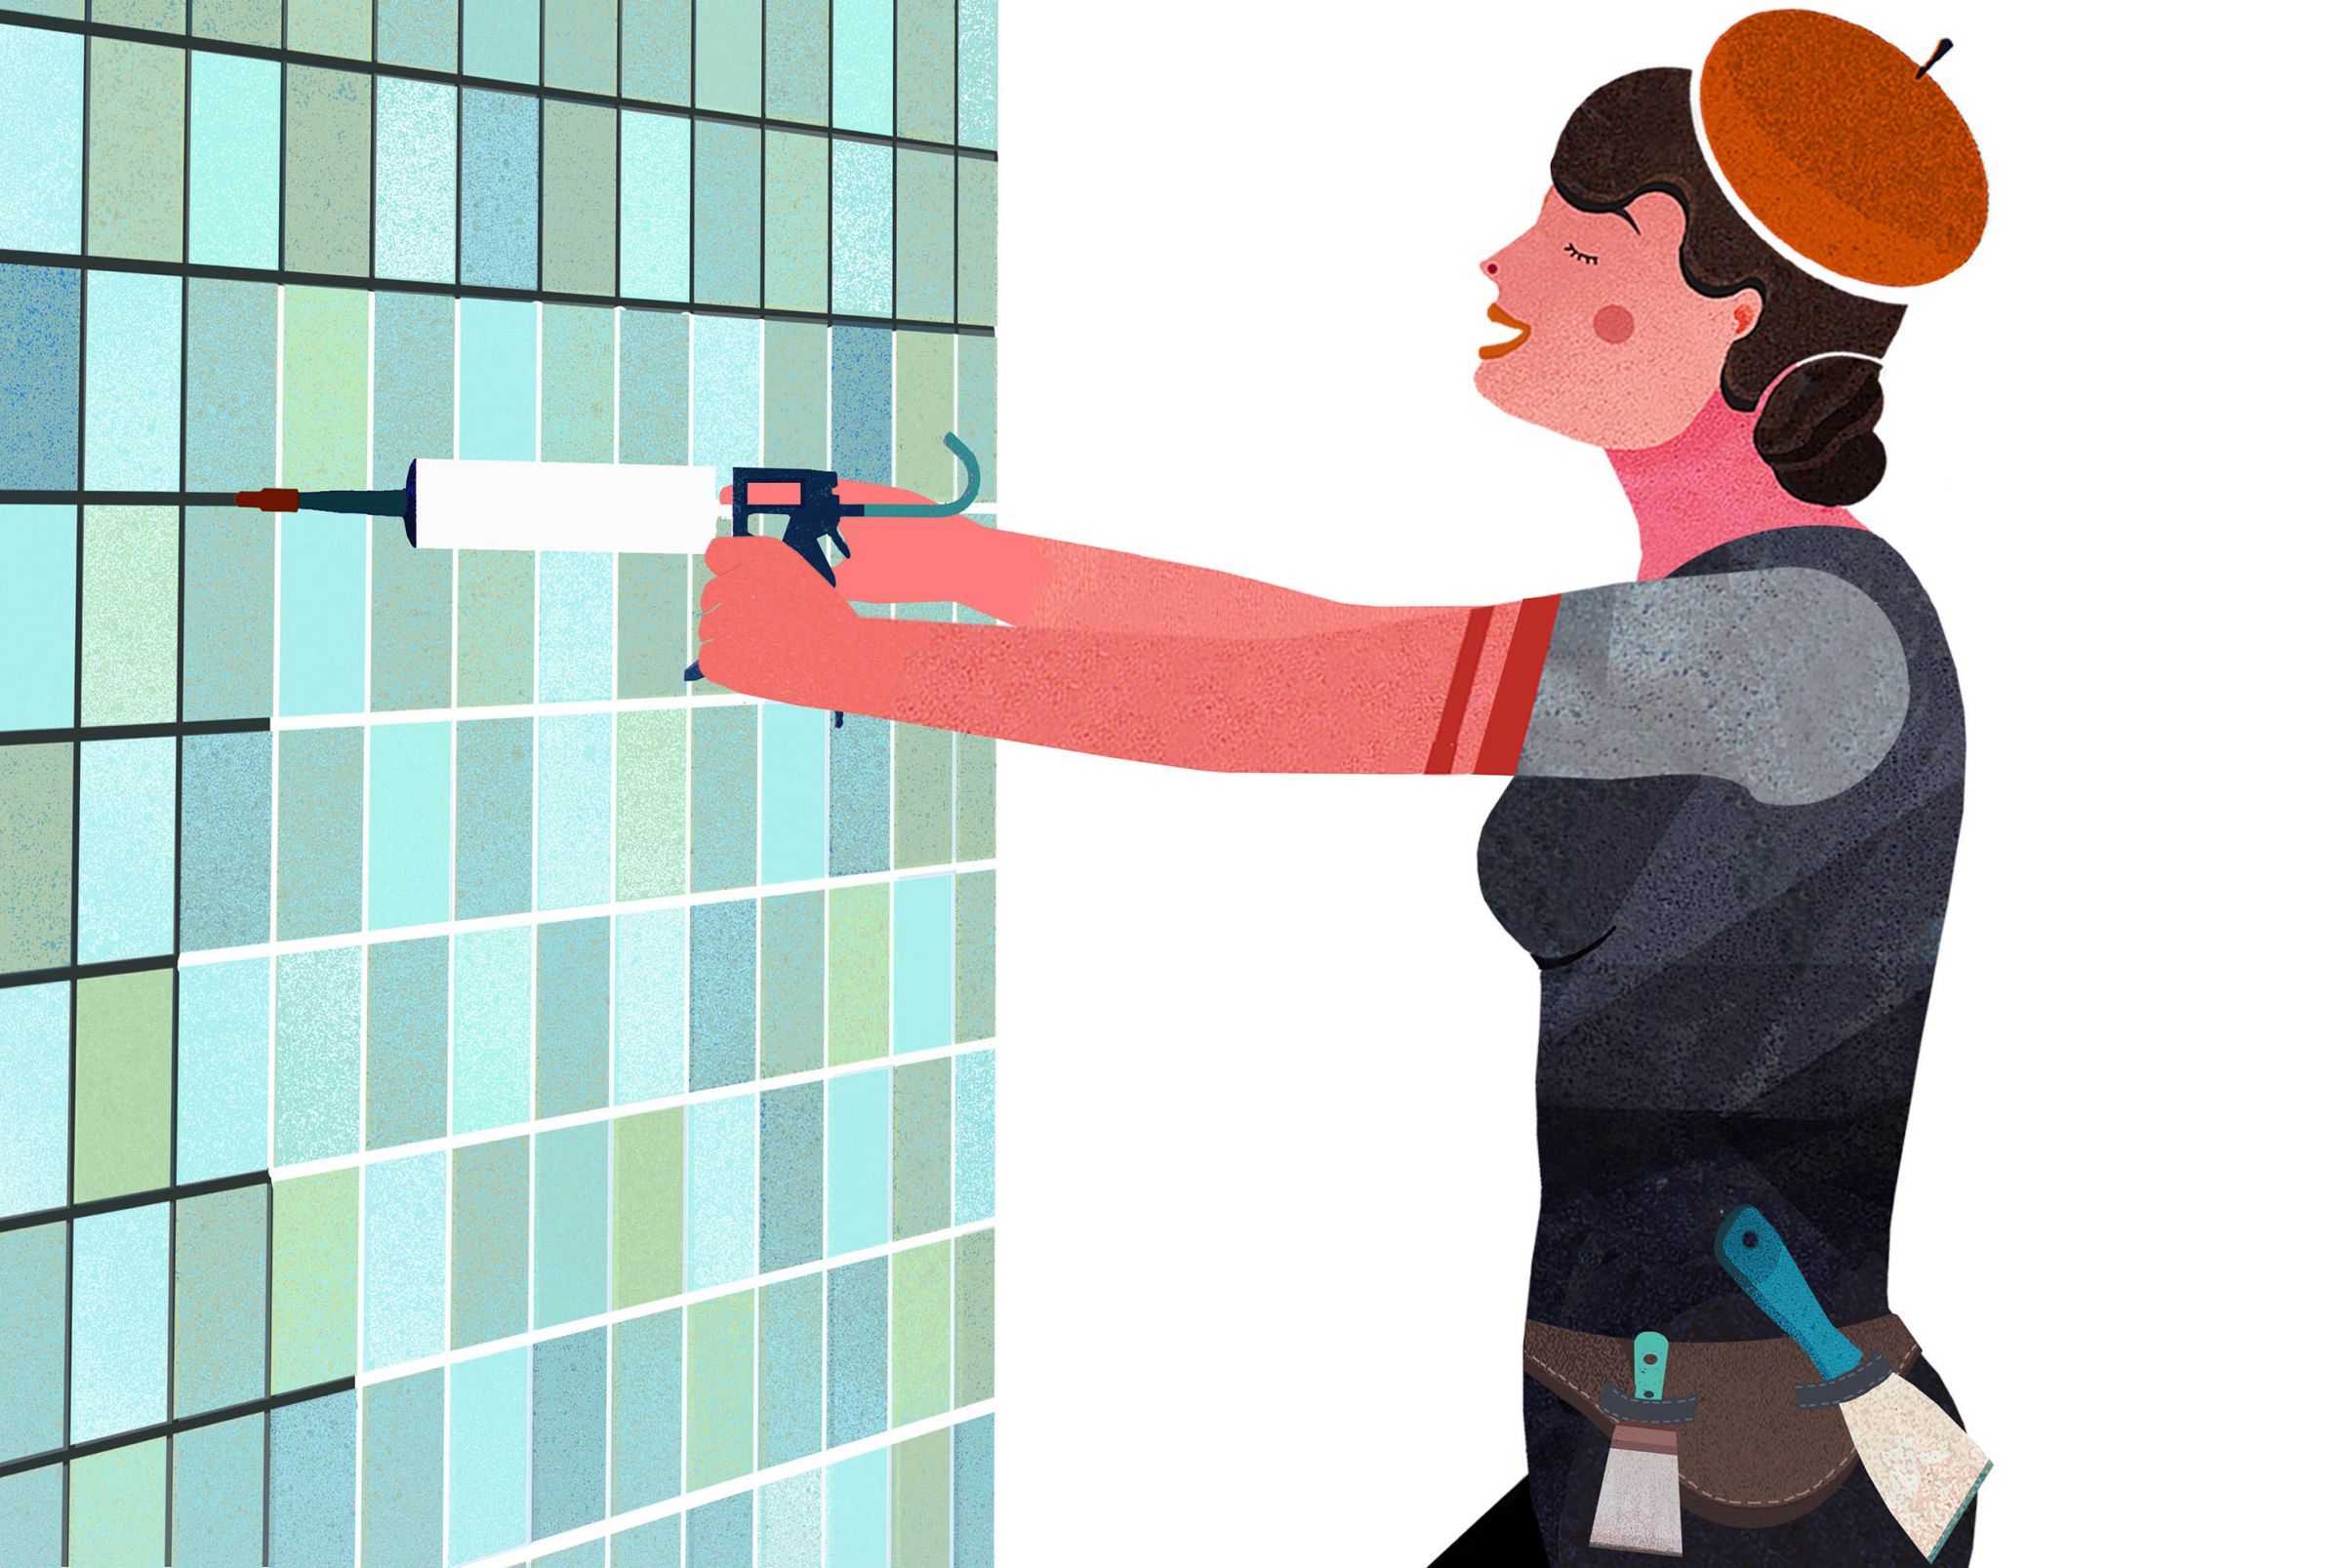
First, fill the gaps between the tiles with tile adhesive and level it out, creating a completely even surface. Grouting compound is not suitable for this process.
Once the adhesive has dried (check the packaging for drying times), the tiles need to be sanded (using sandpaper) to make sure the surface is properly primed for the next step. Then remove the sanding dust, wipe the tiles clean and make sure they are dry.
3 Apply deep primer twice, then apply lining paper
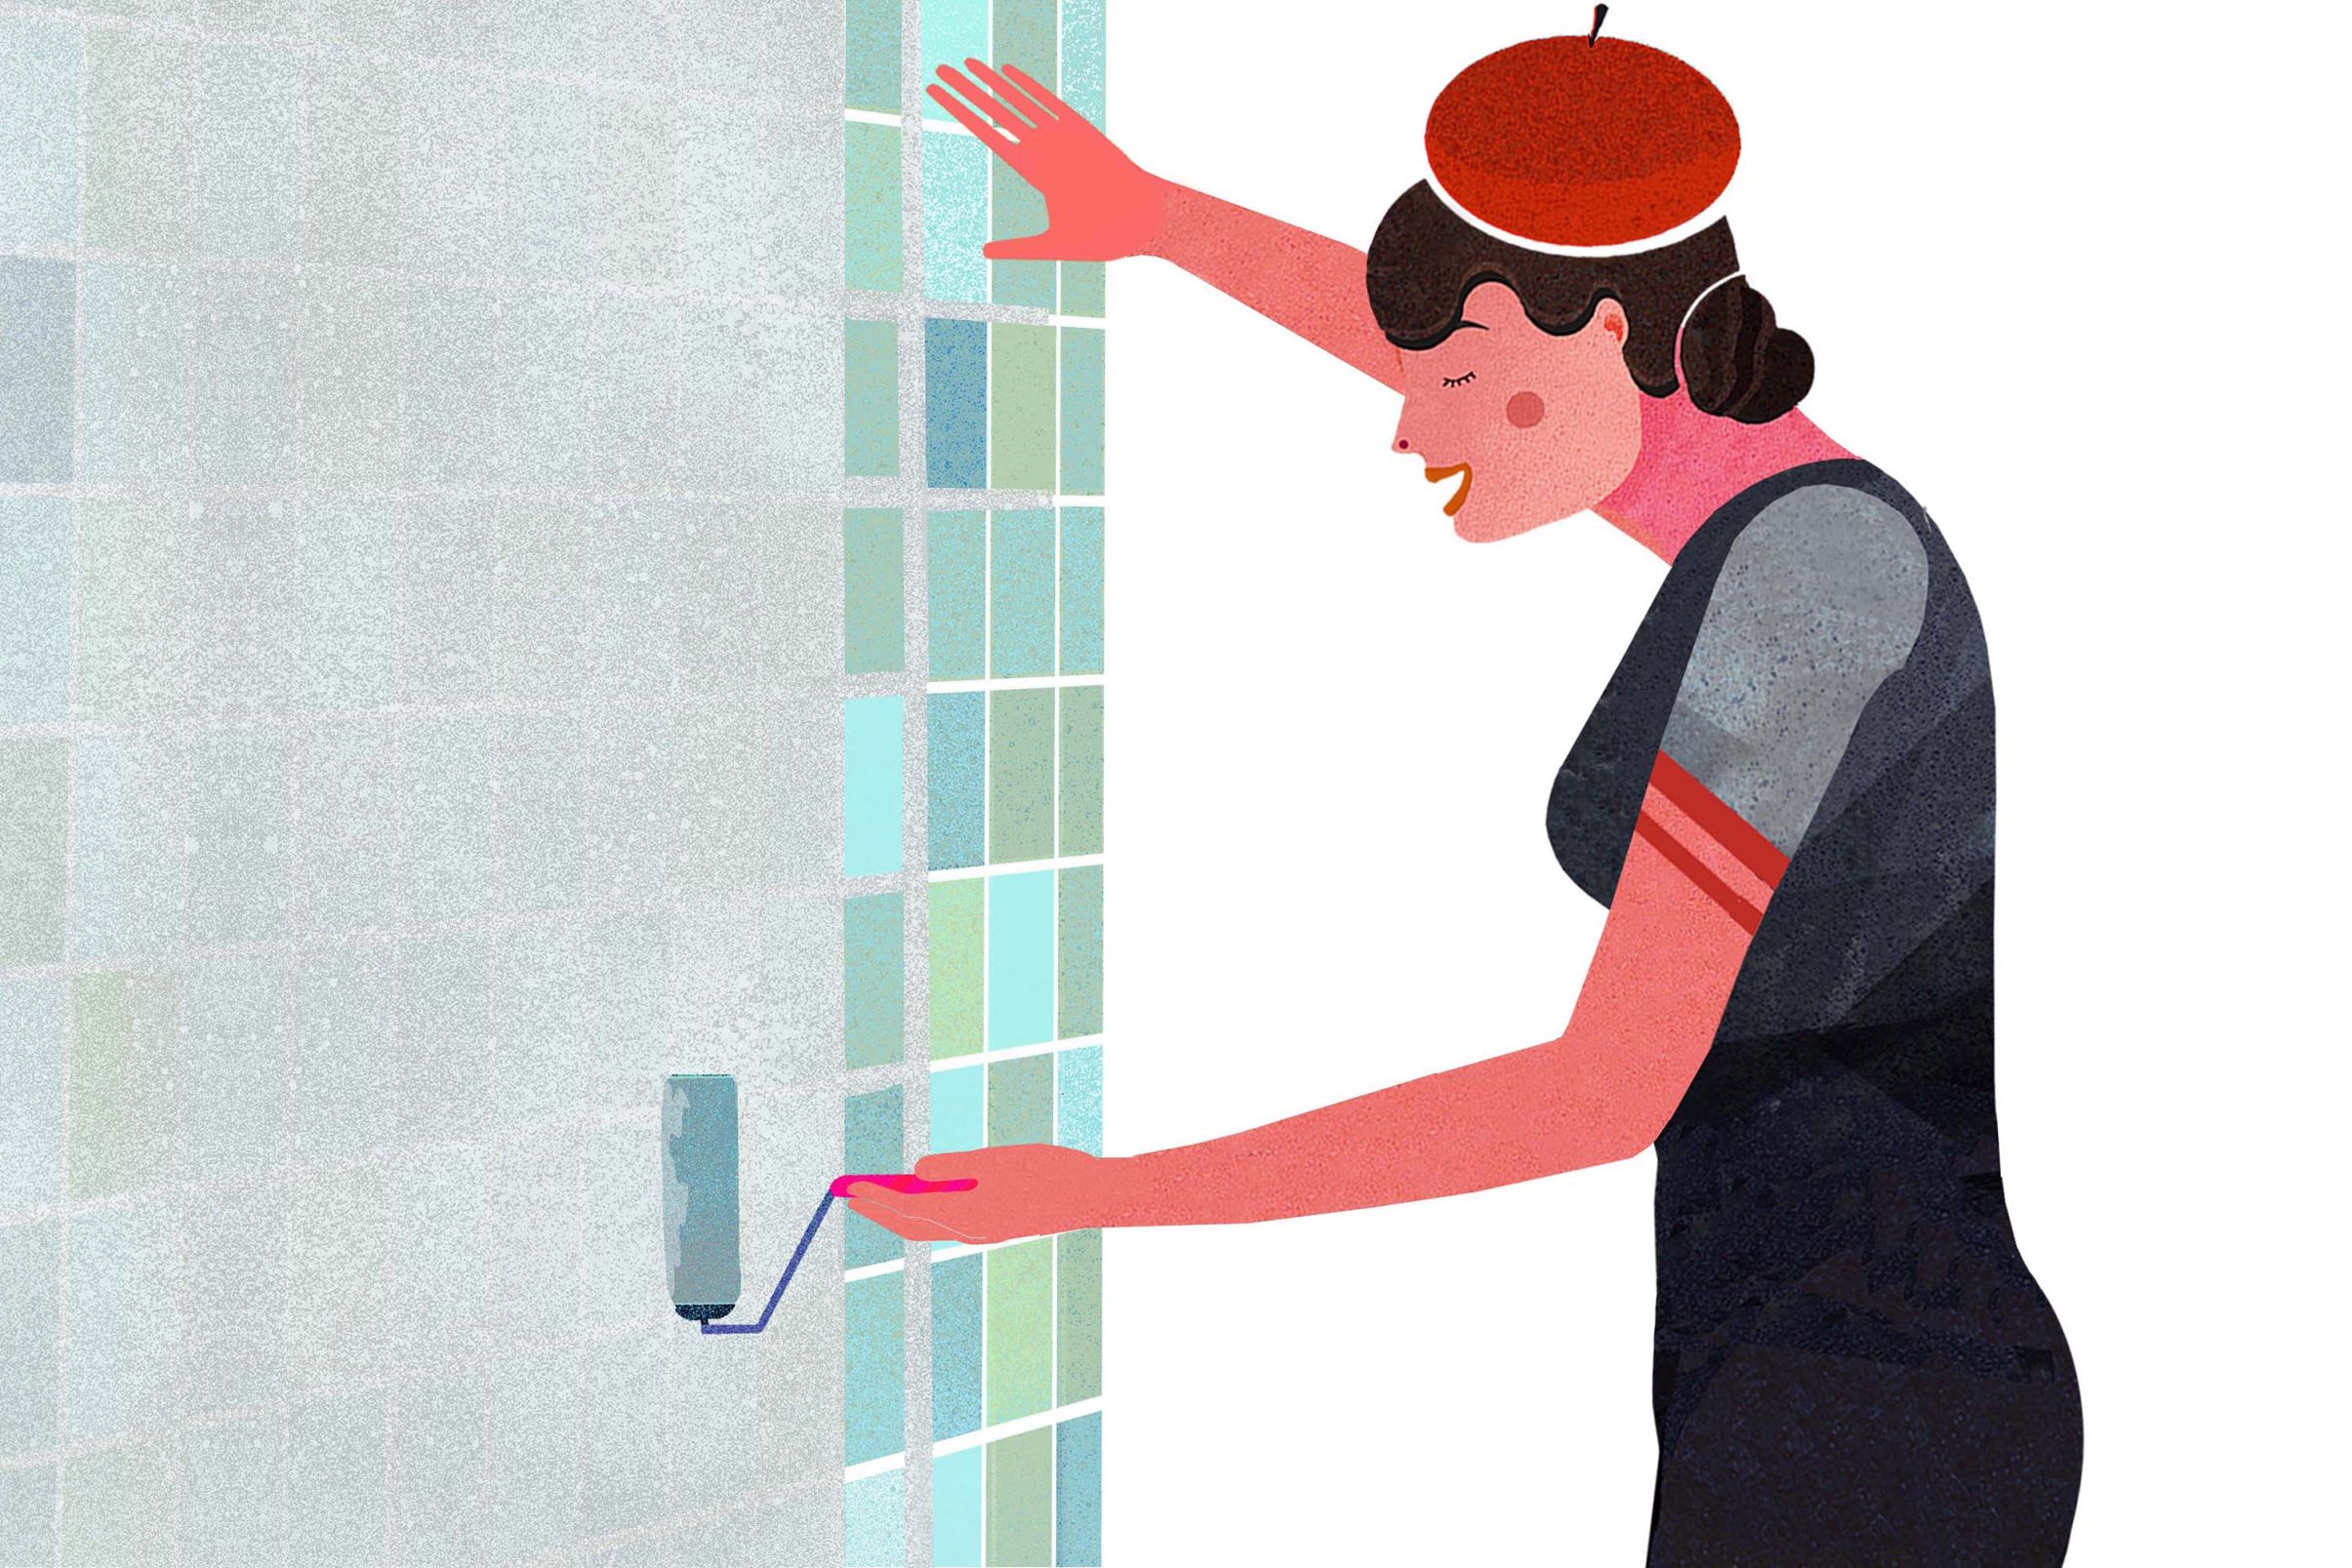
The next step is applying deep primer to the tiles. Repeat this process once the first layer is fully dry. Now use dispersion adhesive to put up the lining paper. This will also get rid of any remaining uneven areas.
Once the adhesive has dried, you can finally apply the decorative patterned wallpaper, e.g. a vinyl model. When using paper-based or non-woven wallpapers (i.e. any wallpaper without vinyl coating), a final coat of transparent latex paint provides an effective protective layer to stave off humidity.
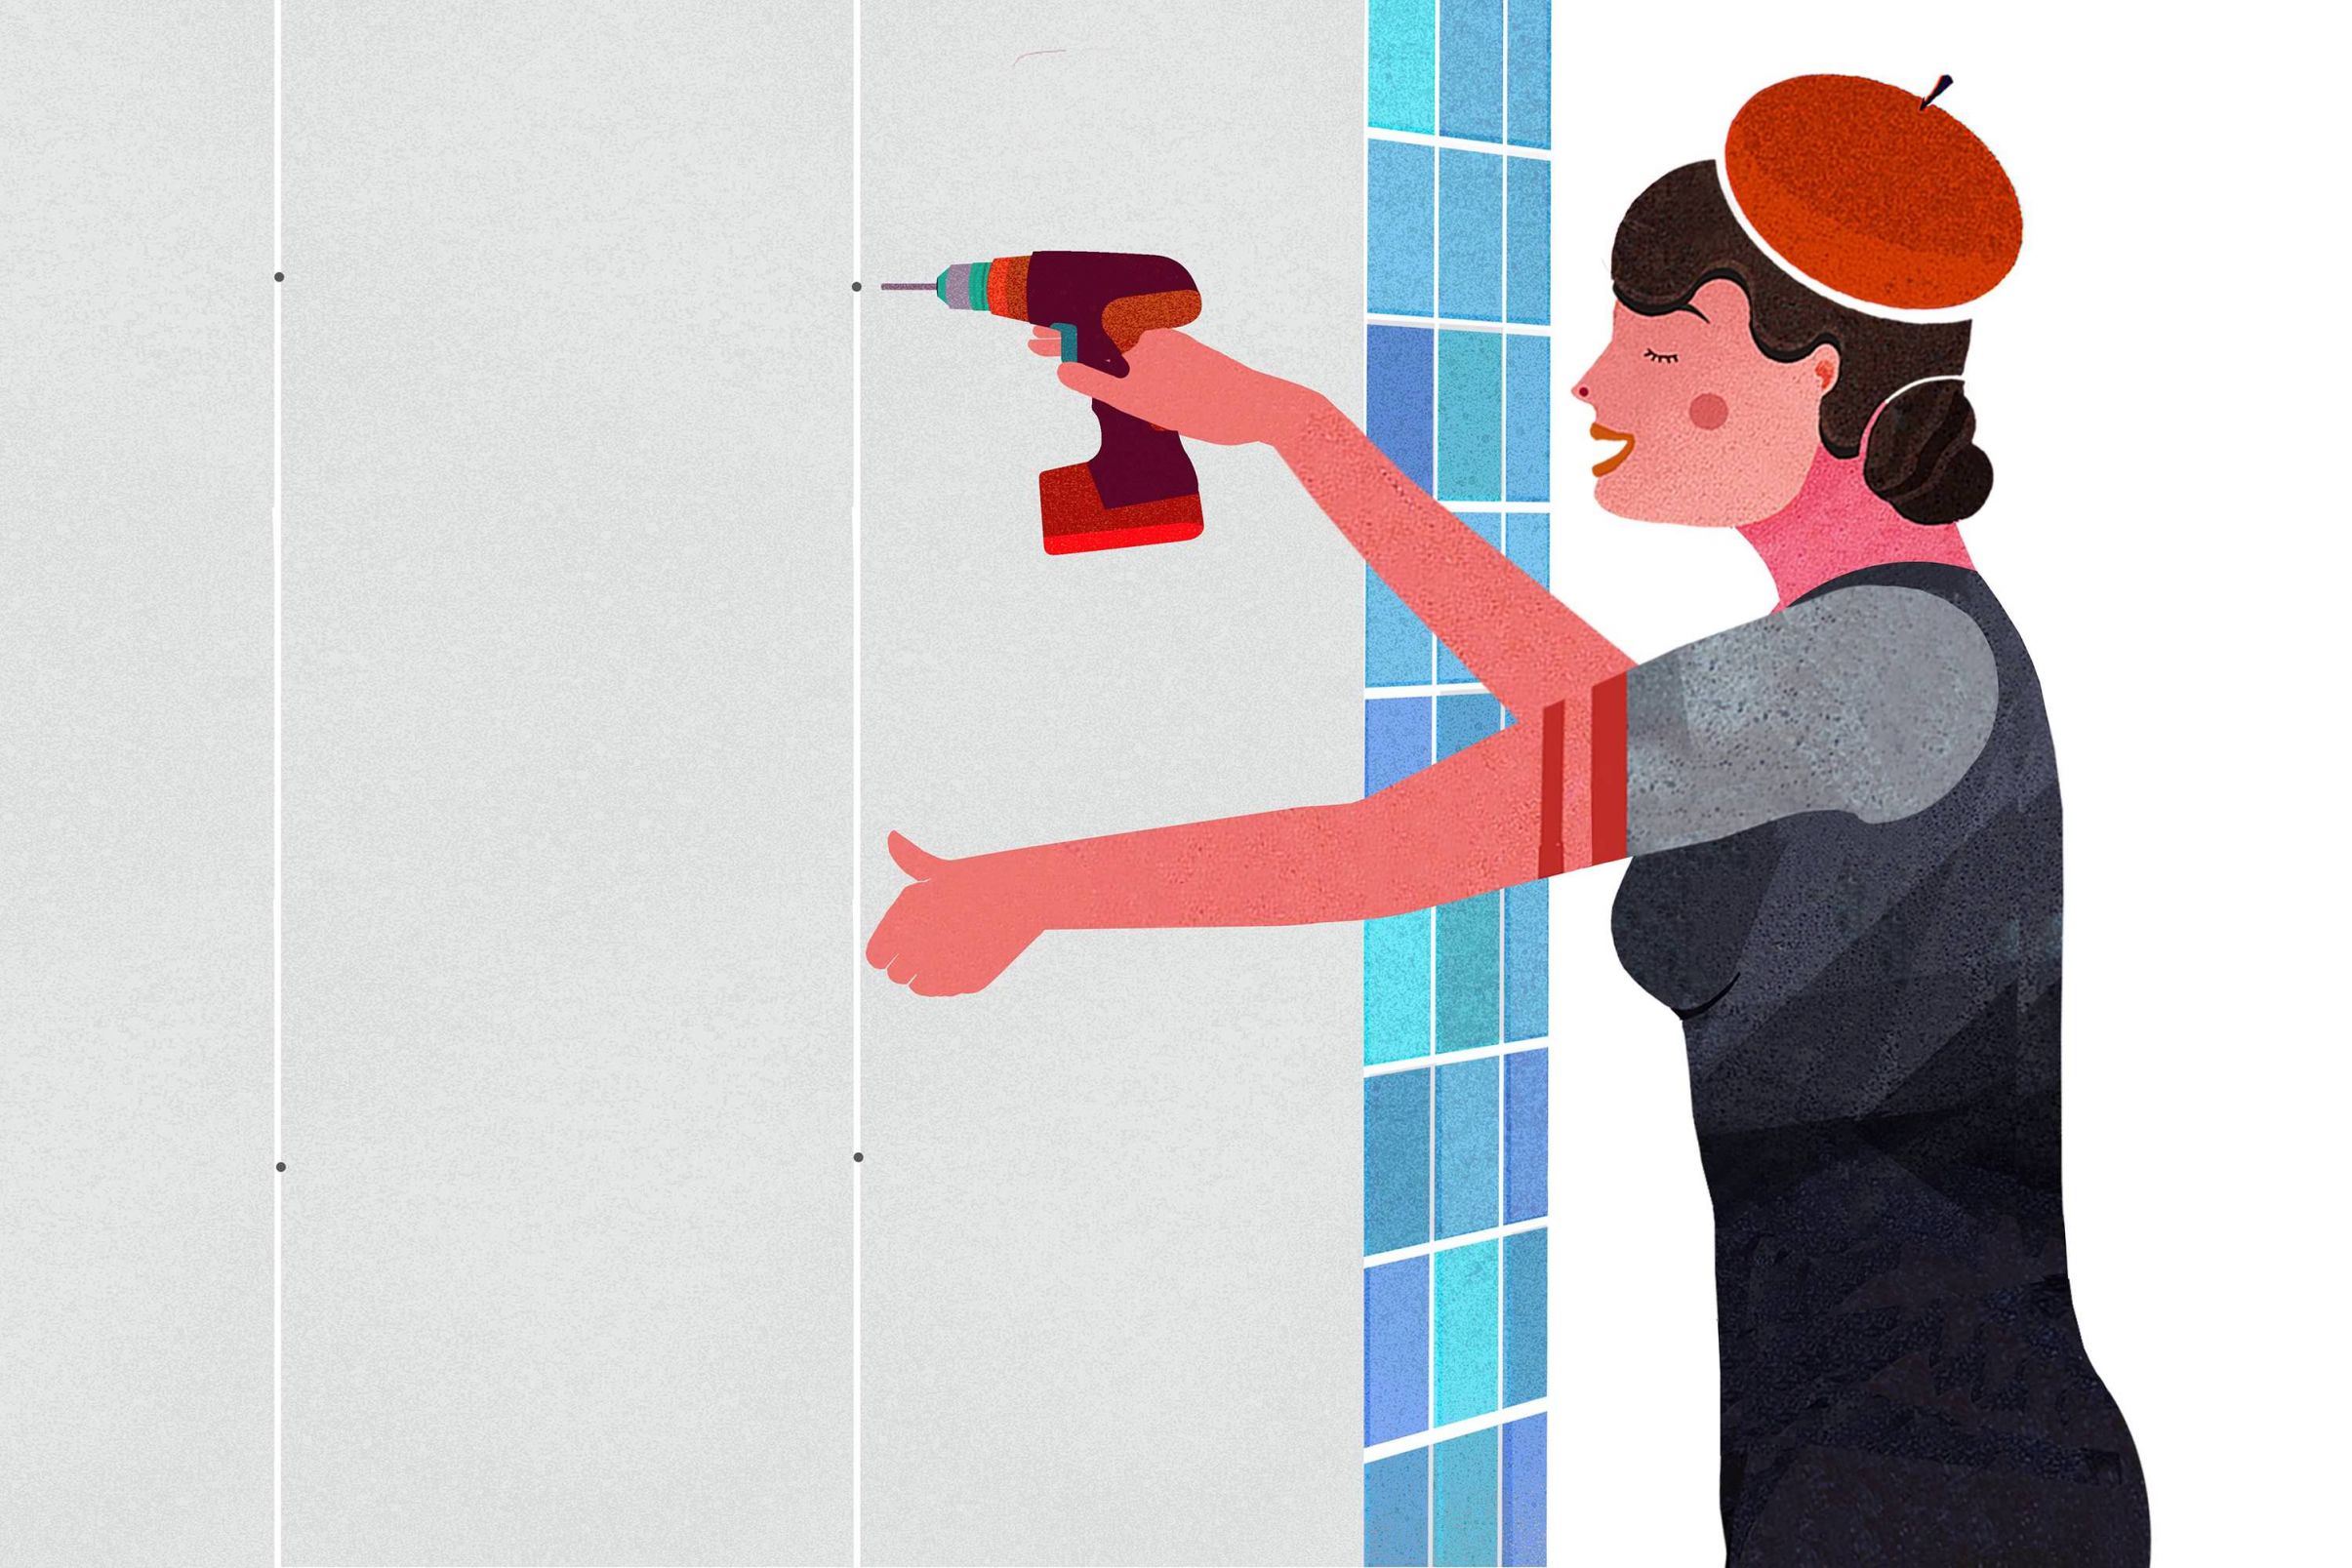
4 Mounting plasterboard panelling,
drilling holes in grouting
Our Wallpaper Girl is a dab hand at mounting plasterboard panels to the wall.
The drill holes for fixing the panels to the wall are put in the gaps between the tiles in order to protect them. Once all panels have been screwed to the wall, the visible gaps between the plasterboard panels are filled in. The filled grouting is then sandpapered down to create an even surface.
Important note for wallpapering on old tiles or gypsum plasterboard mounted on top of old tiles
Before you embark on one of the two options, first check the grouting thoroughly. Mould can develop and remain undetected for a long time, especially in those areas that are regularly splashed with water. Small red or black stains, dots or discolourations are an indication of mould or mildew. Depending how bad the mould problem is, the grouting might have to be replaced in the affected areas. Minor mould issues can be dealt with disinfectants like hydrogen peroxide or specific anti-mould products available in DIY shops.
As gypsum plasterboard is very absorbent, deep primer needs to be applied to it before hanging the wallpaper. This process might have to be repeated, depending on the absorbency of the panels. After the primer has dried completely, the patterned wallpaper can be hung.
We recommend that the grouting is always cleaned thoroughly or, if necessary, replaced before tackling the tiles or covering them with gypsum plasterboard. If this important part of the process is neglected, mould will spread under the panels or the wallpaper - and eventually emerge on the surface. And that doesn't just look bad - it is also detrimental for your health!

