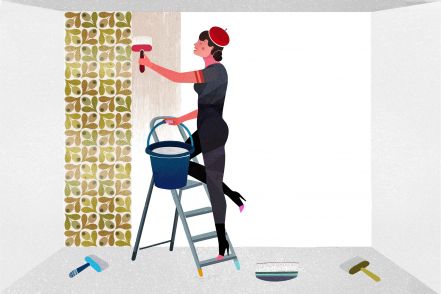
How to strip old wallpaper

1 Disconnect electricity at the wall
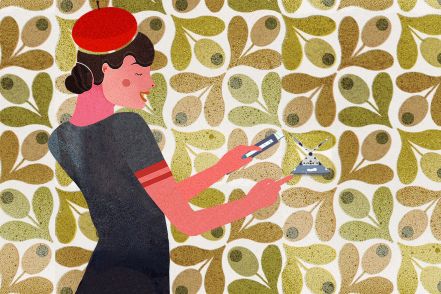
Depending on the type of wallpaper, stripping it can be quite a "damp" experience. And as we all know, electricity and water do not mix, in fact they are downright dangerous when combined. This is why, first of all, you need to disconnect the electricity for the room in question at the fuse box. In older buildings, the circuits of multiple rooms may be connected through just one fuse. After the electricity has been disconnected, it might be a good idea to provide some additional peace of mind by checking the power sockets with a circuit tester. These tools (which look a bit like screwdrivers) are available in any DIY outlet and help you to make sure there is no electricity running any longer.
If you work in dark rooms, or if you can't work during daylight hours, you will of course need a source of light that does not rely on the power supply, for instance a battery spotlight. Alternatively, you could use a extension cable to connect a lamp to the socket in another room.
Once you have made sure the electricity is turned off, you should remove the plastic frames around the sockets and switches. Just carefully push a thin slotted screwdriver sideways under the frames and they should come off easily. Next, unscrew the socket cover. You should now be able to remove the cover and expose the actual socket with its cables. This needs to be protected from moisture, so you should use good masking tape to thoroughly cover it. In new builds, where the sockets have not been wired yet, the "holes" can be filled with newspapers. Don't forget to remove all the filling material after the work is done.
If you are planning to paper the ceiling, ou need to remove the lamp fitting. As there is a myriad of different lamps available, and the light could potentially be connected to the connector cable, we recommend to consult an electrician who can professionally disassemble the light fitting. If a new celling light is to be installed after the renovation work is complete, working with a simple socket and relevant light sources might be easier.
In order to strip the wallpaper in the area between the wall and the ceiling with more precision, and to not damage the ceiling if it has already been wallpapered or painted, you will need to apply a separating cut between the wallpaper on the wall and the ceiling. Use a sharp cutter knife to cut a straight line at the top end of the wall, about 5 mm below the ceiling. A wallpapering bar, surface spatula or long ruler can be very useful for this task.
2 Remove dry non-woven wallpapers
At last, we get to take the old wallpaper down!
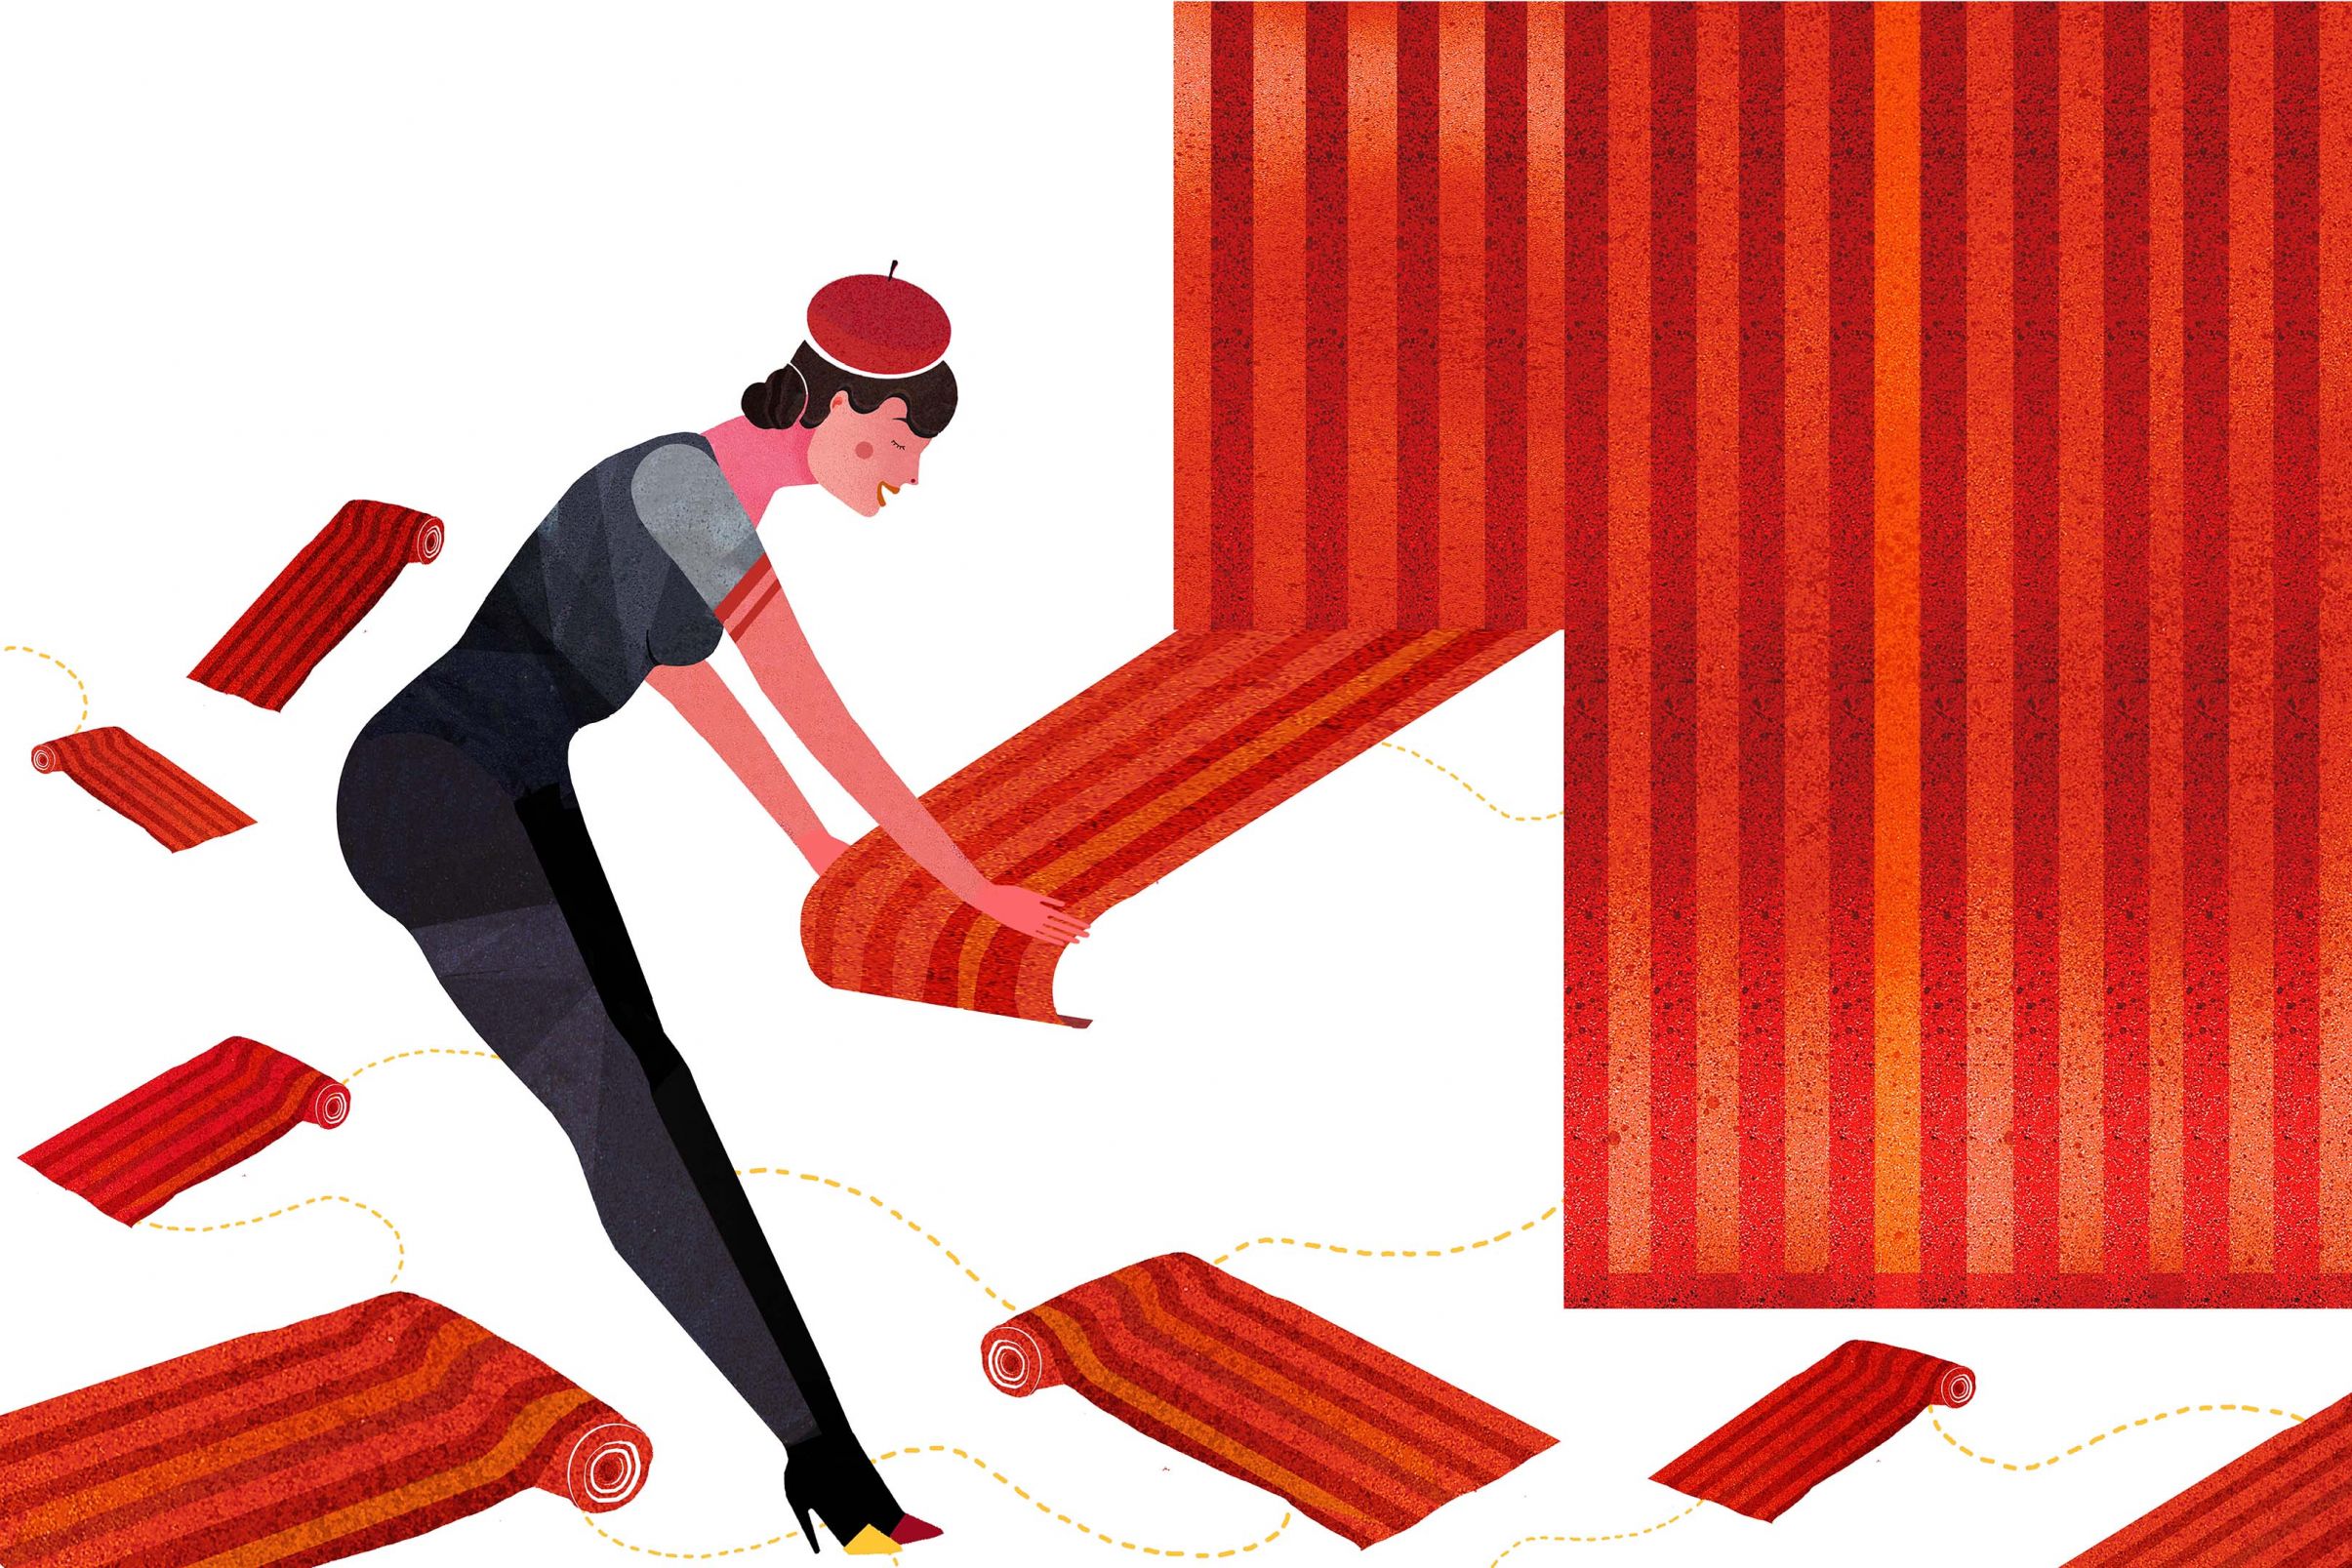
If it is non-woven paper, this job should be fairly easy, clean and quick. Start at the bottom and simply pull whole dry strips off. This will work if the correct glue or paste was used when putting the paper up.
If you are unsure whether the old wallpaper is of the non-woven variety, ust do a "tearing off test". Place a slim spatula onto the seam to loosen the wallpaper and then tear off a small piece. If this is easy enough and you can see fibres in the backing material, it is definitely a non-woven wallpaper.
Each strip of wallpaper should immediately be put into a large bin liner.
3 Soaking paper-based wallpaper
Old wallpapers are usually made from paper. It is very rarely the case that these can just be pulled of in (dry) strips. They need to be soaked thoroughly and, after waiting for a while, you need to use your spatula to remove them. The damper they are, the less likely it is that you will have to remove tiny scraps of wallpaper - truly the last thing you want to happen when removing old wall décor...
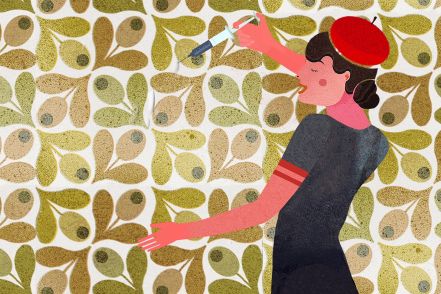
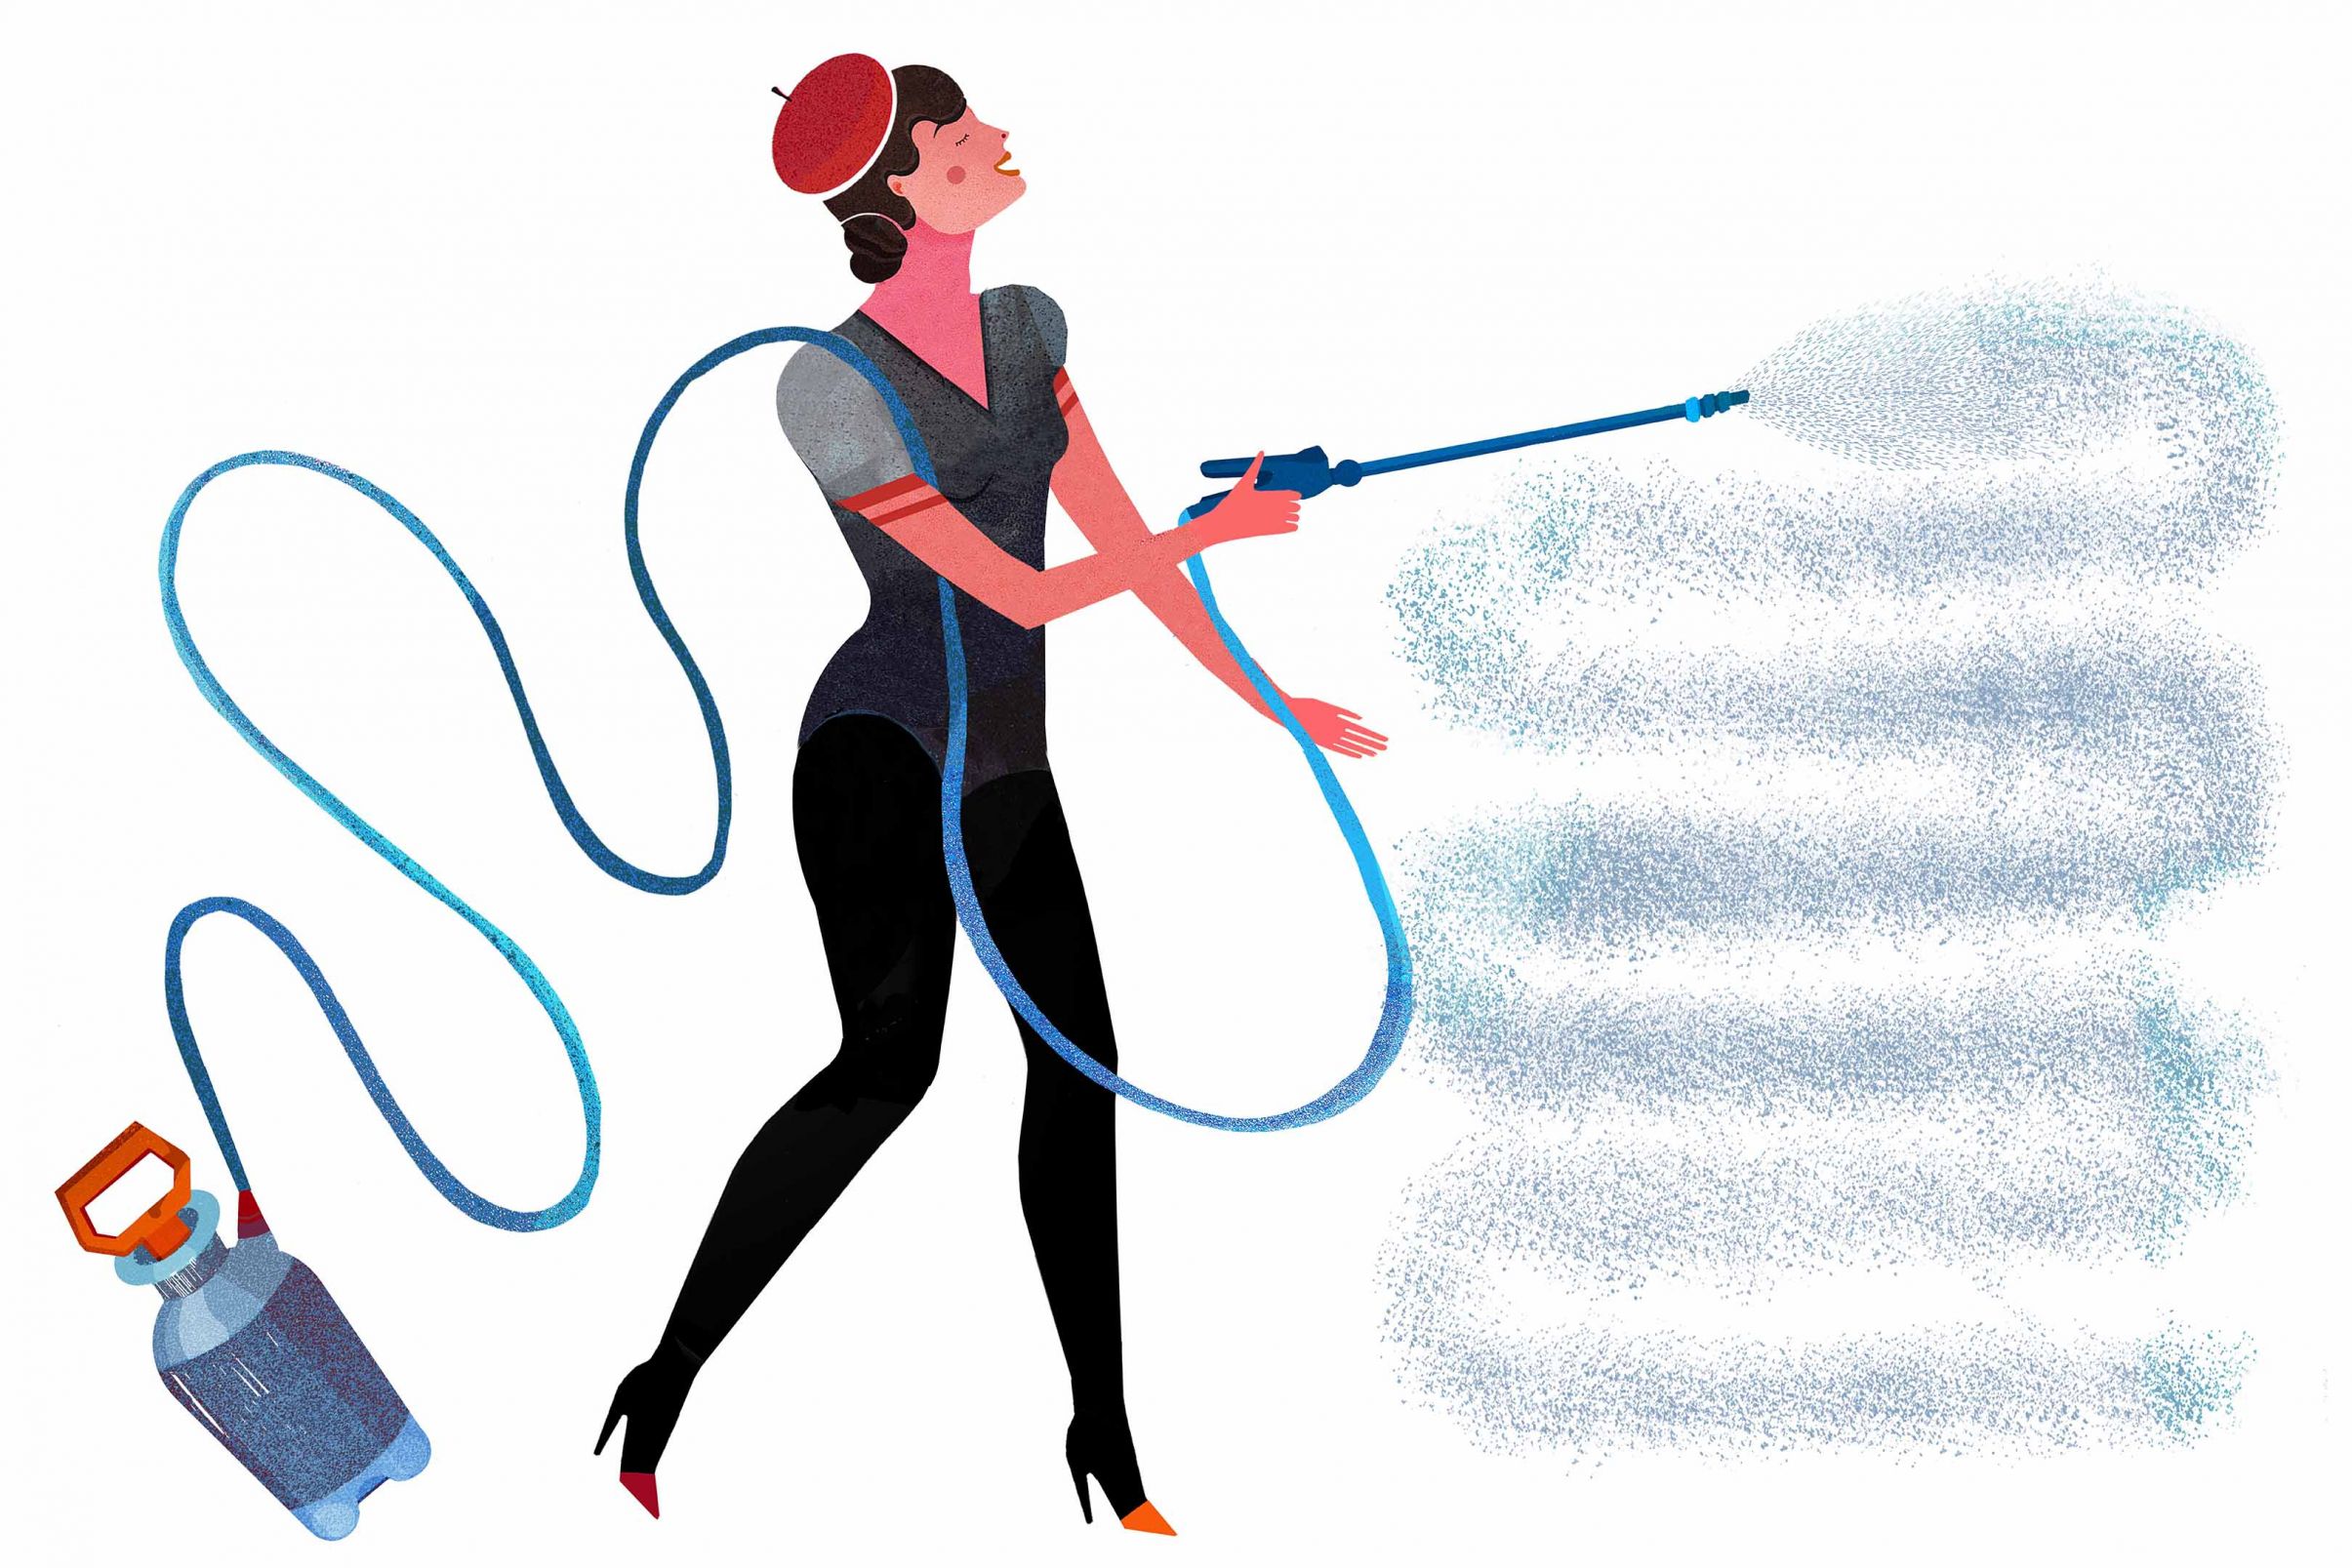
So, let's do it the easy way! You can use the "classic" solution made from water and washing up liquid to soak the old paper, or choose a ready-made wallpaper stripping agent from a DIY shop (usually mixed with warm water, according to instructions). We recommend a sprayer, sponge or a large paint brush to apply it. Work from the top to the bottom and make sure the entire wall is soaked throughout. Any drips should be worked into the wallpaper immediately. Soaking time depends on the type of wallpaper you are trying to remove (and whether there is more than one layer!).
Wait for about 15 minutes and then give it a first try with your spatula. If the renovation takes place on a cooler day, you should turn the heating down for this process to avoid the adhesive drying to quickly (thus doubling your workload!).
Steam wallpaper stripper for "tricky" wallpapers and large surface areas
For very large wall surface areas and papers that are difficult to remove, you could use a steam wallpaper stripper. However, these devices require some experience and skill, especially as they are electric, which means you need to be extra careful. If you work with steam, you should ensure good ventilation so the damp steam cannot settle. Generally speaking, the use of a steam wallpaper stripper is best left to a professional.
4 Remove pieces of wallpaper with a spatula
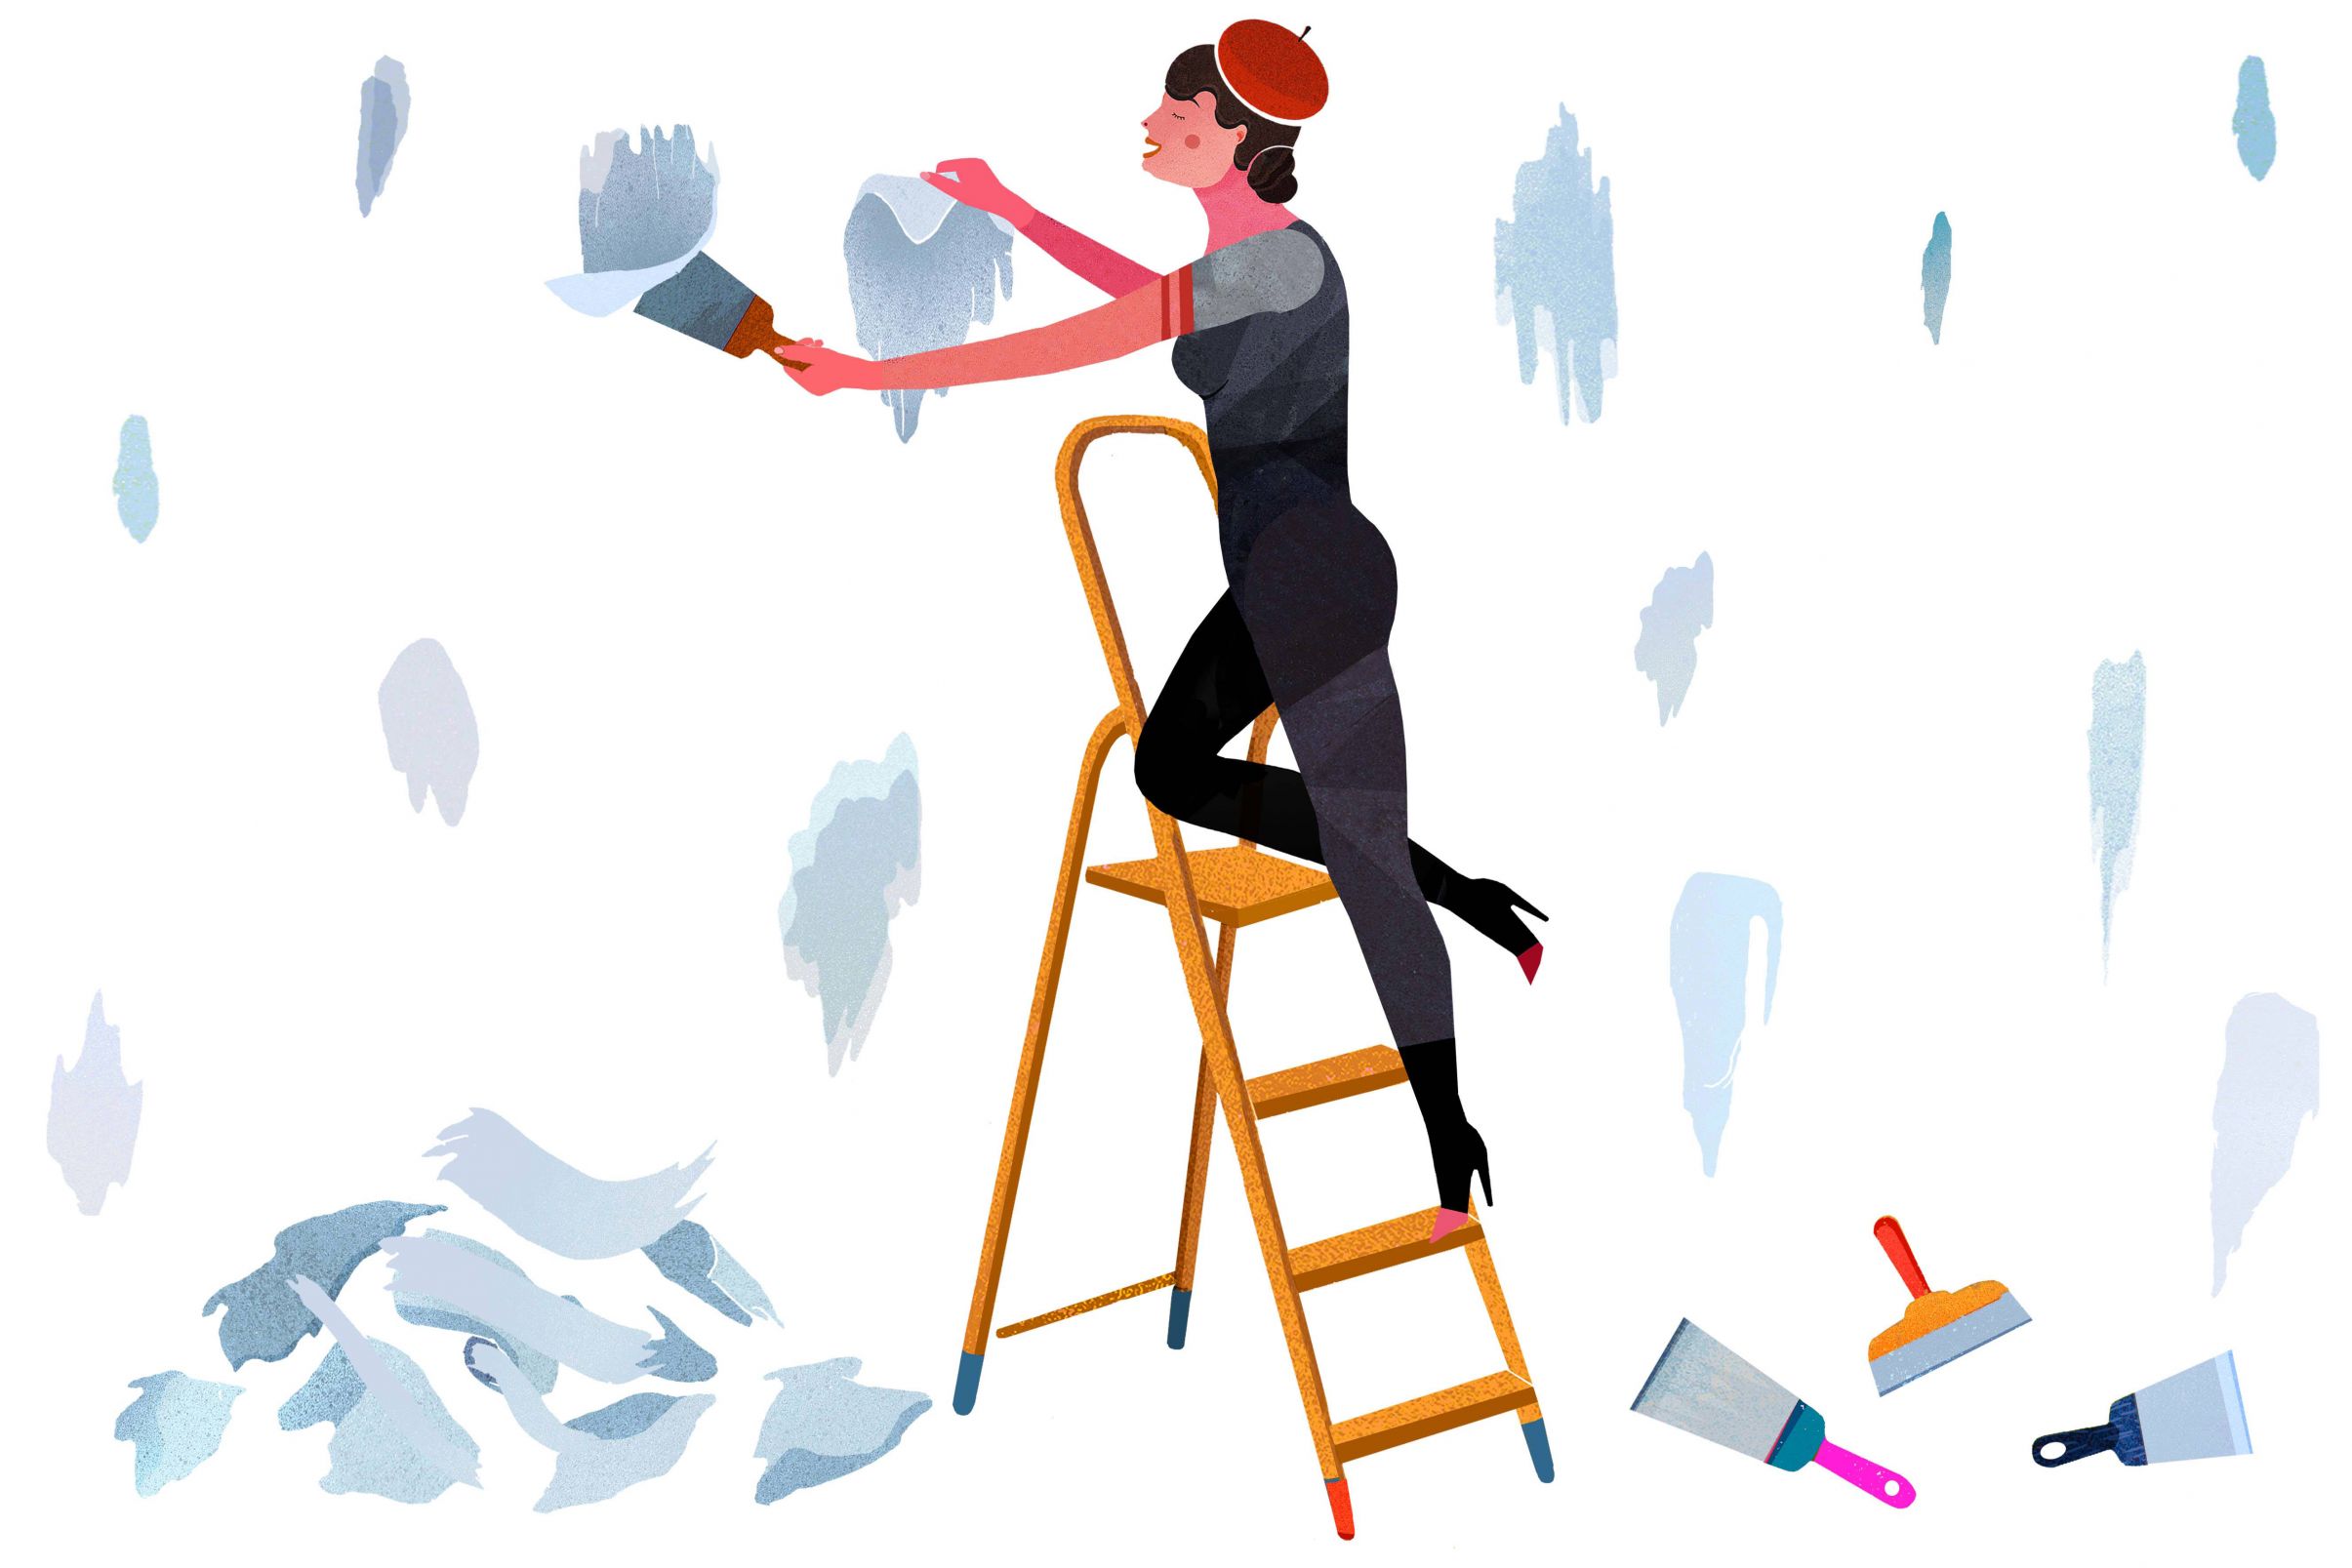
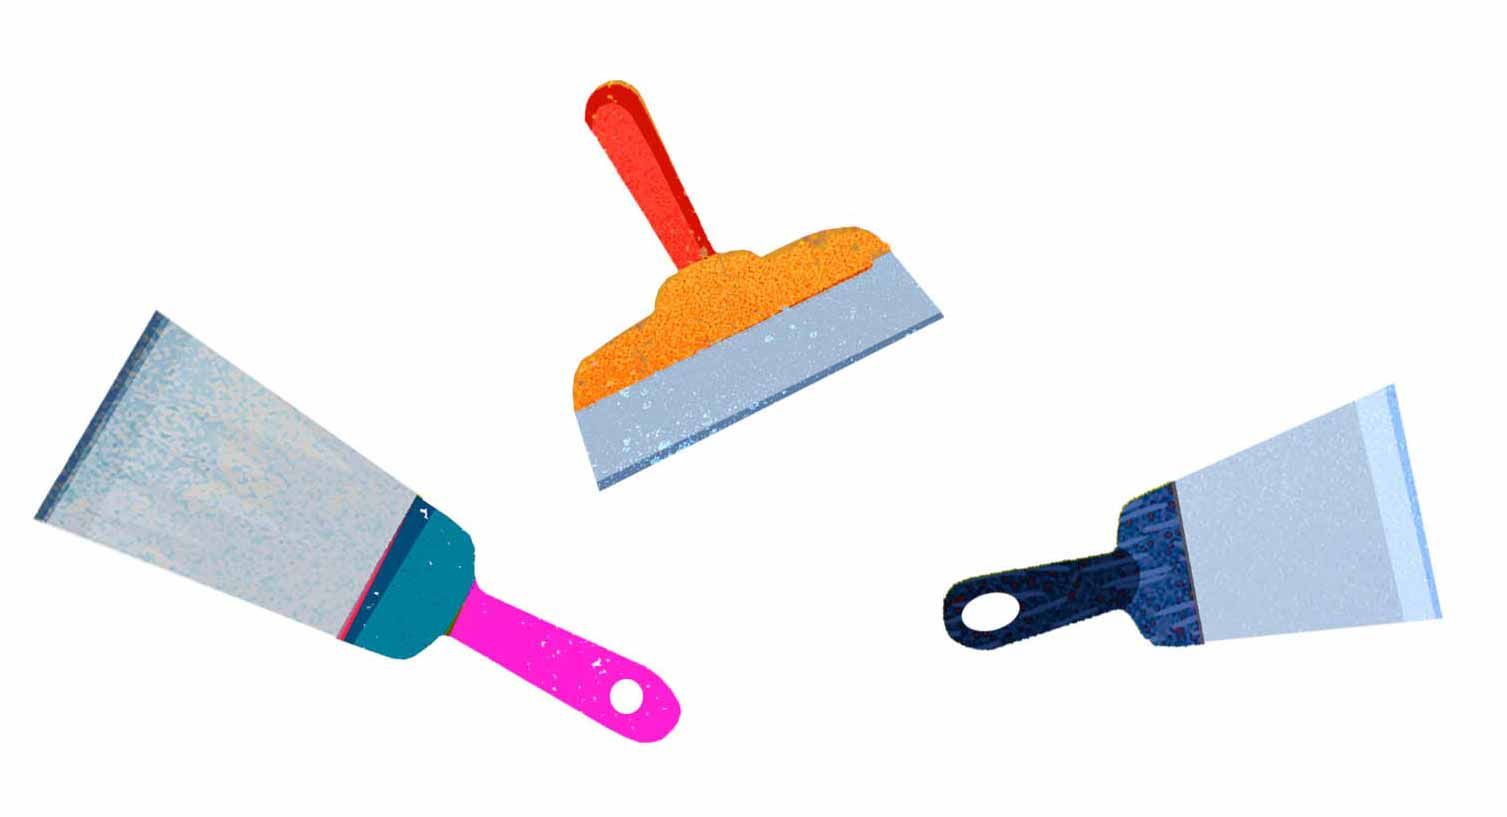
After soaking the wallpaper, the stripping work can begin in earnest. Carefully push your spatula under the seam of the wallpaper. The more carefully you do this, the more efficiently you will work. Try not to roughly scrape the paper off, in order not to damage the underlying surface.
With any luck, you will be able to remove large areas of wallpaper with the spatula after carefully lifting the seam. If you find another layer of wallpaper underneath, or if small bits of paper remain on the wall, you can simply re-soak them, wait for a little while and then remove them.
5 Abrading wallpapers (for specific surfaces)
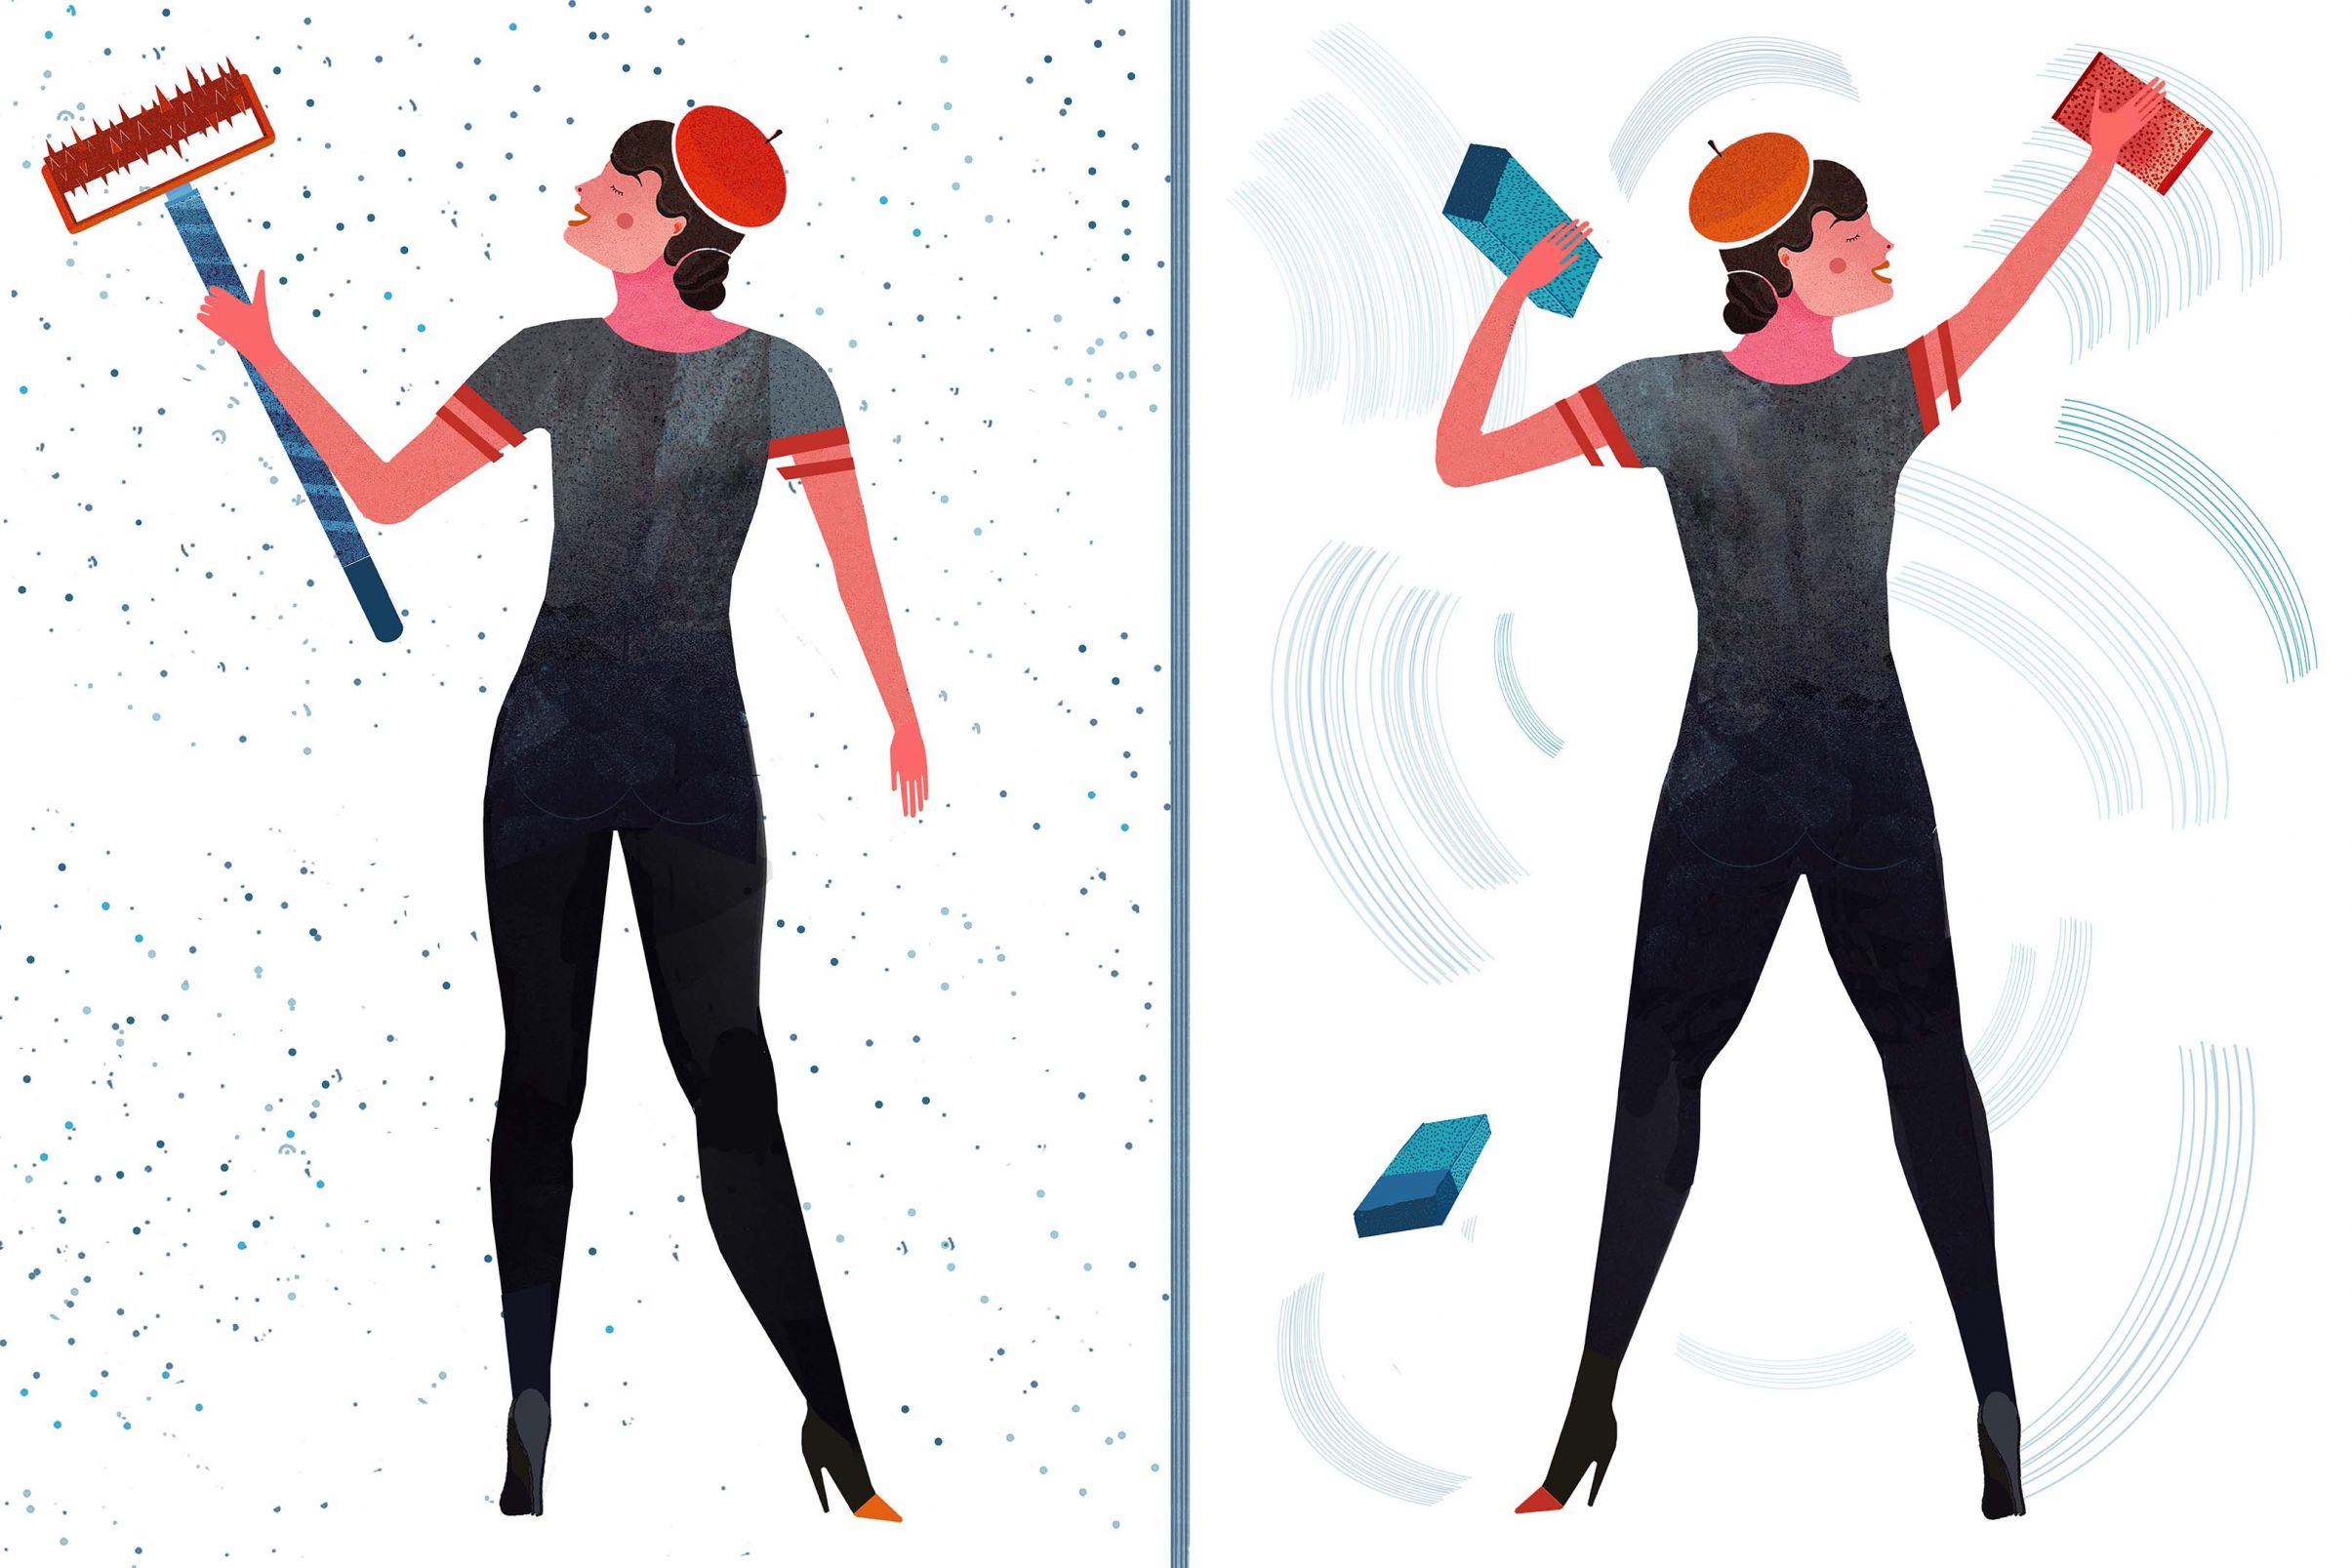
Those wallpapers that do not absorb wallpaper sufficiently (or at all) may need abrading or scoring treatments to enable the water to penetrate. This is the case for washable vinyl-wallpaper, wallpaper with latex coating, ingrained wallpapers that have been painted repeatedly, and very thick structured wallpapers. For wallpapers consisting of a vinyl and a paper layer, the upper vinyl layer can usually be peeled off when dry.
Abrading or Scoring
For very thick, painted and/or water-proof wallpaper, you might have to first roughen the surface with tools like needle/spike/nail rollers, wallpaper scorers, wire brushes, or coarse sandpaper in order to make sure that the water can penetrate the paper down to the glue and the wall. This enables the water to penetrate the layers and reach the wallpaper paste, which is necessary to lift away the wallpaper. The structure and type of the old wallpaper determines which tool you will have to choose.
Special characteristics: Wallpapers consisting of a vinyl and a paper layer
With double-layer wallpapers, you can separate the surface material (e.g. vinyl) from the carrier material (e.g. paper). This means that, more often than not, you can peel the upper layer off without soaking it first. Only the thin "lining" paper will then remain on the wall. If the lining paper is still fully attached to the wall and not damaged, you do not have to remove it. However, if there are any areas where the paper has become loose, or come off completely, it will be not be a good surface for the new wallpaper. This can lead to unevenness and air bubbles, and the functionality of the wallpaper glue will be compromised. If in doubt, soak the paper lining and remove it thoroughly with a spatula.
A spiked roller is particularly handy for "tricky" wallpapers. This is a roll with spikes or blades and a long handle. Move the spiked roller along the entire wall to create water-permeable areas. However, this tool is not suitable for plasterboard walls. You should use sandpaper for those. After preparing the walls as described above, simply continue with the soaking process.
It's not always clear from the onset which type of surface lurks behind the old wallpaper. If you want to be sure, just remove a small bit of wallpaper first to find out what the actual wall surface consists of so you can make sure you use the correct tools to roughen up the paper.

