How to decorate furniture with wallpaper
1 Upcycle furniture
It's no secret, and DIY fans love it: Upcycle your furniture with wallpapers! If you do not want to part with some old favourites which have lost their lustre over the years, you can very effectively give them a new lease of life with patterned wallpapers. Wooden pieces of furniture are as suitable for this upcycling method as those with plastic or glass surfaces. The transformation can be remarkable, and our instructions will make it easy to have a go yourself!
The possibilities are almost endless: cupboards and wardrobes (both inside and outside), desk doors, drawer fronts, chests of drawers, shelves, room dividers, table tops, and many more objects can all be re-styled beautifully, even with wallpaper cut-offs.
There is one small consideration which you should nevertheless not neglect: Make sure that the colours and patterns of your upcycling project complement the other furniture and decorative elements in the room, otherwise you might create a sense of disharmony and clashing styles - especially if you plan to cover large surface areas with patterned wallpaper.
Tips
Non-woven wallpapers are particularly suitable for furniture, but you can use paper-based varieties, too.
If you plan to cover larger wooden surfaces like wardrobe doors, sideboard fronts, etc. with patterned wallpapers, it is recommended that you do both the inside as well as the outside. Wood expands slightly when it absorbs the wallpaper paste, and it will shrink again when it dries, which can lead to doors or fronts bending or warping slightly if only one side is wallpapered. Treating both sides will avoid this unwanted effect.
Individual Steps
Note: Our pictures show the necessary steps with individual parts, to provide better clarity. It is up to you how you want to proceed.
For smaller pieces of furniture, it might be easier to work on the individual part, but there is no need to disassemble larger pieces: you can just work in situ. This is of course much easier, particularly for, say, large wardrobes and desks. You do, however, need to take handles or knobs off before you start.
2 Sanding down wood or plastic surfaces
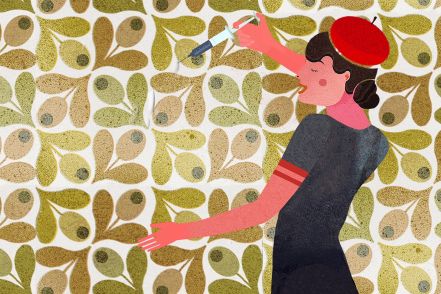
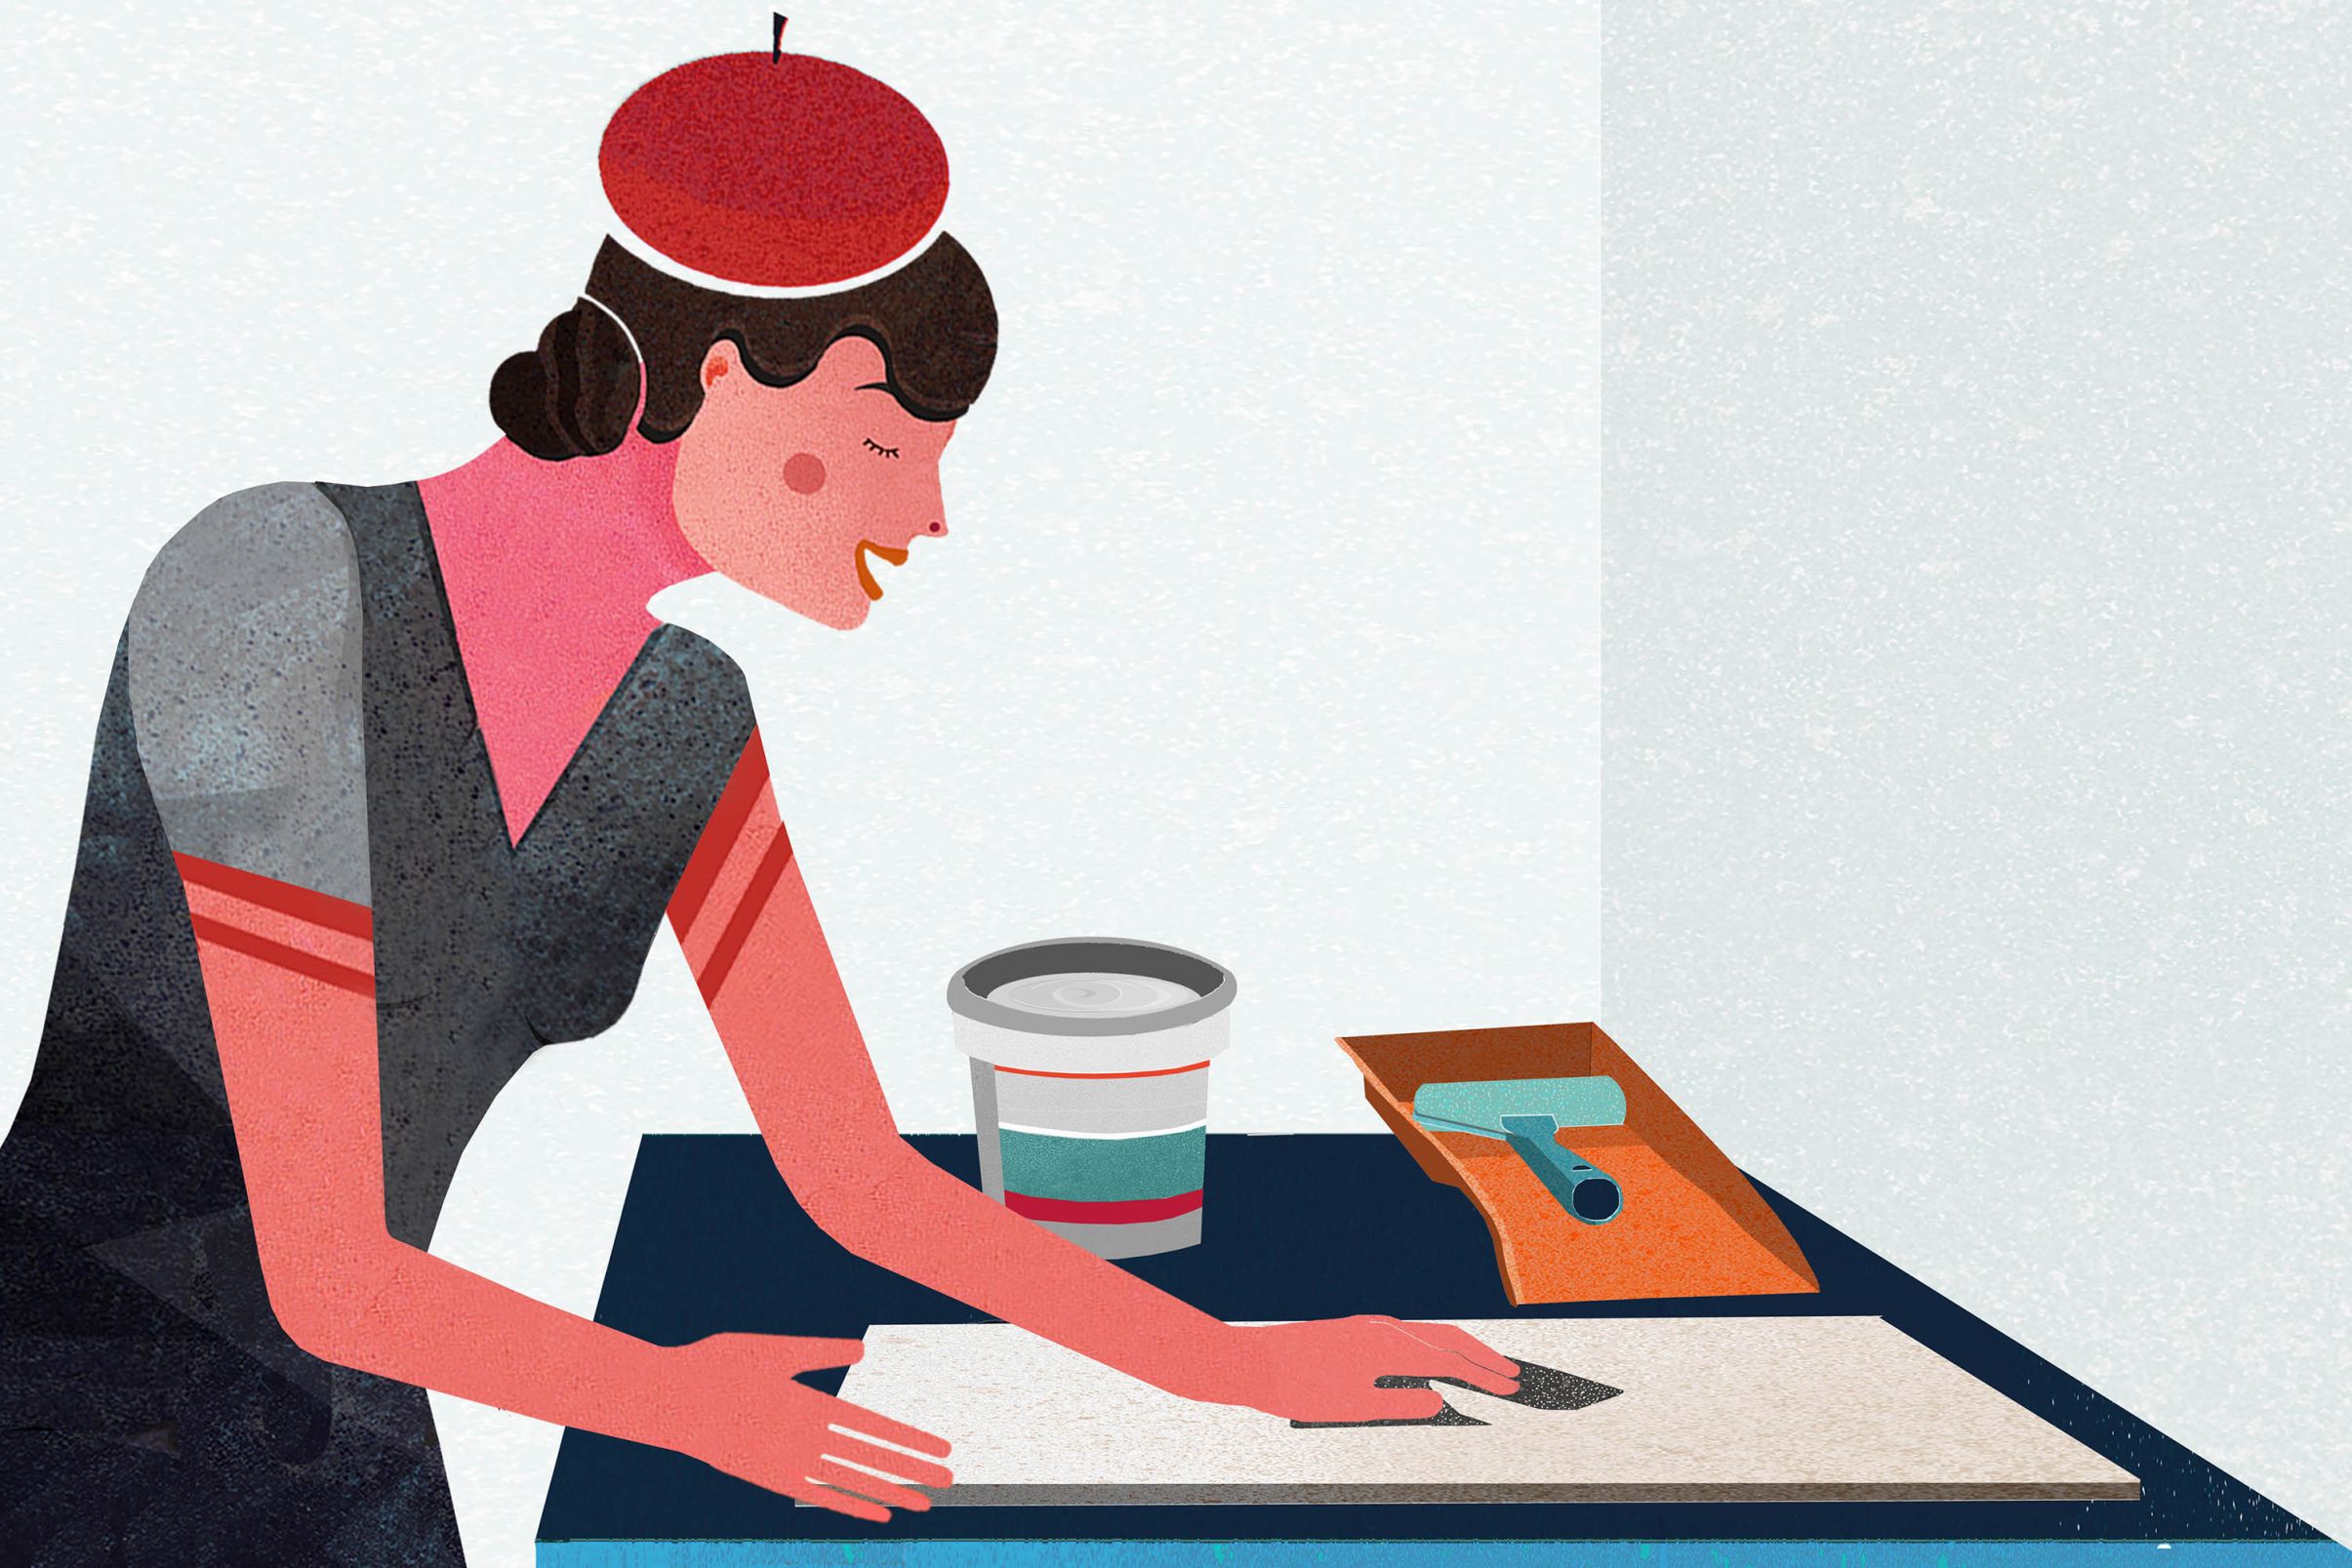
To make sure the glue will stick properly, you first need to use sandpaper to roughen wooden or plastic surfaces. Make sure you buy a suitable type of sandpaper for the respective surface.
When working with large pieces of furniture, you might want to use a sanding block to attach the sandpaper to. Its ergonomic shape makes the whole process much more comfortable. Then clean the surface of dust. If you wipe the surface with a damp cloth, make sure it is completely dry before you continue to the next step.
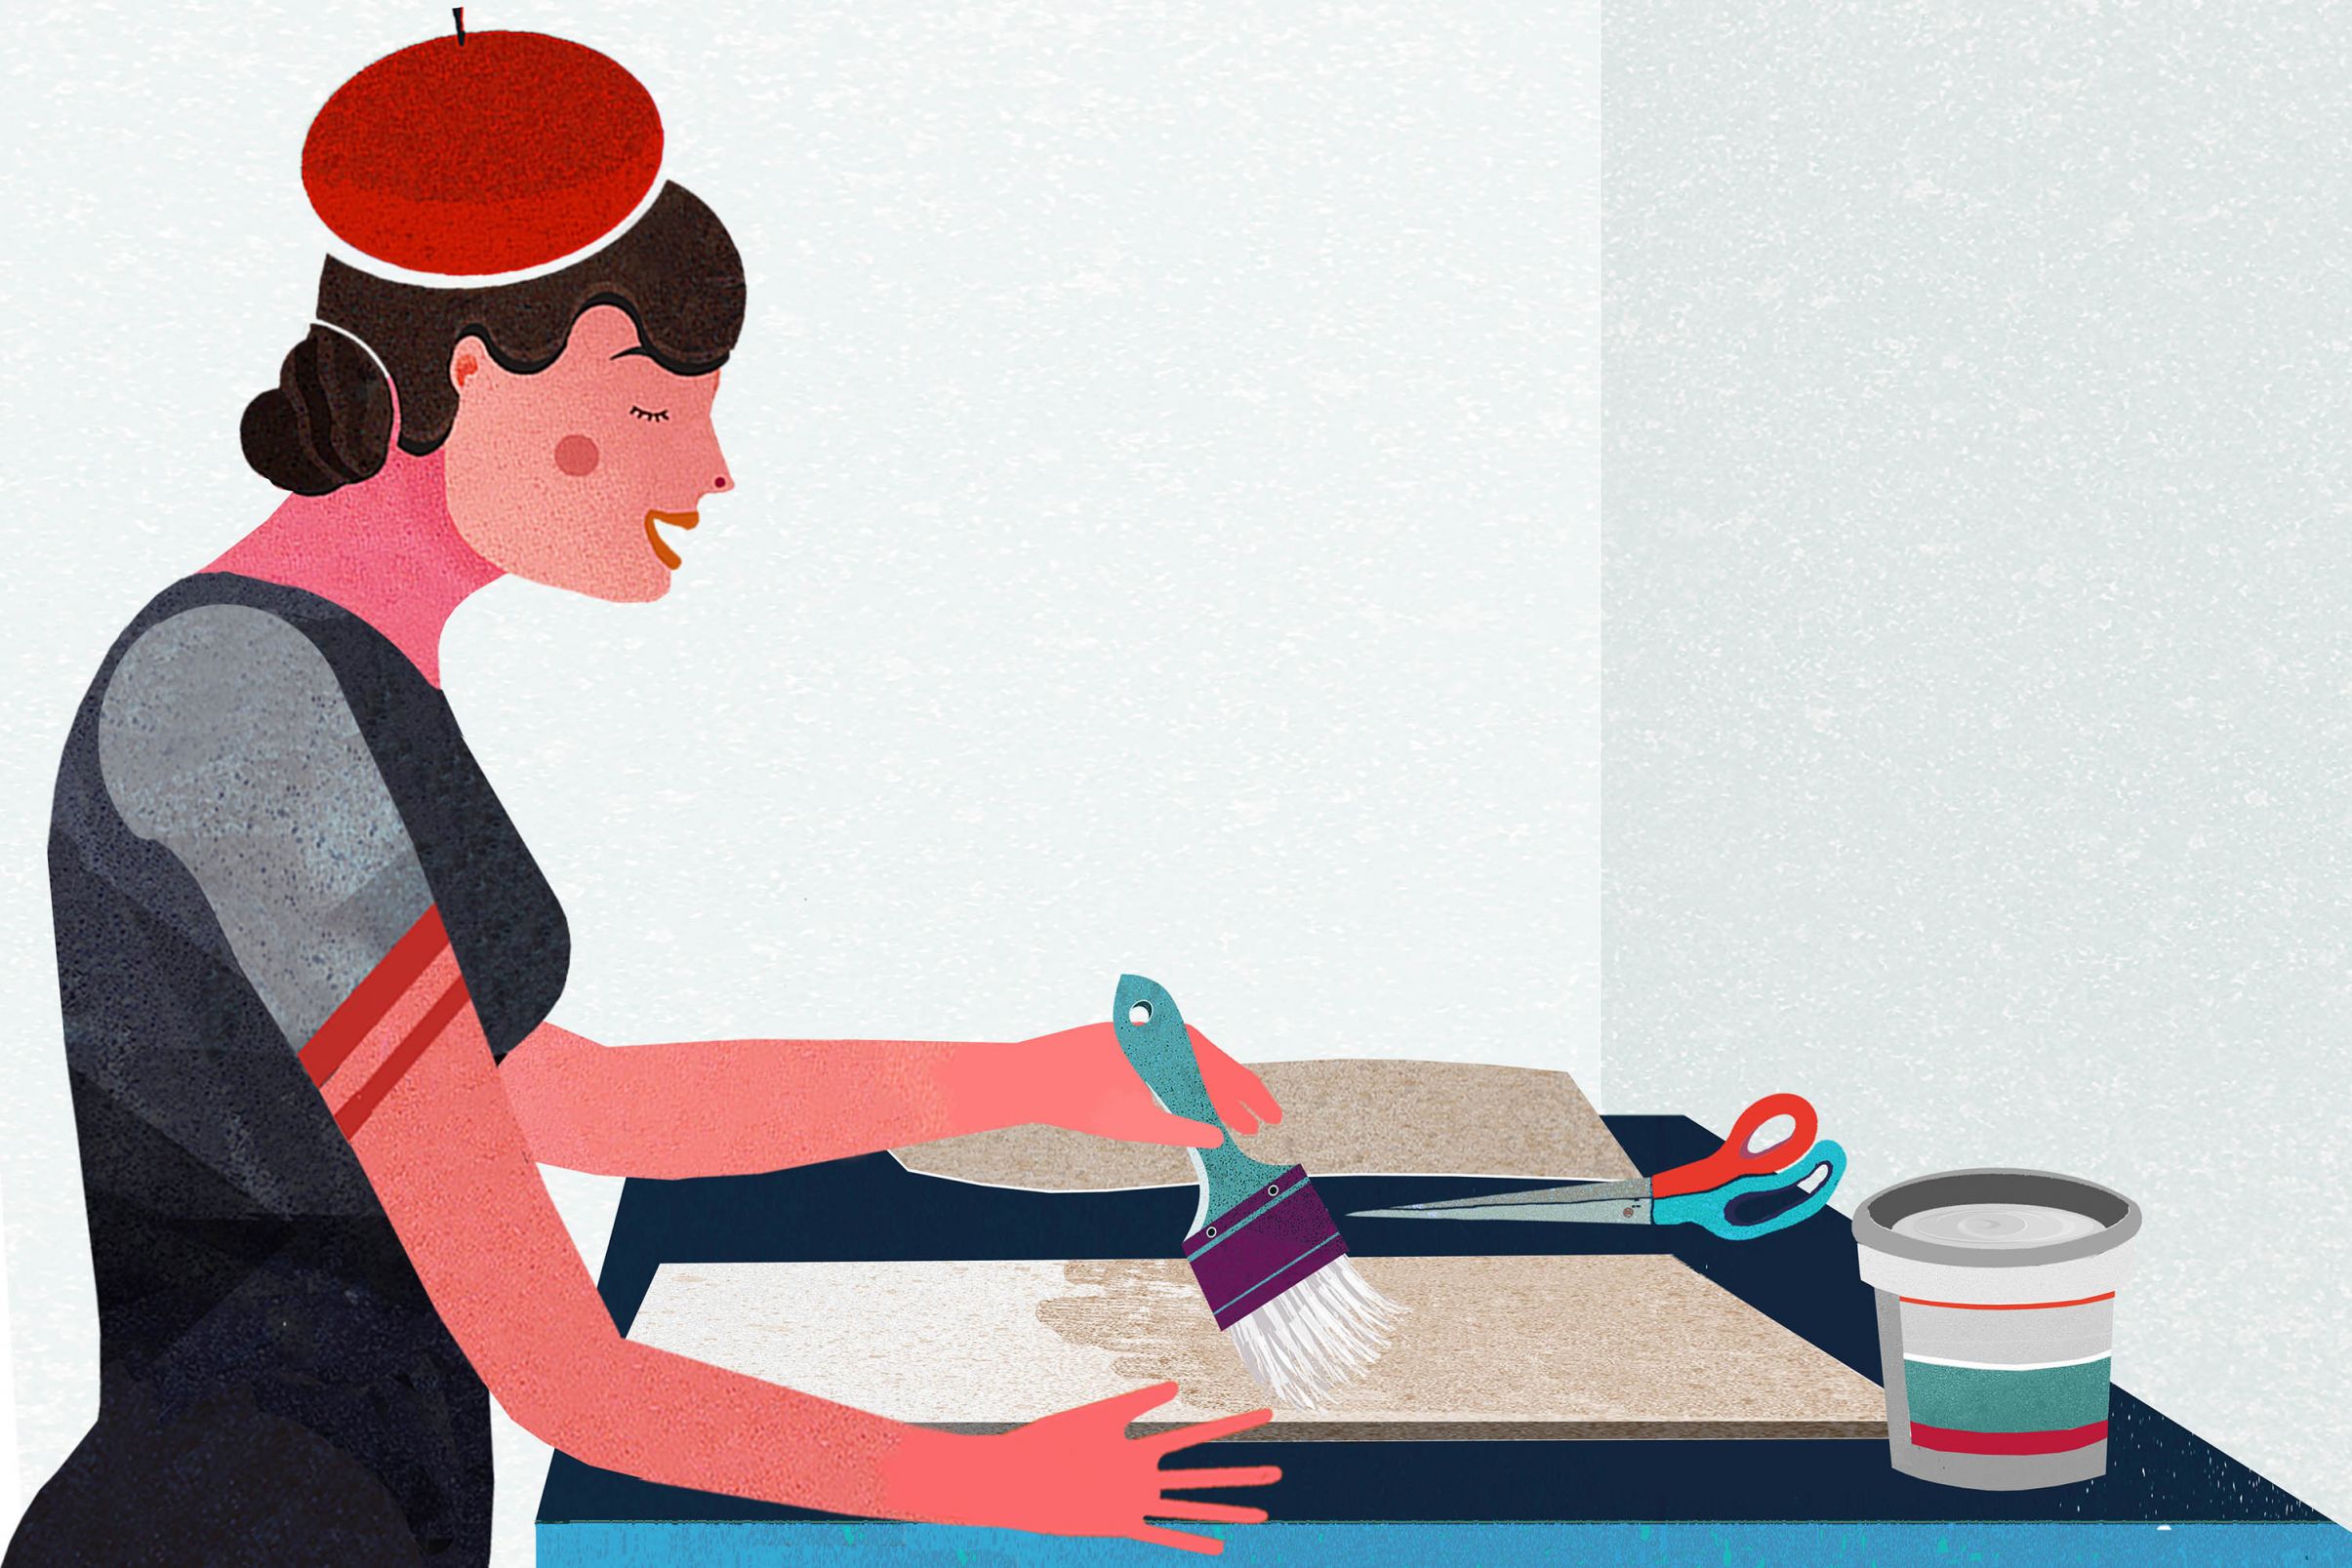
3 Apply wallpapering paste to the surface
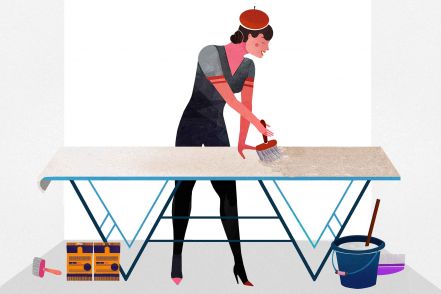
Mix the required amount of paste according to the chosen wallpaper type (e.g. paper/non-woven wallpaper). If you are using non-woven wallpaper, you can spread the paste directly to the area you want to cover with a paste brush or roller.
For paper-based varieties, cut the wallpaper to the required dimensions, apply the paste to the wallpaper, and leave it to soak (see instructions on the packaging).
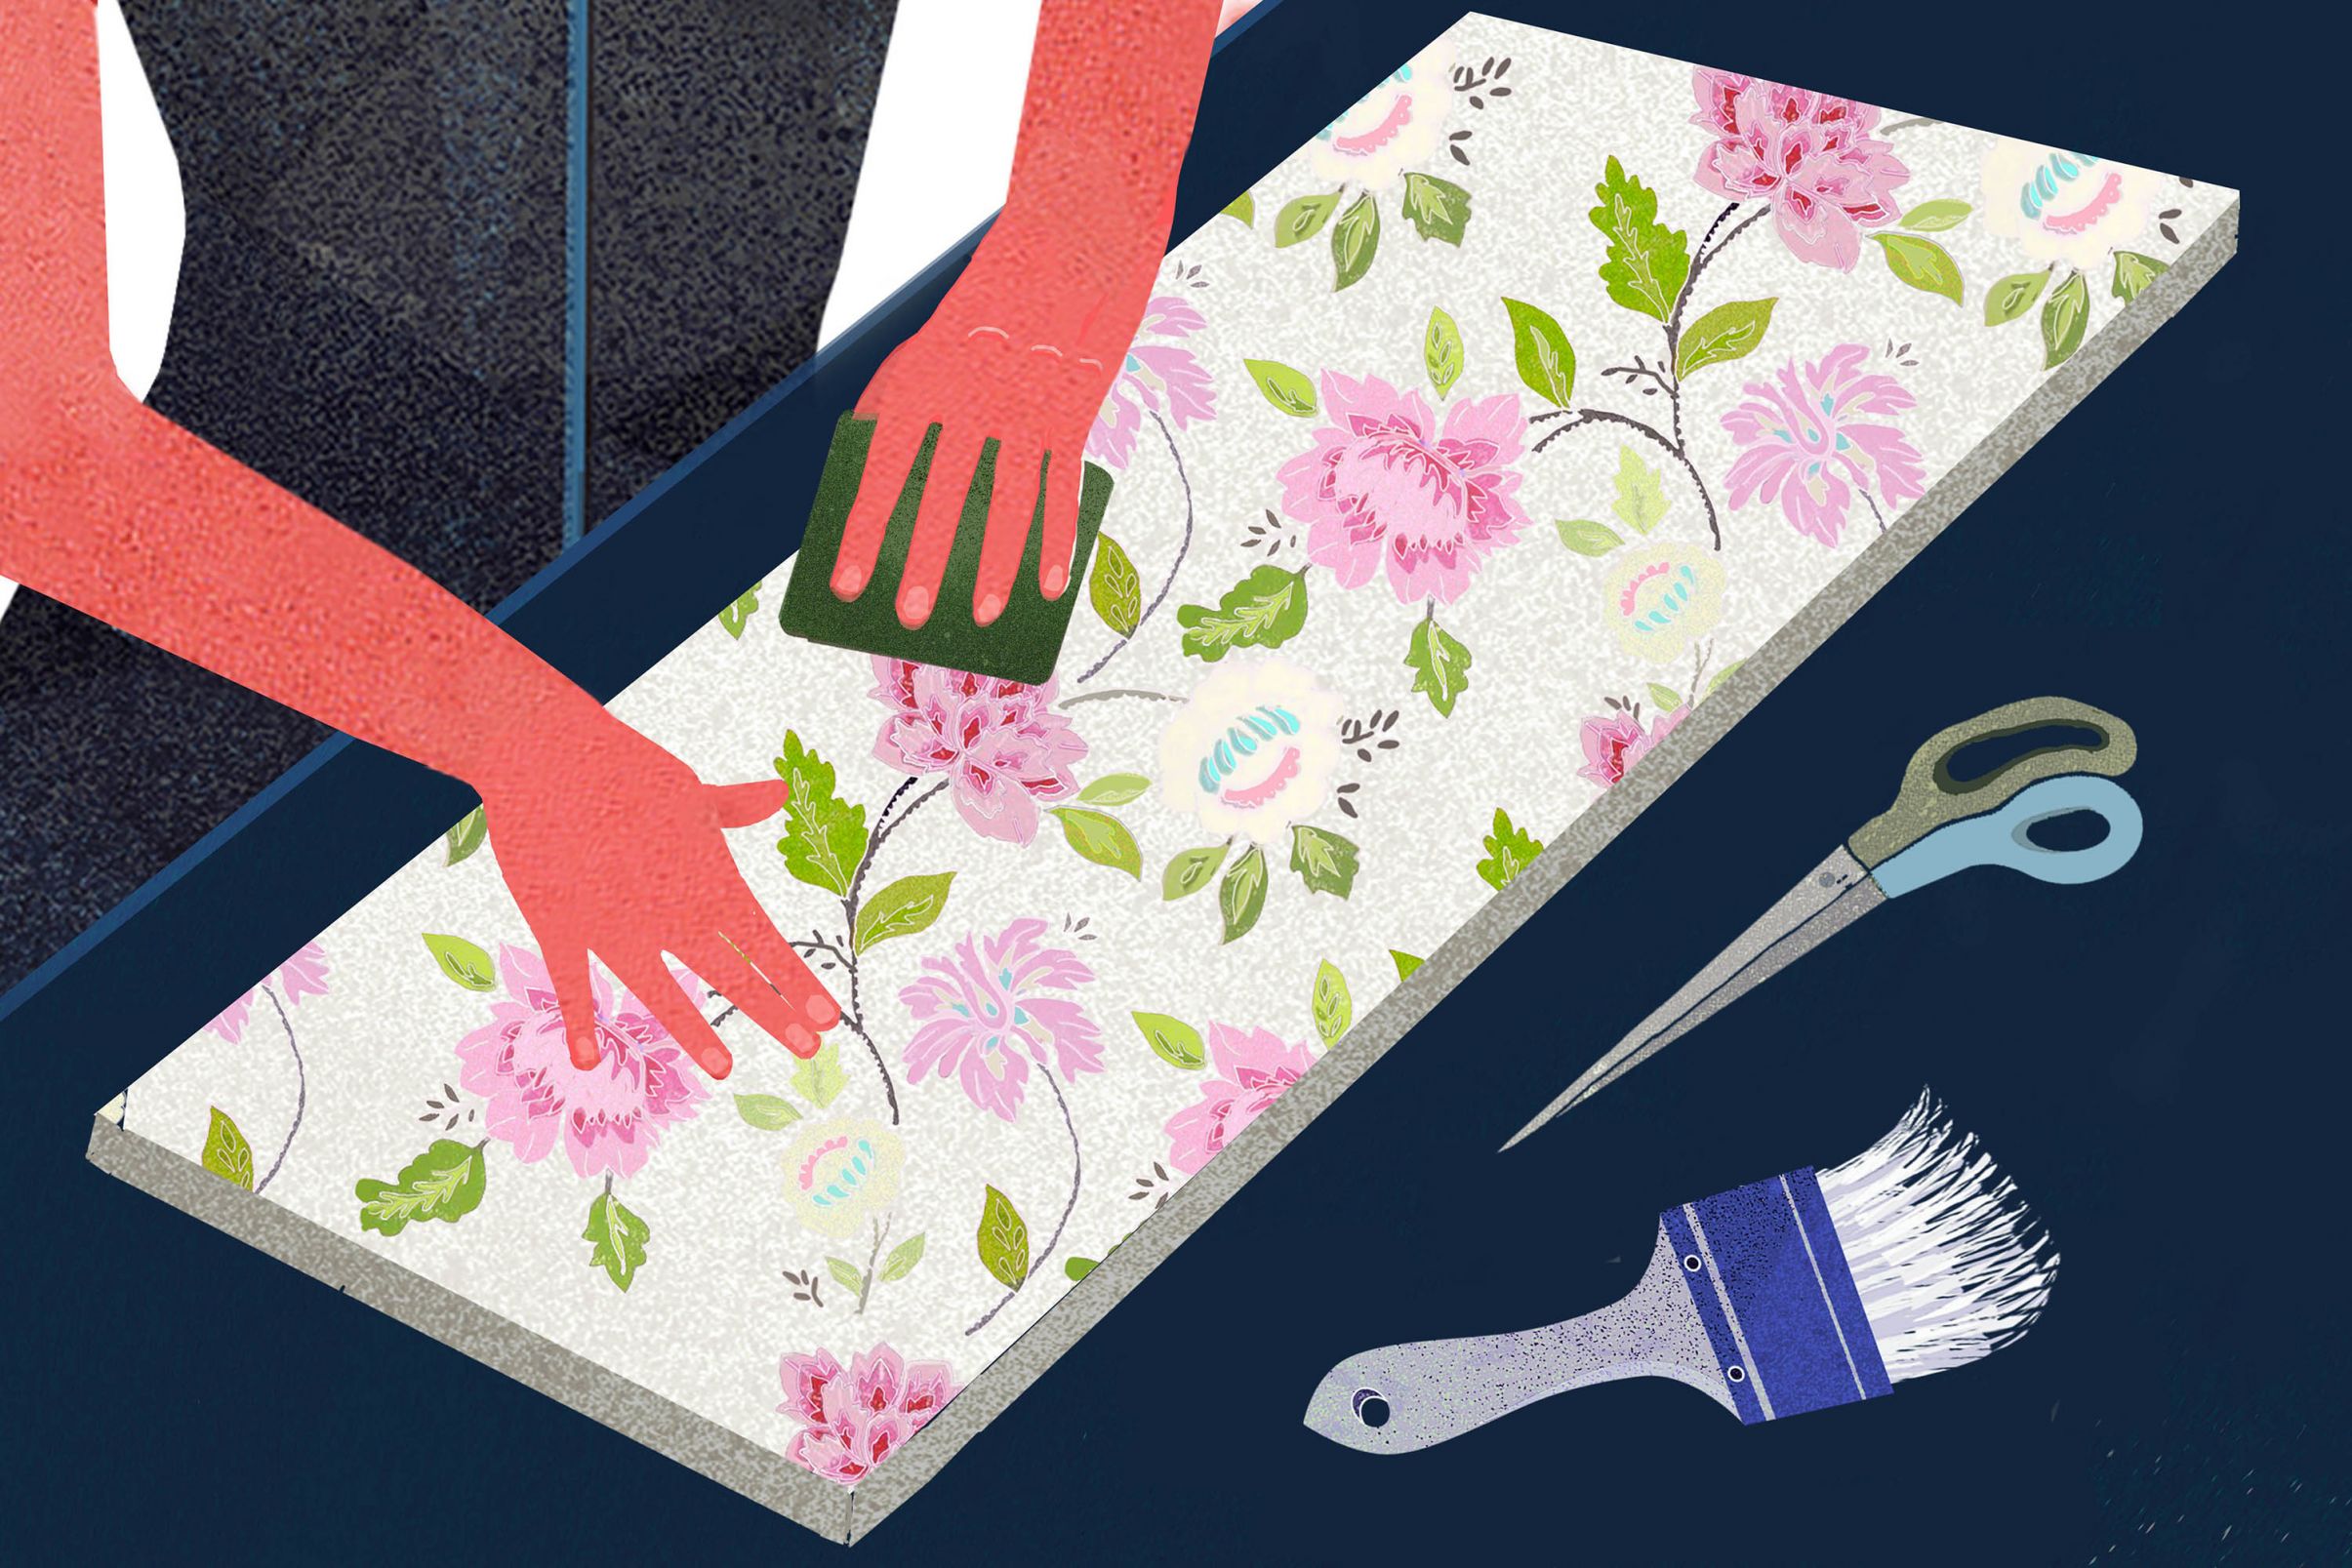
4 Pre-Cut wallpaper and apply
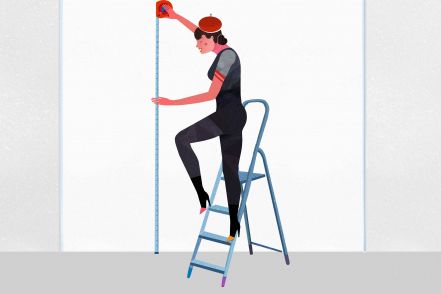
Cut the non-woven wallpaper to fit the surface you wish to cover. Make sure your measurements are accurate, as cutting off overlaps from furniture requires a steady hand - otherwise the piece of furniture can easily be damaged in the process.
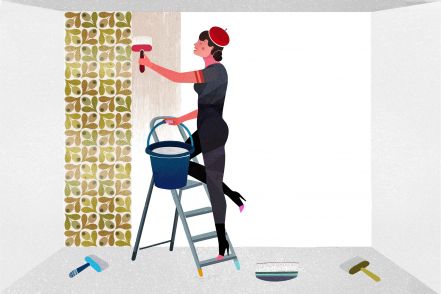
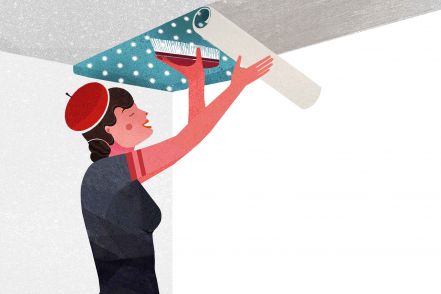
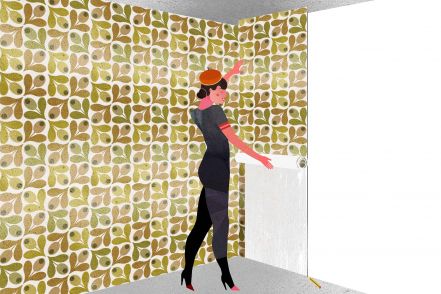
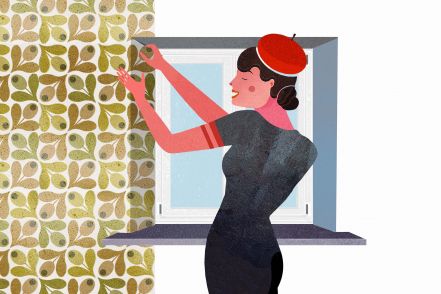
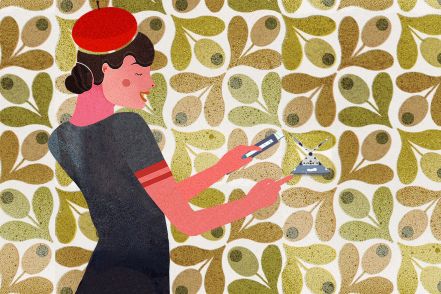
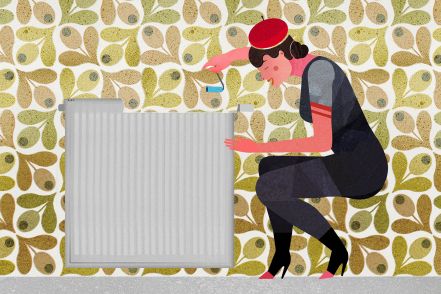
Align the material (paper-based or non-woven wallpaper) with the surface. Use your brush or roller to smooth out the paper towards the edges, making sure there are no air bubbles or wallpaper paste lumps. For smaller or more delicate/fiddly areas, just follow our PaperGirl's example and use a plastic squeegee or spatula. When applying the finishing touches with your steam roller or spatula, pay particular attention to edges and corners as it is important that the wallpaper adheres properly to those areas, especially if the piece of furniture is in constant use.

5 For glass surfaces using double-sided adhesive tape
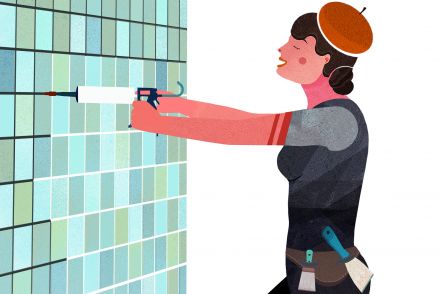
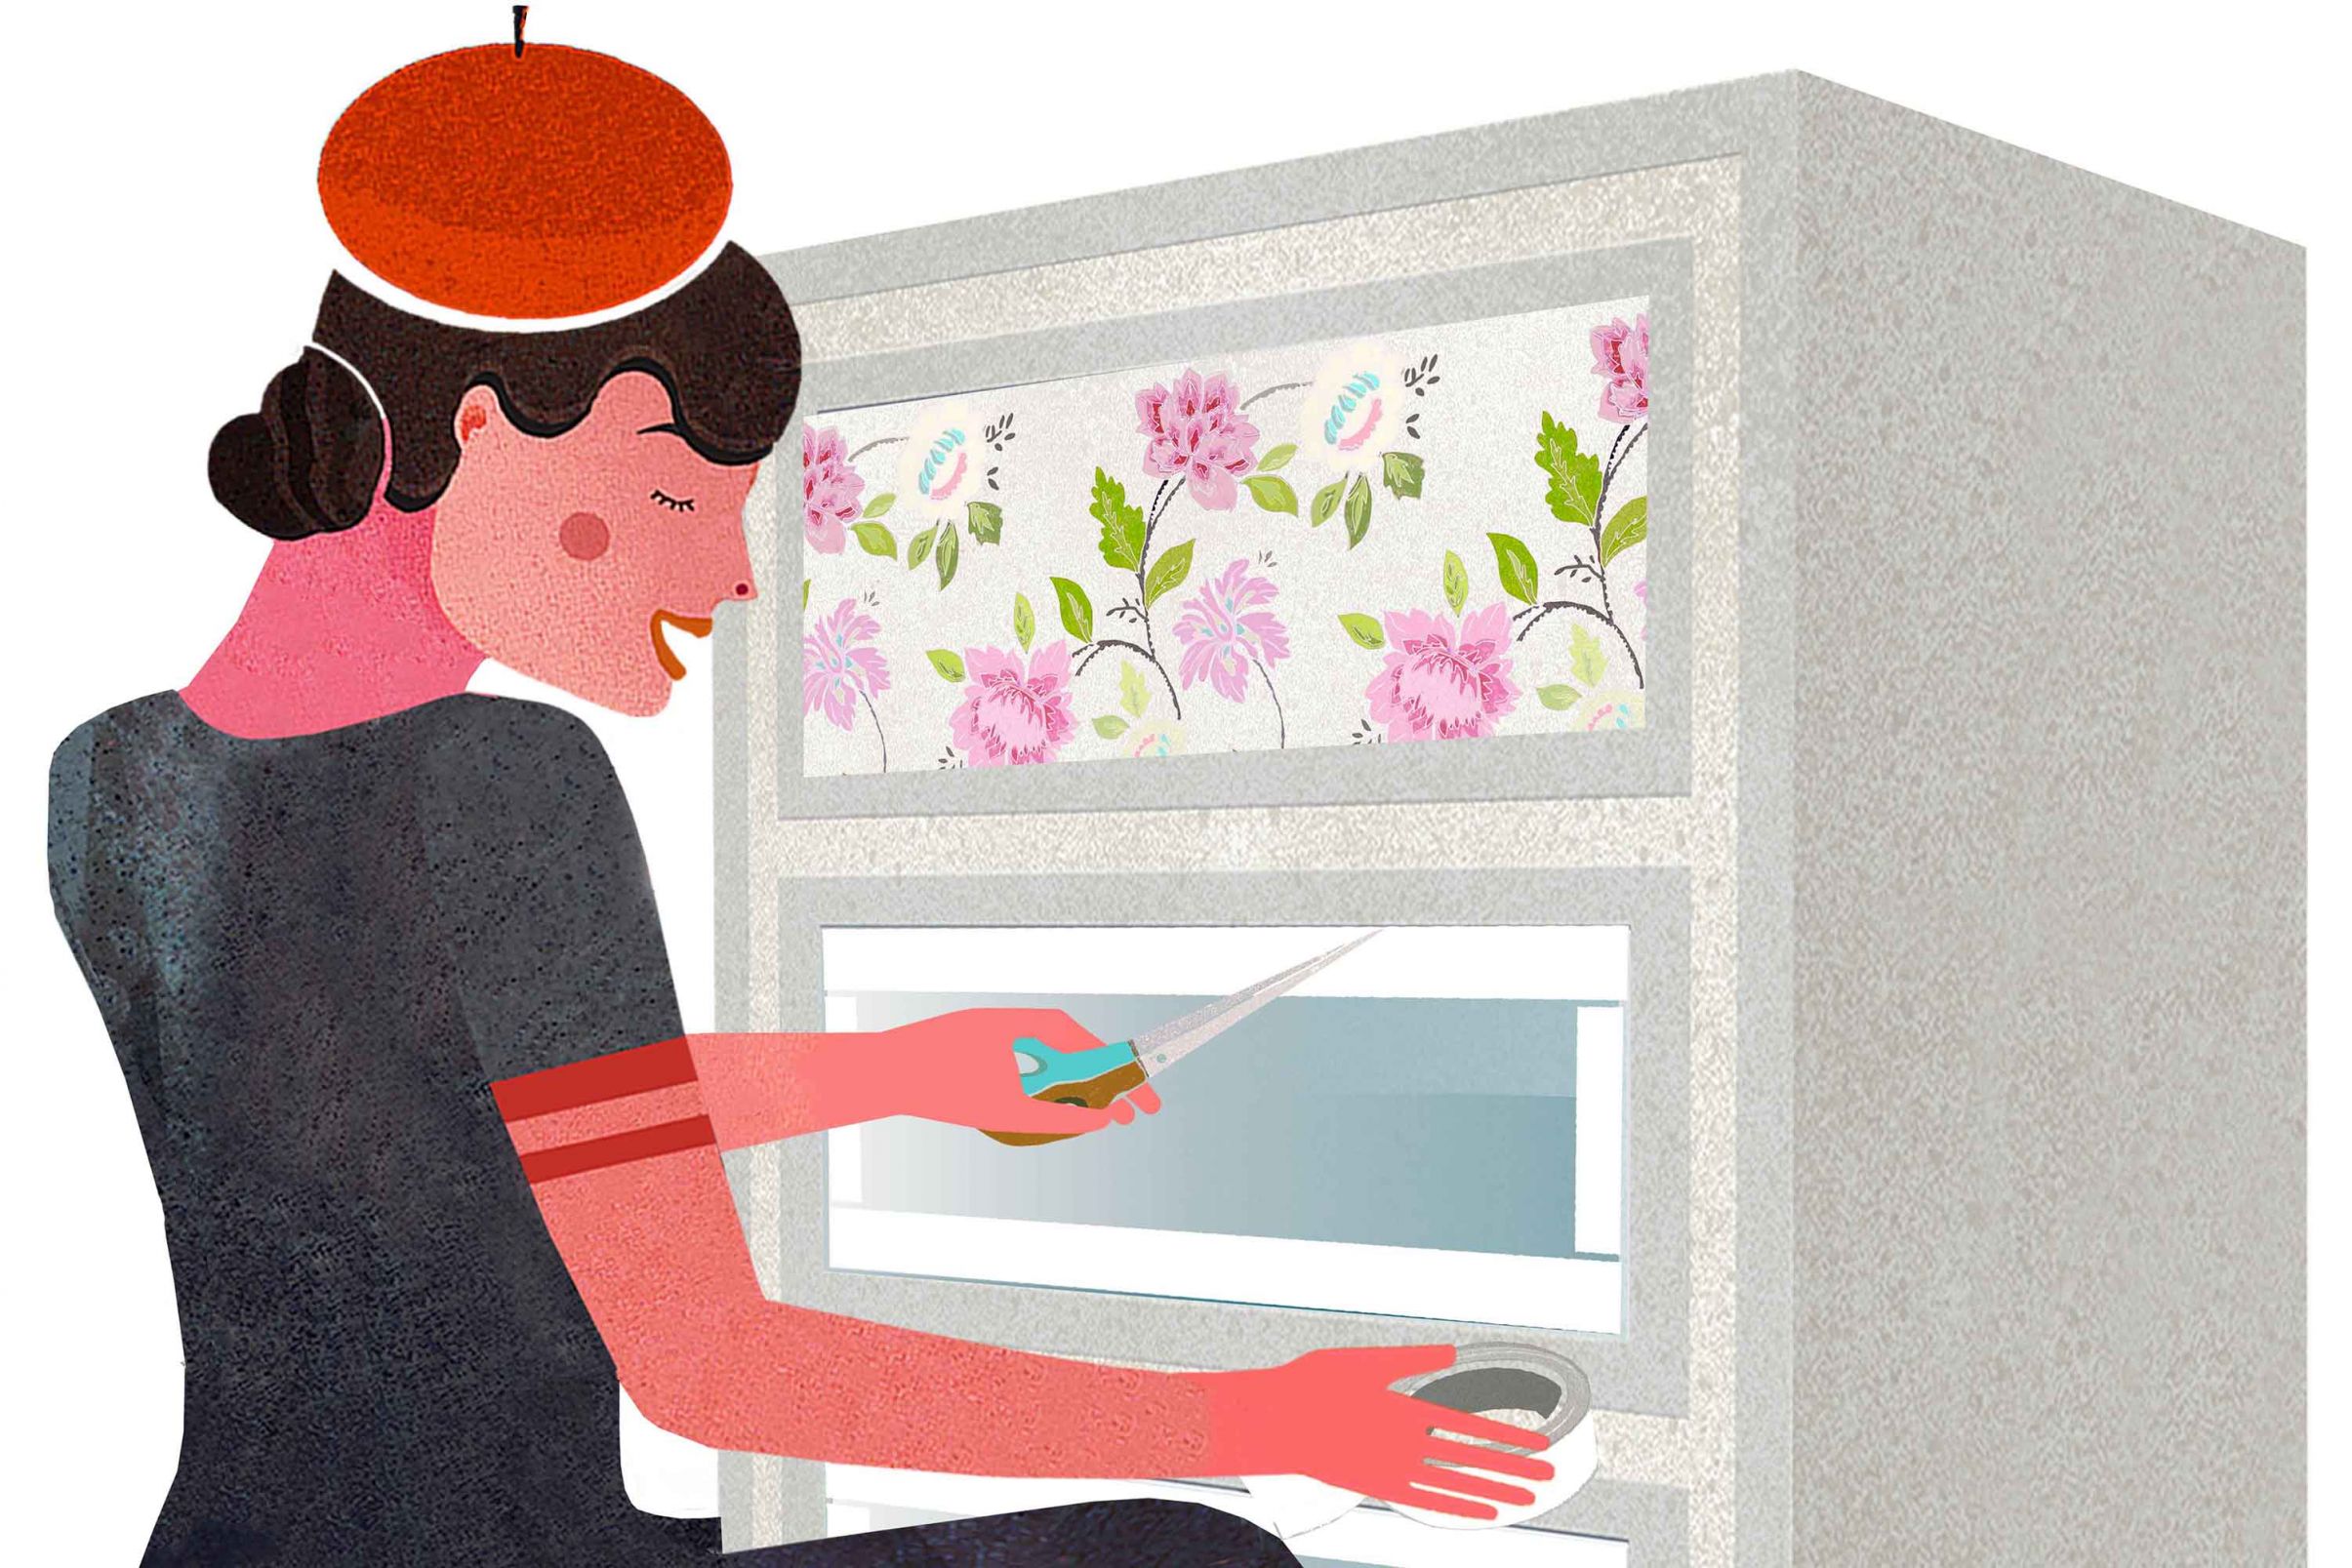
For glass surfaces, the wallpaper is affixed with double-sided adhesive tape, as wallpaper paste has no adhesive qualities on glass. Make sure that the edges are perfectly aligned with the tape to avoid "air bubbles" in the wallpaper.
When affixing the wallpaper, work gradually, bit by bit, from bottom to top and from right to left, to prevent bubbles and creases.
Treat wallpapered surfaces to protect them from dirt and discolouration
The last step ensures that the wallpaper on the surface is protected from dirt and discolouration and easy to clean. There are two methods of treating the wallpaper to achieve this. You can use high-gloss varnish from craft shops. Apply it to the wallpaper with a large paintbrush. Please note: high-gloss varnish from large DIY stores or specialised shops for painters/decorators is not suitable for this task. You need the viscous, slightly milky varnish from arts and crafts retailers, as it is designed to seal surfaces decorated with any type of (wall)paper.
Alternatively, you can use self-adhesive, transparent foil. Cut it to the same dimensions as the wallpaper and apply carefully with a spatula. If there are any blisters or air bubbles, prick them with a small needle and smooth out.

