When open seams are visible after wallpaper has been put up and dried, it can impair the overall picture. But fear not, there are simple ways to deal with this issue.
This guide will list the possible reasons for open seams appearing after wallpapering, and how to prevent or close them.
Reasons for open seams - and how to prevent them
There is a number of possible reasons why seams might come off the wall. Just one of them is often enough to cause an open seam, but sometimes a few adverse factors come together. In detail:
1. The surface wasn't prepared appropriately
It cannot be stressed enough just how important it is to prepare the surface properly. Open seams are created if the surface is very absorbent or not absorbent at all. Both situations have a negative impact on the dry tension. Old layers of paint or uneven patches which haven't been removed or dealt with will also lead to adhesion problems. Whether the surface is very absorbent or not very absorbent at all, shows traces of paint, or unevenness, it needs to be prepared with appropriate products. It is also necessary to remove old paint, loose plaster and any other irregularities. In some cases, when the surface is damaged more seriously, a layer of wall lining paper might be the solution. If in doubt, just ask the experts in your local DIY shop.

2. Irregular soaking and drying times for wallpapers with a paper carrier
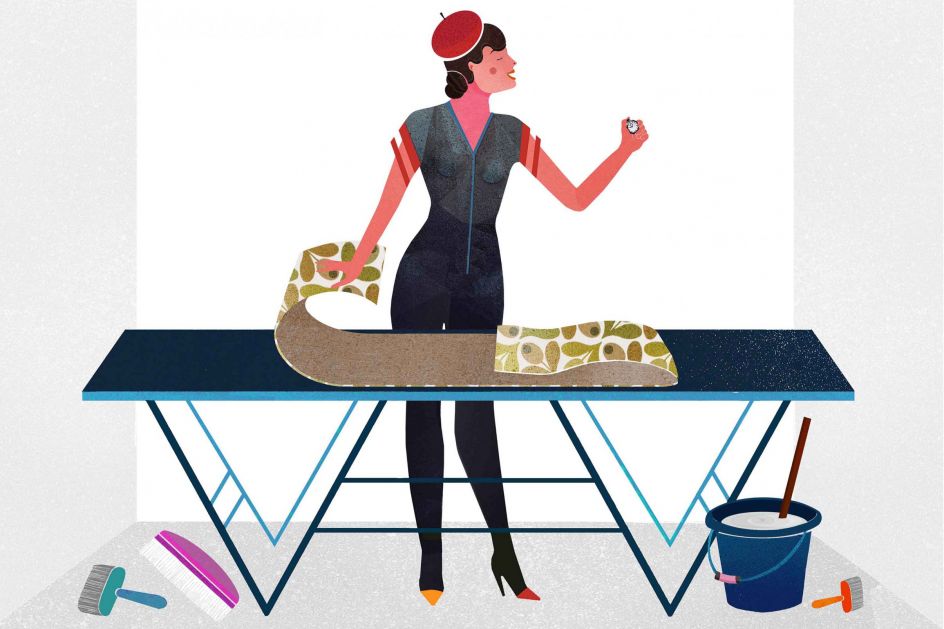
After applying wallpapering paste on wallpaper with a paper carrier layer, a certain soaking time is required. The exact time depends on the specific wallpaper type and has to be adhered to for each and every length. Deviations (soaking time too long or too short, different soaking times for different lengths/strips of wallpaper) can lead to open seams.
The width of a dry standard wallpaper strip is 53 cm, but once soaked it is about 54 cm. Sticking to the same soaking time for each strip means that this increase of 1 cm is the same for each strip. During the drying process, the wallpaper "contracts" again, stretching evenly across the surface as the adhesive dries. In other words, the wallpaper paste or adhesive should dry more quickly than the wallpaper itself. The ideal room temperature for this process is around 18 degrees Celsius. If the room temperature is too high or there is a draught, the wallpaper will dry more quickly than the adhesive, the dry tension cannot be balanced and the seams can split open.
When coated wallpaper (e.g. vinyl) is put up on a sealed surface which doesn't let any moisture through, the drying process can take too long as the paste stays damp for a considerable time. Again, this has a negative effect on the dry tension and can lead to split seams.

3. Insufficient amounts of wallpapering paste have been applied to the edges of paper-based wallpaper or have dried out
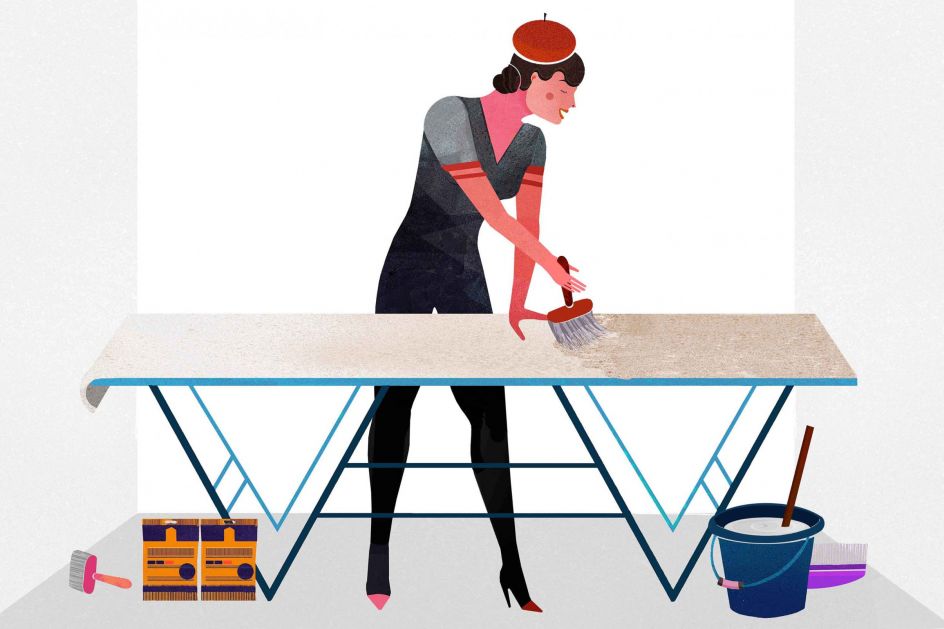
It is important to apply enough adhesive to the edges of any paper-based wallpaper. They need to be covered completely, but not excessively. When folding the lengths after applying the paste, the edges need to be exactly aligned - if they aren't, the exposed areas dry out. The folded wallpaper should then be re-folded in order to prevent any parts/edges from drying out.

4. Wrong or weak wallpapering paste
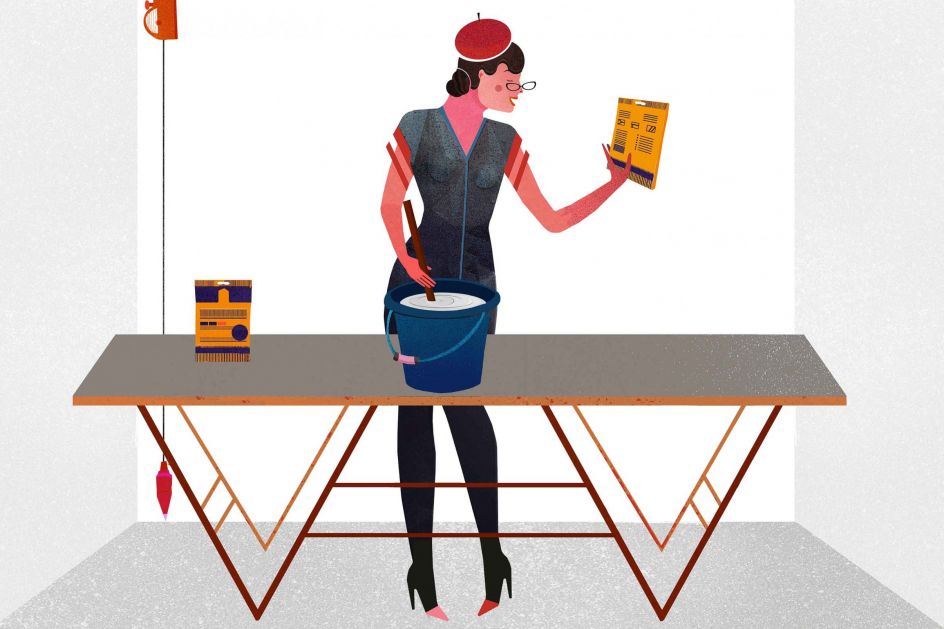
It goes without saying that it is important to use the correct adhesive. You will find all the relevant information in the insert that comes with your new wallpaper. For heavy or coated wallpapers, it is often recommended to add some dispersion glue. Again, you can find the necessary information in the insert label. It is advisable to invest in premium-quality rather than cheap products. The results will be much better.
If the paste is applied directly to the wall (for wallpapers with non-woven carrier layer), it is best to proceed length by length. This will mean less pressure as you won't have to worry about the adhesive drying out. When applying the paste to the wall, always add about 2 cm to the width of the wallpaper strip to ensure that the glue covers the entire width.

5. Temperature fluctuations & often ignored heat factors
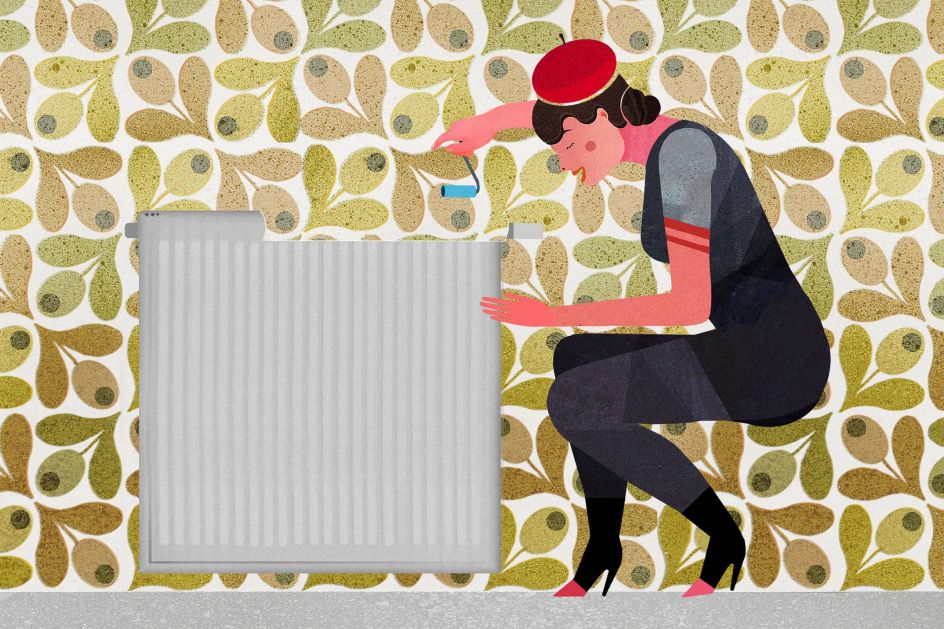
Whether you have chosen a paper- or non-woven-based wallpaper - temperature fluctuations or a high heat input have a negative impact on seams. It begins with how the wallpaper is stored. After purchasing it, it should be kept in the room where it will be hung, or at least 48 hours before the project starts. The ideal room temperature for wallpapering and subsequent drying is around 18 degrees Celsius. During wallpapering and for a few days after, it should be ensured that there are no great fluctuations in temperature. Unfortunately, heat factors like direct sunlight, lamps which exude a lot of heat, or ovens and radiators in front of the newly treated wall are often overlooked.

6. Incorrect handling of seams
From the second length of wallpaper onwards, the seams should be the centre of attention. This means that the strips must be absolutely flush and must not overlap or have gaps between them. When pressing the wallpaper to the wall, always use a conic seam roller at the edges.

How to close seams like a pro
Open seams can happen to professionals, too - nobody is perfect, as we all know. Thankfully, this is no big deal and can easily be sorted out. You just need a small amount of wallpapering paste, preferably left over from the project. Otherwise, simply prepare a new small batch. Choose a paintbrush appropriate for the size of the open seam. Brushes with a long handle are best as they provide you with sufficient range. Dip the brush into the adhesive and remove any excess paste. Now carefully place the tip of the brush under the edge of the wallpaper until you can feel resistance. Apply the paste to dry areas and onto the wall surface.

Treat all open seam areas of the entire length but don't press them on yet. Leave the paste to soak in for a little while. Then press the seams onto the wall using a rubber or seam roller lengthwise so that excess paste is squeezed out. Wipe any excess paste off with a damp cloth.
Alternatively, or if the seams keep splitting, you can use a special seam glue which can be purchased cheaply in any DIY shop. It is applied to the wallpaper directly from the tube and then spread with a small brush or a cotton bud.

