
The best use for your wallpaper cut-offs: Wallpaper Eggs and Bunny Ears

Soon, it will be hopping through the gardens again, hiding chocolate treats for the children: the Easter Bunny. Originally, Easter was a religious festival, signifying re-birth and life after death. In many parts of the world, the colourful painted eggs symbolise fertility - just like the well-known and much loved Easter lamb does. Today, many of the religious Easter traditions have been introduced into family life and are not only practised in churches any longer.
Every year, many parents enjoy making their own Easter decorations with their kids. And what better material to use than our beautiful, brightly coloured wallpapers? Today, we have come up with a very special idea for your wallpaper cut-offs! How about making some "wallpaper eggs"?
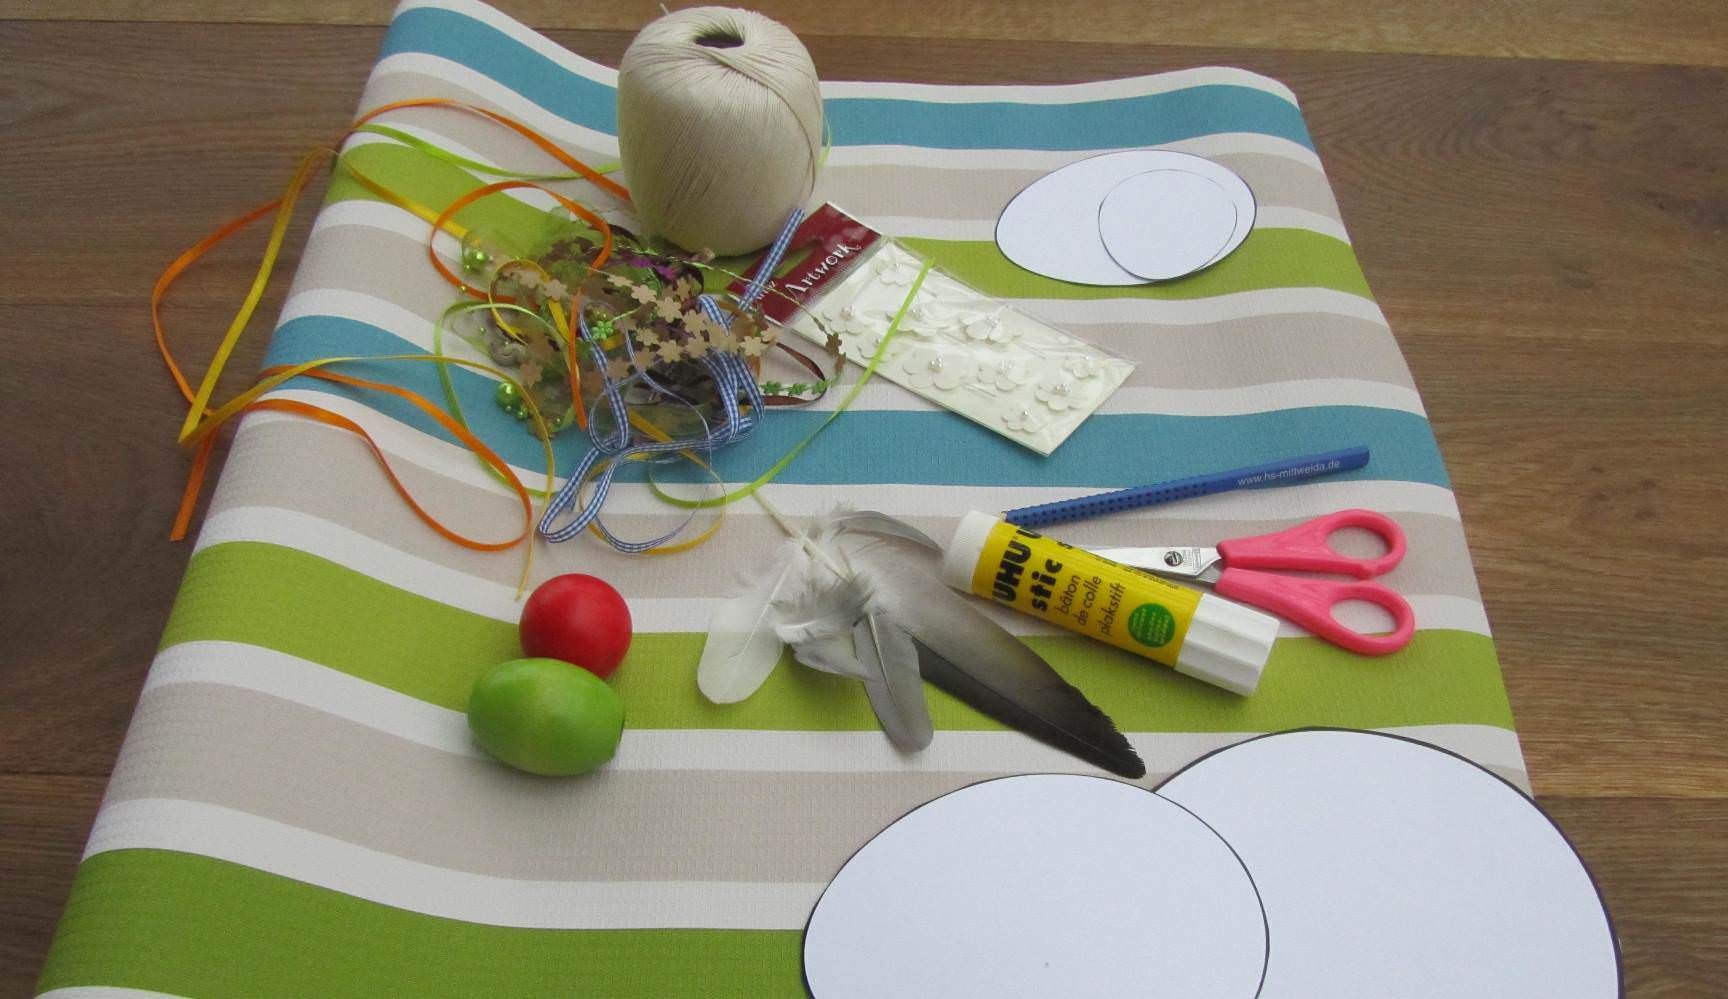
What do you need?
- Pair of scissors
- Glue
- Pencil
- String
- Wooden beads or pretty sticks
- Feathers
- And of course a piece of your fav wallpaper!
What you need to do
Take a piece of your favourite wallpaper and put it in front of you, pattern up. Now fold it in the middle so the patterned halves face each other.
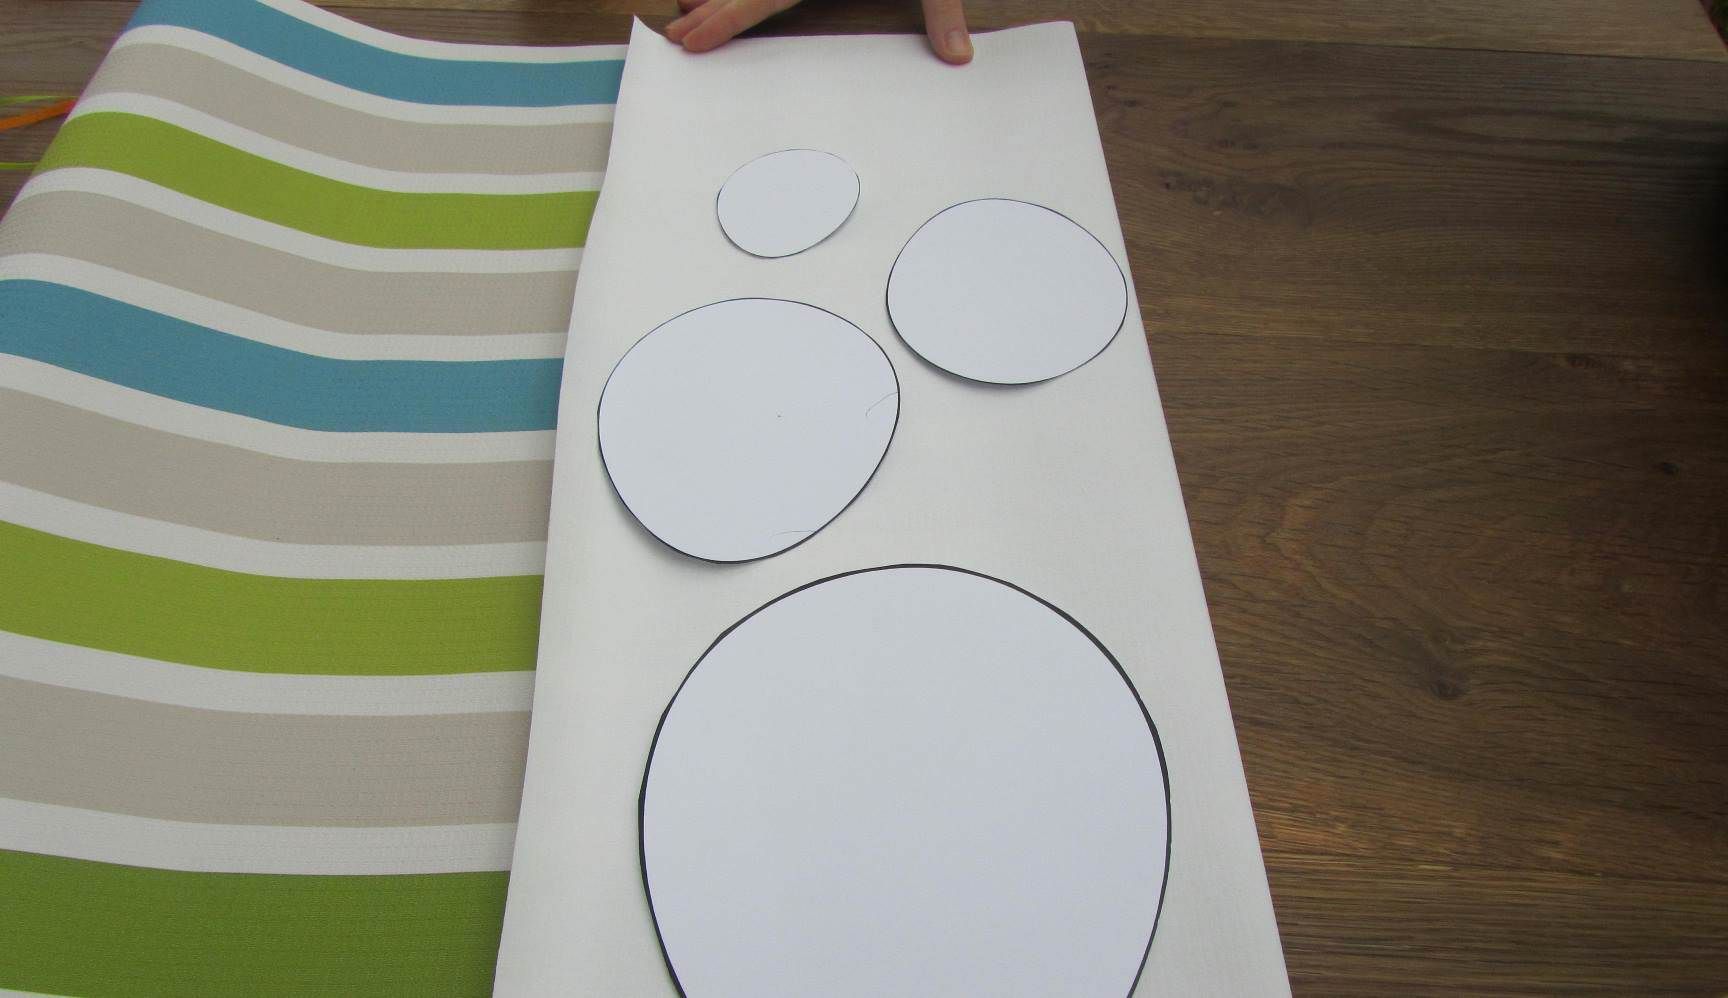
Now draw various oval egg shapes on the back of the wallpaper piece (you can find countless templates for this on the internet, in case you are unsure you can do it "freehand").
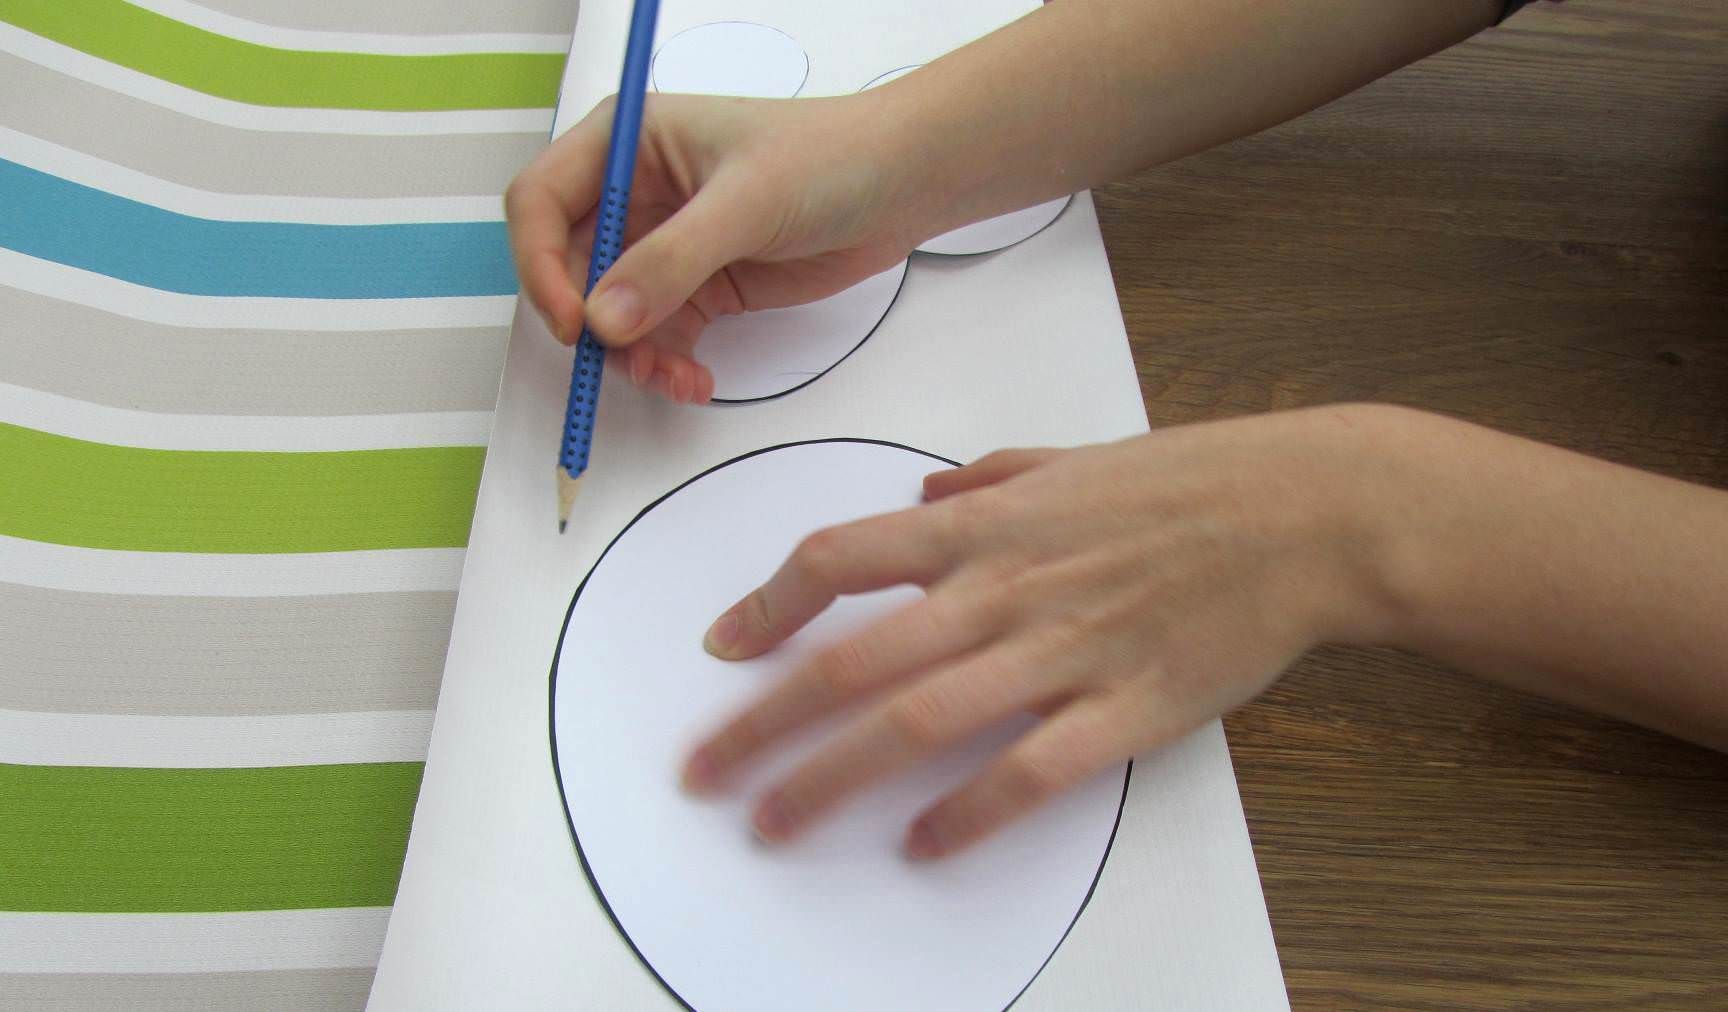
Cut the egg shapes from the wallpaper. You end up with two eggs shapes of the same size.

Now cut a sufficiently long piece of string - it should be about 40 cm longer than all your egg pairs combined (above each other).

Now move one of each egg pair underneath the string, pattern down. You can arrange them straight or at an angle, whatever you prefer. The string needs to stick out above and below the eggs (about 10 cm should do the trick). How about adding a pretty bead between each egg? Now attach the string to the eggs with a bit of glue. Then stick the second egg to the one already in place on the string (unpatterned/back sides). Continue to do this with all your egg pairs.

Attach a heavy bead, an interestingly shaped stick or a stone with a hole in it to weigh down the mobile and make it hang straight. Now let your creativity run riot! Decorate the eggs with colourful ribbons, glitter or feathers, etc. Use the "protruding" bit of string to hang the mobile.


Voilà! You've made your own wallpaper eggs! By the way, these gorgeous eggs look lovely on some branches with spring blossoms or as window decorations.


Easter is a festival best celebrated with the whole family. Many family members get together to enjoy each other's company and of course the lavish feast prepared by the hosts. In order to create a focus point and create a more colourful atmosphere around the table than perhaps last year, you might think about adding a special touch - with our fun bunny rings.
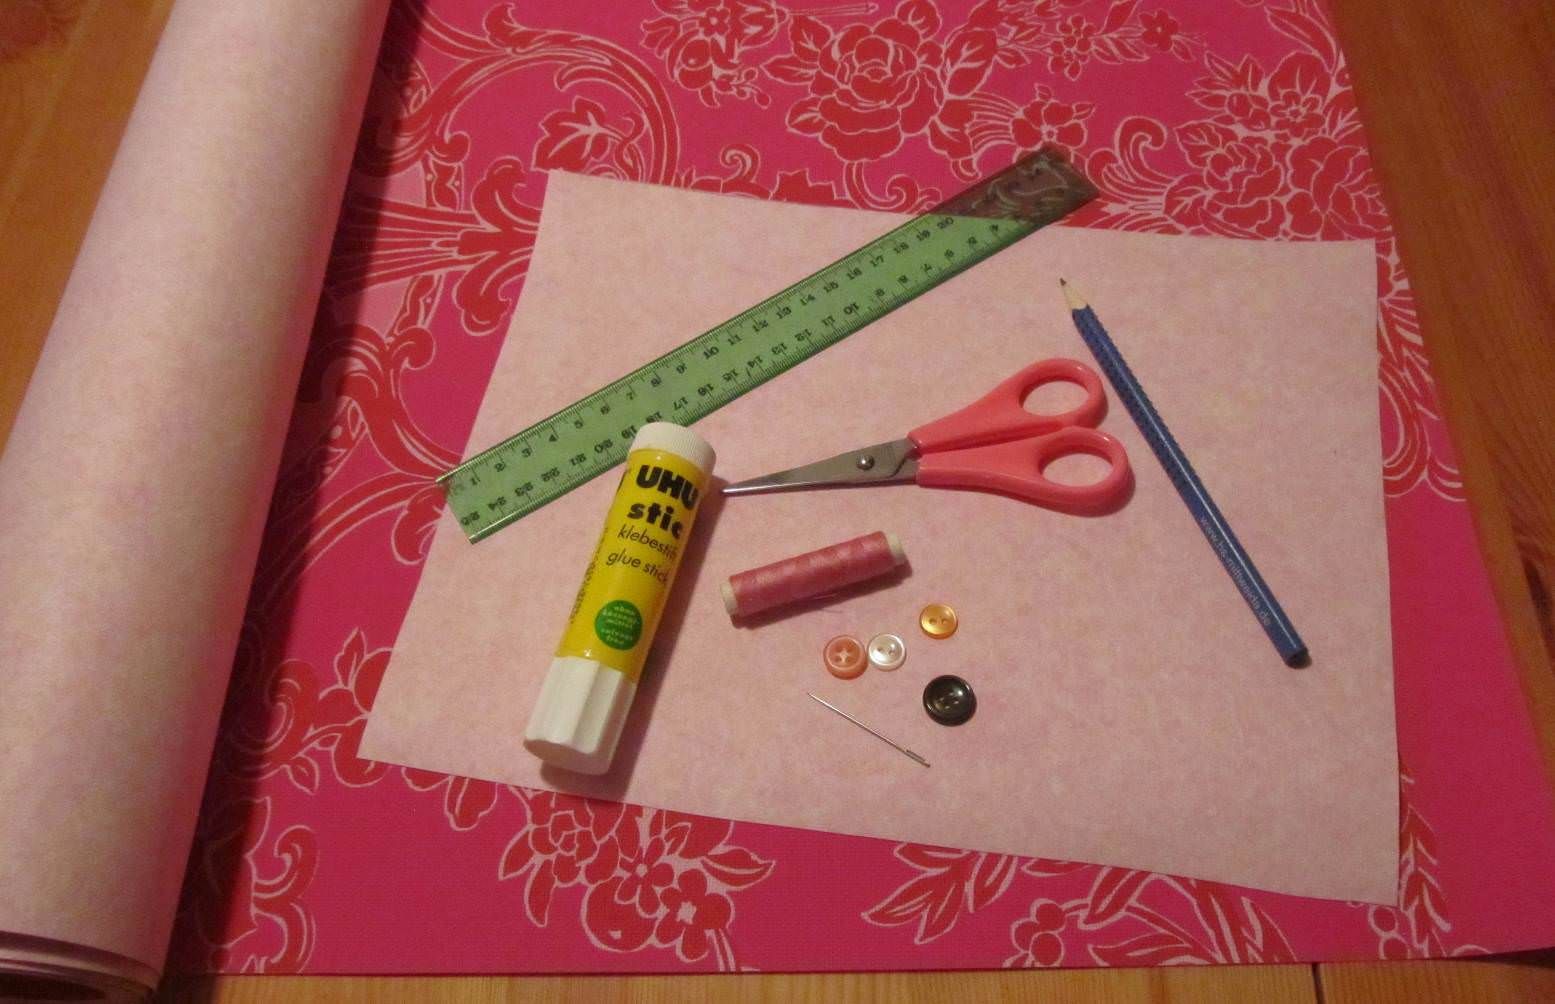
What do you need?
- Pair of scissors
- Glue
- Needle
- Thread
- Buttons
- Ruler
- Pencil
- And of course a piece of your fav wallpaper!
What you need to do
Take a piece of your favourite wallpaper and cut out a square piece (about 15 cm x 15 cm). Now fold this in the middle so that the patterned front sides are facing each other. Move the one of the short sides towards you.
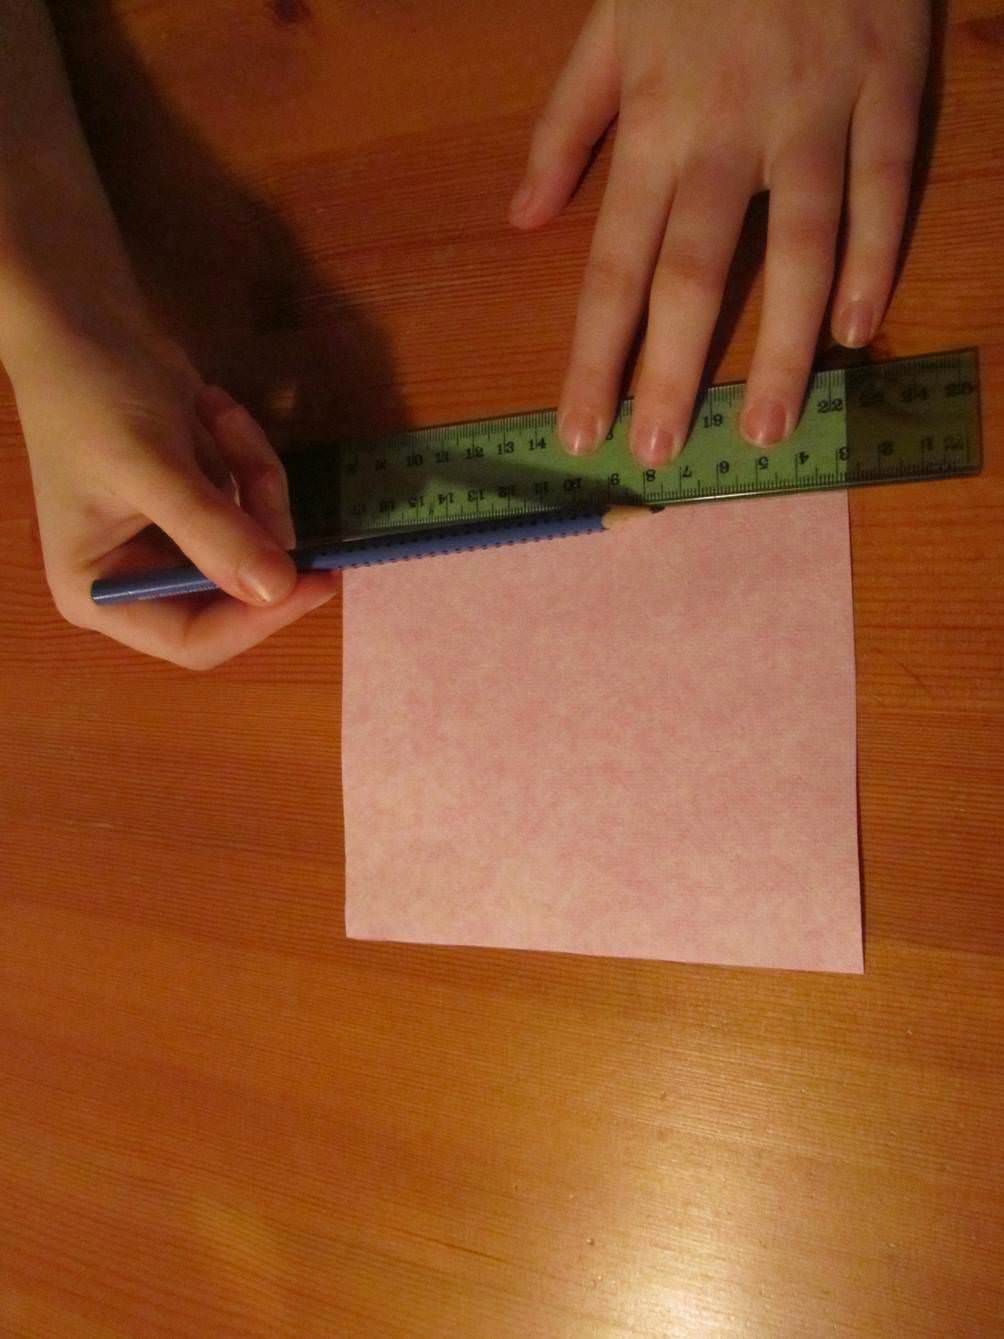
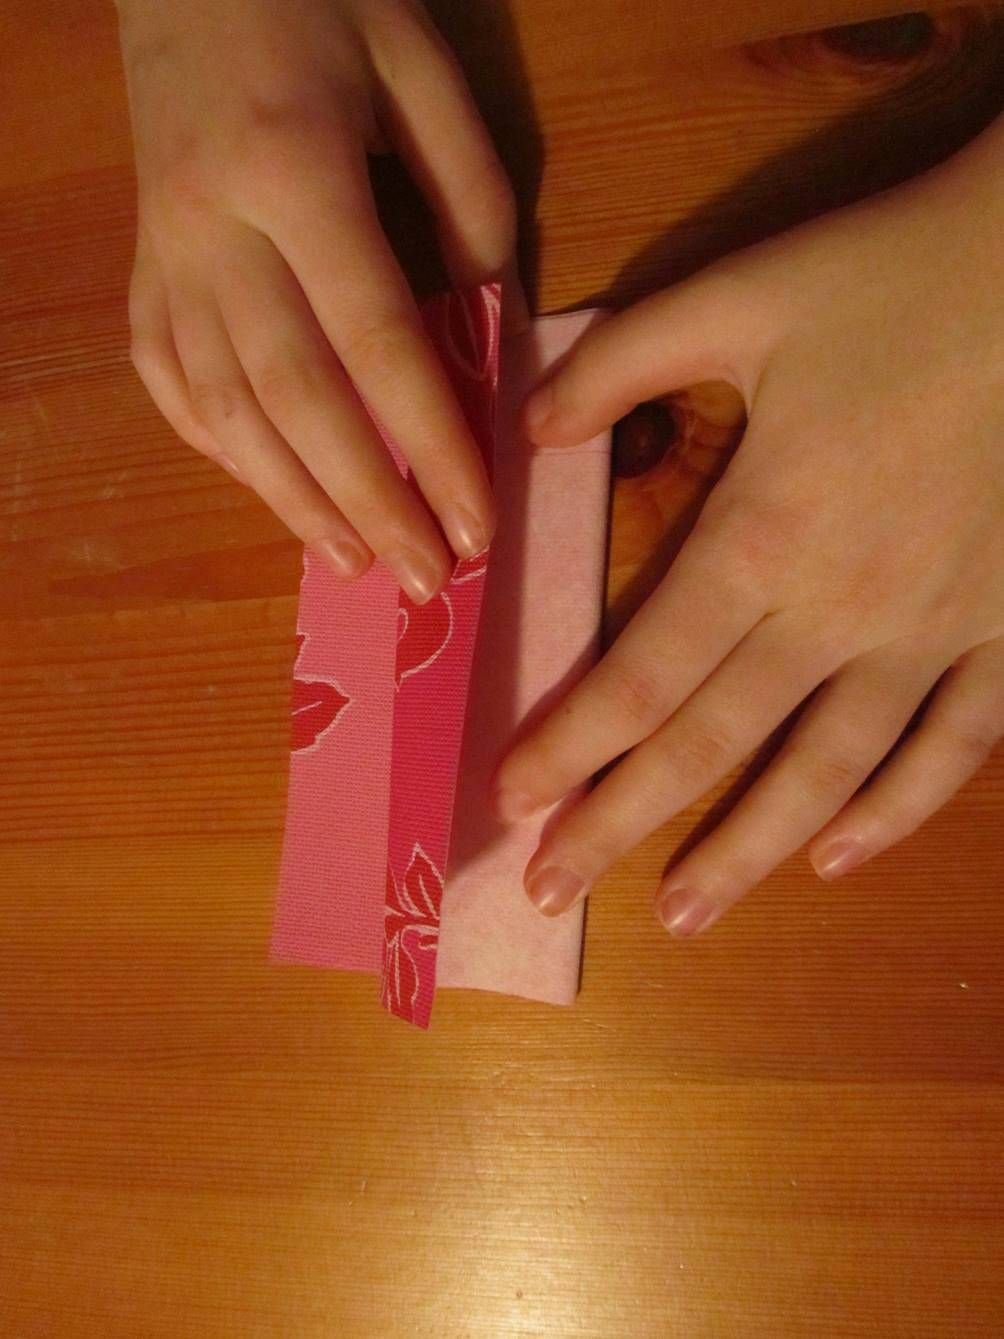
Now take your ruler and measure about 3 cm from the edge of the short side. Draw a line. Then draw something like an elongated heart along the long fold, beginning at the top. The pointy part of your shape should end at least 2 cm from the line you drew at the bottom.
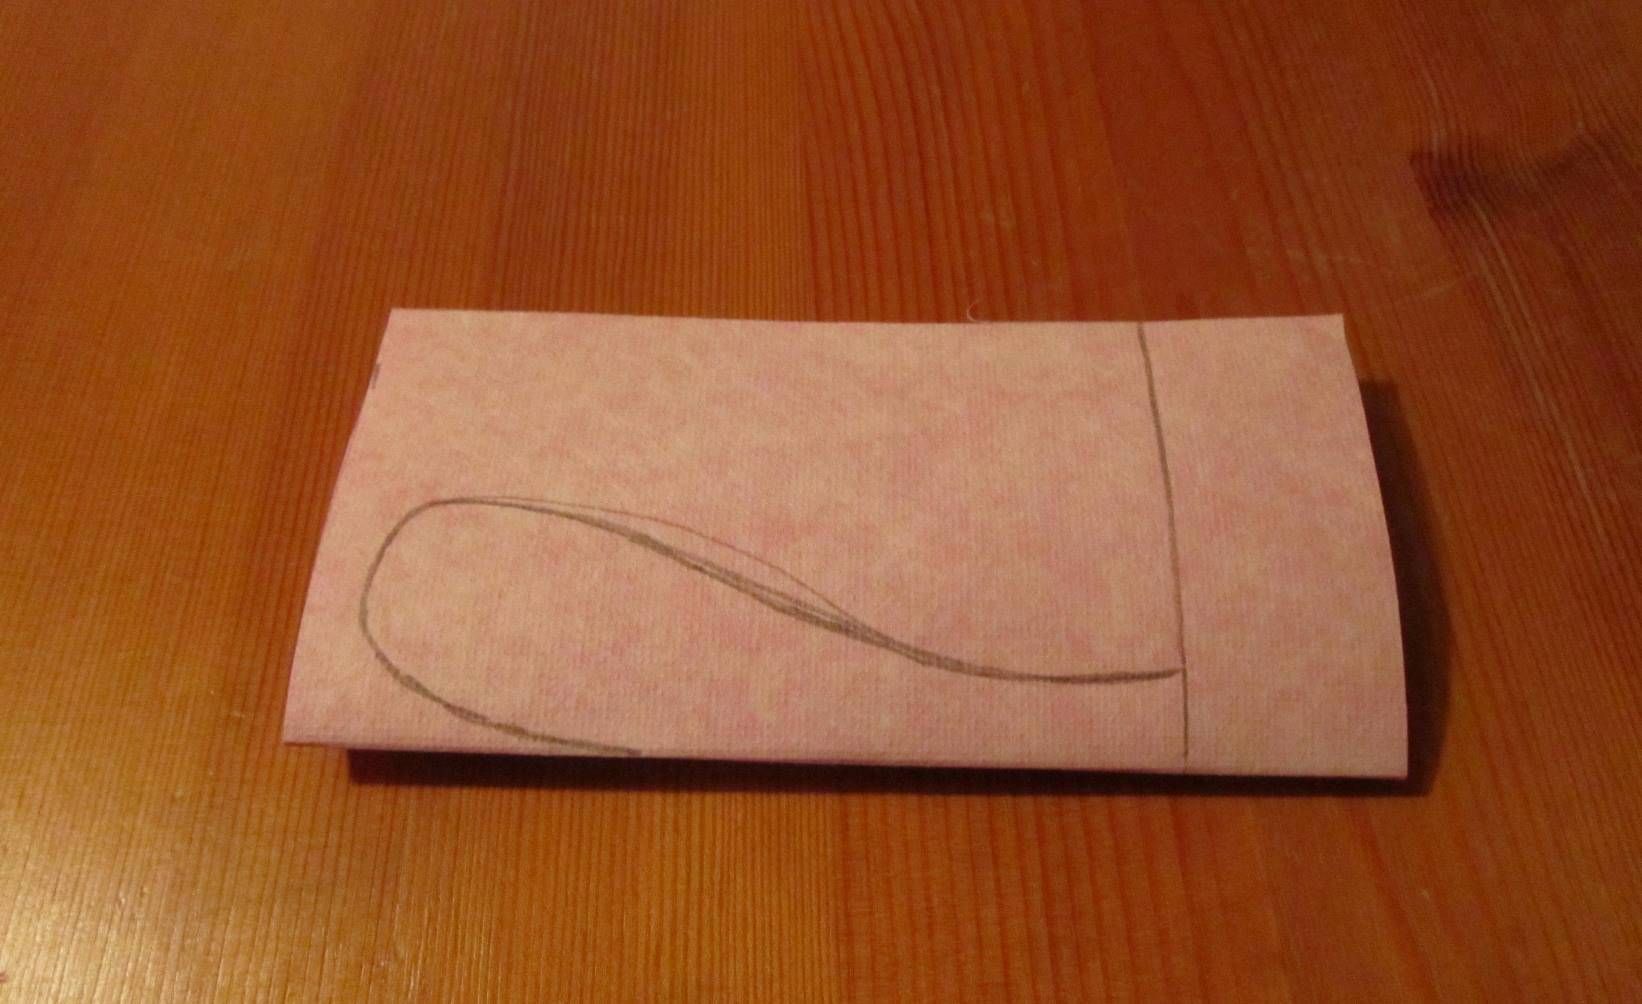
Now cut the folded wallpaper along the pencil marks.
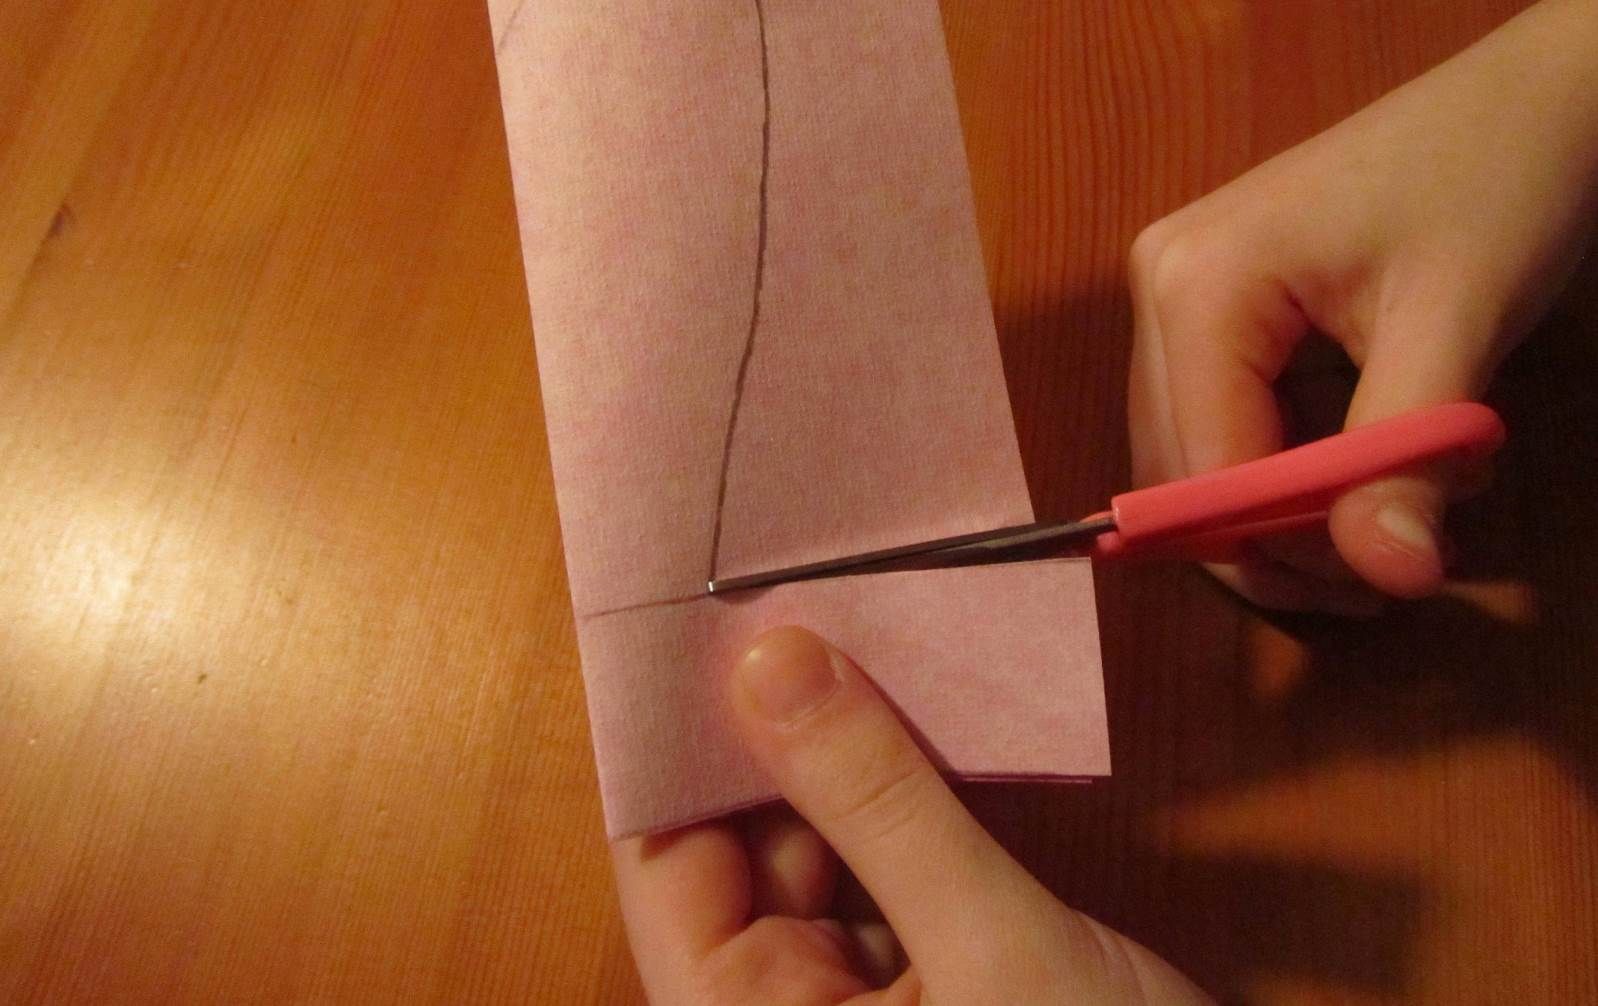

When you unfold it, you will see the basic shape of our bunny-eared napkin rings. Take a pointed, somewhat larger needle, a bit of thread and a button, and sew the button onto the fold on the patterned side of the ring, below the ears. The button is our rabbit's nose.


Now simply stick the two ends of the ring together with a bit of glue. Depending on the overlap, you can determine the diameter of your napkin ring.

Yay! You've made your own bunny napkin ring! These bunny rings can also prettify your Easter breakfast table as egg "cups". Who wouldn't love a boiled brekkie egg with Easter bunny ears? Just make sure the ears are a little bit shorter and choose the diameter according to an actual egg.


Have fun creating your very own Easter wallpaper, and watch this space for more ideas on how to use your wallpaper cut-offs!
Yours, Laura