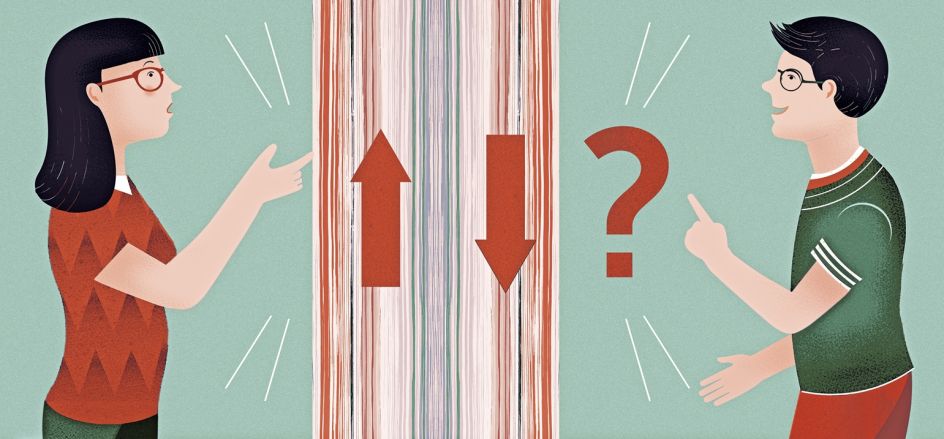
Your new wallpaper comes with an information label featuring various symbols which refer to the characteristics of your wallpaper, amongst them one with two arrows next to each other, one pointing upwards and one down. This symbol stands for: Reverse Hanging. This blog will explain why lengths of wallpaper might be hung in this manner and how you should proceed to achieve this method.

Reasons for reverse hanging
Seamless plain-coloured or structure wallpapers, natural wallpapers and textile wallpapers are sometimes hung based on the reverse hanging method if their edges show minor colour or structural differences, for instance due to the printing process. At first glance, and even when cutting lengths of wallpaper, these differences might not be immediately obvious. But once the wallpaper is up on the wall, these "imperfections" (e.g. shades) could be visible at edges and seams, affecting the overall picture. As a result, wallpaper rolls that might be in this category feature the "reverse hanging" symbol. Every other lengths is put up in the reverse direction of the first one - in other words, it is "put on its head", i.e. upside down.
Regular hang wallpaper
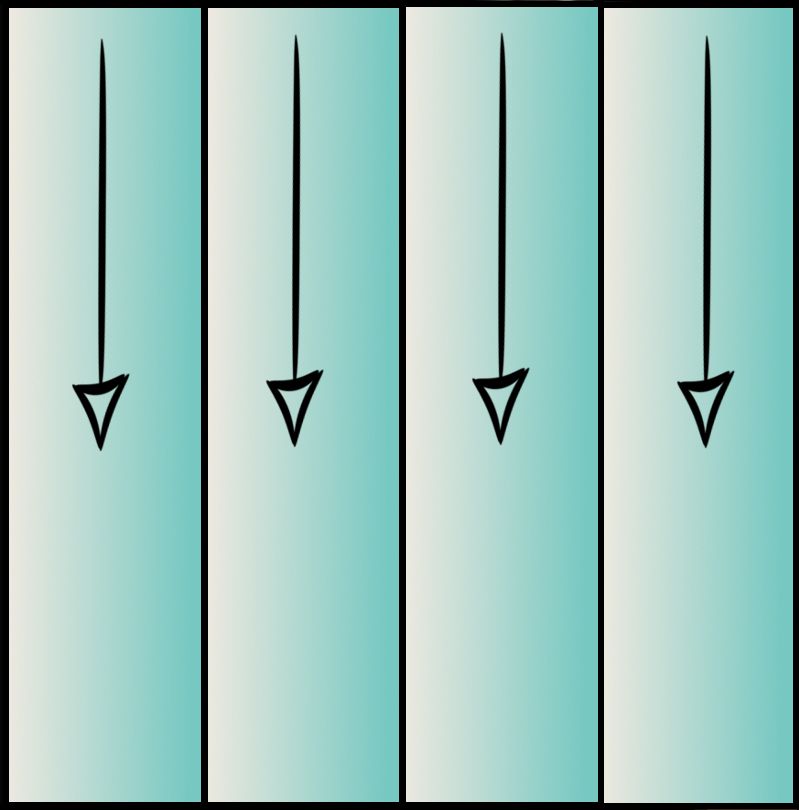

Reverse hang wallpaper
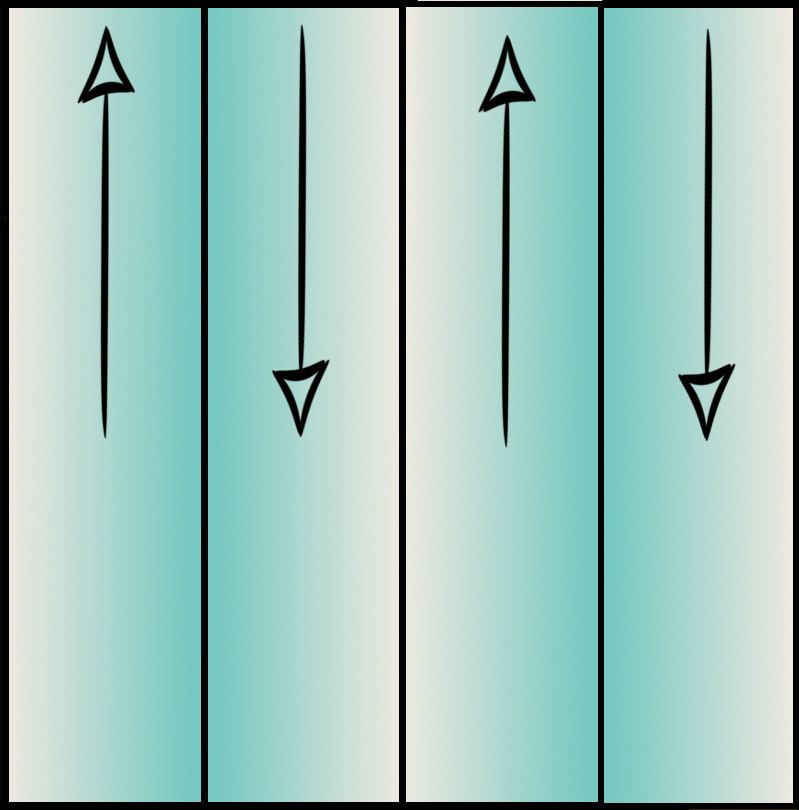

Step-by-step process
If your new design wallpaper features the symbol with the reverse arrows, it should be hung as follows. In order to not lose your rhythm when working, we recommend that you cut a length and then put it up straight away, followed by the reverse one, etc.
Paper-based wallpapers require a specific soaking time (to absorb the wallpapering paste) before they can be put up, whereas fleece (non-woven) types can be put up straight away as the adhesive is applied to the wall itself. To avoid unnecessary time pressure, just add the paste to only the area that will be covered by one length. For more information, please consult our wallpapering instructions How to cut wallpaper correctly.
- Cut the first length according to the height of the room, plus 5 cm (top and bottom). If it is a fleece wallpaper, you can hang it directly to the wall that has had adhesive applied to it. For paper-based types, you should write the word "top" with pencil on the back of the wallpaper. This way, you avoid hanging the length in the wrong direction when you unfold it.
- Now cut the second length. Turn the length 180 degrees so that the bottom end is on top on your trestle table. For fleece wallpapers, pick the length up in this position and put it up next to the first one. For paper-based models, you need to apply the paste first; again, pencil "top" to the back to avoid confusion later.
- Now cut the third length and put it up in the same direction as the first one.
- The fourth length is hung in the opposite direction again.
- Continue with the alternating directions method.
Obviously, the same process is required for ceilings, too. Instead of the height of the wall, you need to measure the width of the ceiling (vertically or horizontally, depending on the pattern direction and your preferred method of wallpapering) before you start cutting individual lengths.

