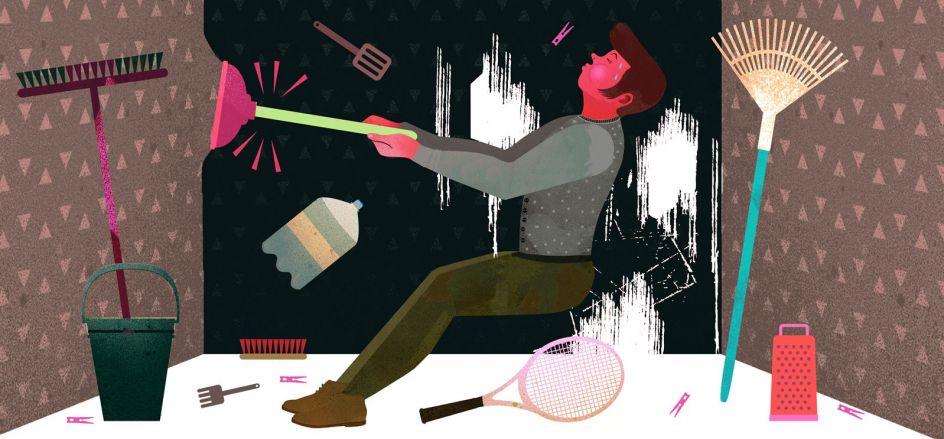
Our wallpaper "expert" uses somewhat heavy artillery to strip old wallpaper. Judging by his facial expression, he is at the end of his tether. And there is this beautiful new wallpaper just waiting to adorn the walls!
You do not have to go to these extremes: with a bit of help and advice, there is no need to try all sorts of weird and not-so-wonderful methods to get rid of old wall coverings; in fact, it can be quite a relaxed undertaking. Even when buying wallpaper, you should already consider what removing it at a later date will entail. With a few handy tricks, you won't even depend on conducting special tests to gauge which method is best when you eventually need to strip the wallpaper.
Symbols providing information as to the correct removal method
The specifications for each wallpaper on our website provide you with information as to its later removal. The characteristics are also illustrated by symbols on the wallpaper's label, which you can check once you have bought and received the paper.
We will introduce you to three possible options and also equip you with instructions which will help you to easily determine which method should be used to strip old wallpaper. In addition, you can find detailed information regarding the various steps necessary to remove non-woven and paper-based wallpapers in our wallpapering instruction article How to strip old wallpaper.
1. Wallpapers which can be removed without soaking, leaving no traces (Strippable)
This means that you can pull each length of wallpaper off the wall in one piece, leaving no traces behind, without having to soak or roughen/score it first. This is obviously the easiest method, but it will only work if the right wallpapering paste was used originally. Just use the "pulling test" to determine whether the wallpaper can be removed without soaking or leaving traces: Grab the corners of the length and start pulling. If the entire length comes away from the wall (or at least large pieces), removing is as easy as pie.
2. Wallpapers which need to be soaked before removing (Wet removable)
This is the standard method for many types of wallpaper. Both the backing and the decorative layer have to be soaked thoroughly, so that the wallpaper paste softens on the wall. You can then use a spatula to remove the wallpaper. If the decorative layer is waterproof or washable, it needs to be roughened or scored first, so that the liquid can penetrate. Again, use the tried and tested "pulling test" to check how you need to proceed. Should the soaking process not lead to the desired effect, you will need to roughen (score) it first and then soak the area again. If you can then remove a small piece with a spatula after a short soaking phase, you know what to do...
3. Wallpapers with 2 layers which can be separated and removed without soaking (Peelable)
Wallpapers which are labelled accordingly consist of a decorative upper layer (e.g. vinyl) which can be removed without soaking in entire lengths or large pieces The carrier material remains on the wall. You can wallpaper directly onto this remaining layer, as long as it is intact, undamaged and smoothly adheres to the surface. If that is not the case, you will need to remove the carrier material from the wall. To do this, soak it in water mixed with washing-up liquid and then remove it with your spatula. The trusted pulling test will reveal which material you are dealing with. Grab a corner of the length of wallpaper and pull it off the wall in a diagonal direction (i.e. towards the middle of the length). The upper layer should separate from the carrier material.

Pre-Wallpapering equals Post-Wallpapering
In order to make the eventual stripping process as painless as possible, you should pay attention to the material - even when you first buy your new wallpaper. Having said that, we know from experience that the choice of wallpaper shouldn't be based on the required stripping method alone. After all, we are talking mere minutes which will be added to the process when stripping it. However, the design you choose will be part of your life for years. Your main reason for selecting a specific wall décor should be determined by the colour and pattern you like the most. Everything else is secondary.
The following hints and tricks will help you strip the wallpaper later on - no matter which material you are dealing with. Even without the pulling test, you will know which process is best for removing the wallpaper, even if years have passed since you put it up.
- Create a kind of "pattern book" for each room you are newly wallpapering. And this is how it works: Take a cut-off of the wallpaper, cut it down to an A4 piece, and stick the label from the roll onto the wallpaper piece. Hey presto: all necessary data in one place. You can then staple all the individual wallpaper pages for each room together and store the "book" in a safe place.
- If you are not a friend of "paperwork", simply take a picture of the wallpaper and the information label and save it digitally under the name of the respective room.
- Even though it means adding another step to the wallpapering process: we recommend that you prime the wall first. For when it comes to stripping the wallpaper years later, your efforts will be rewarded.


